I designed this cell for educational and experimental purposes only. It contains a corrosive chemical (NaOH) and produces a flammable gas (H2) so use it with care.
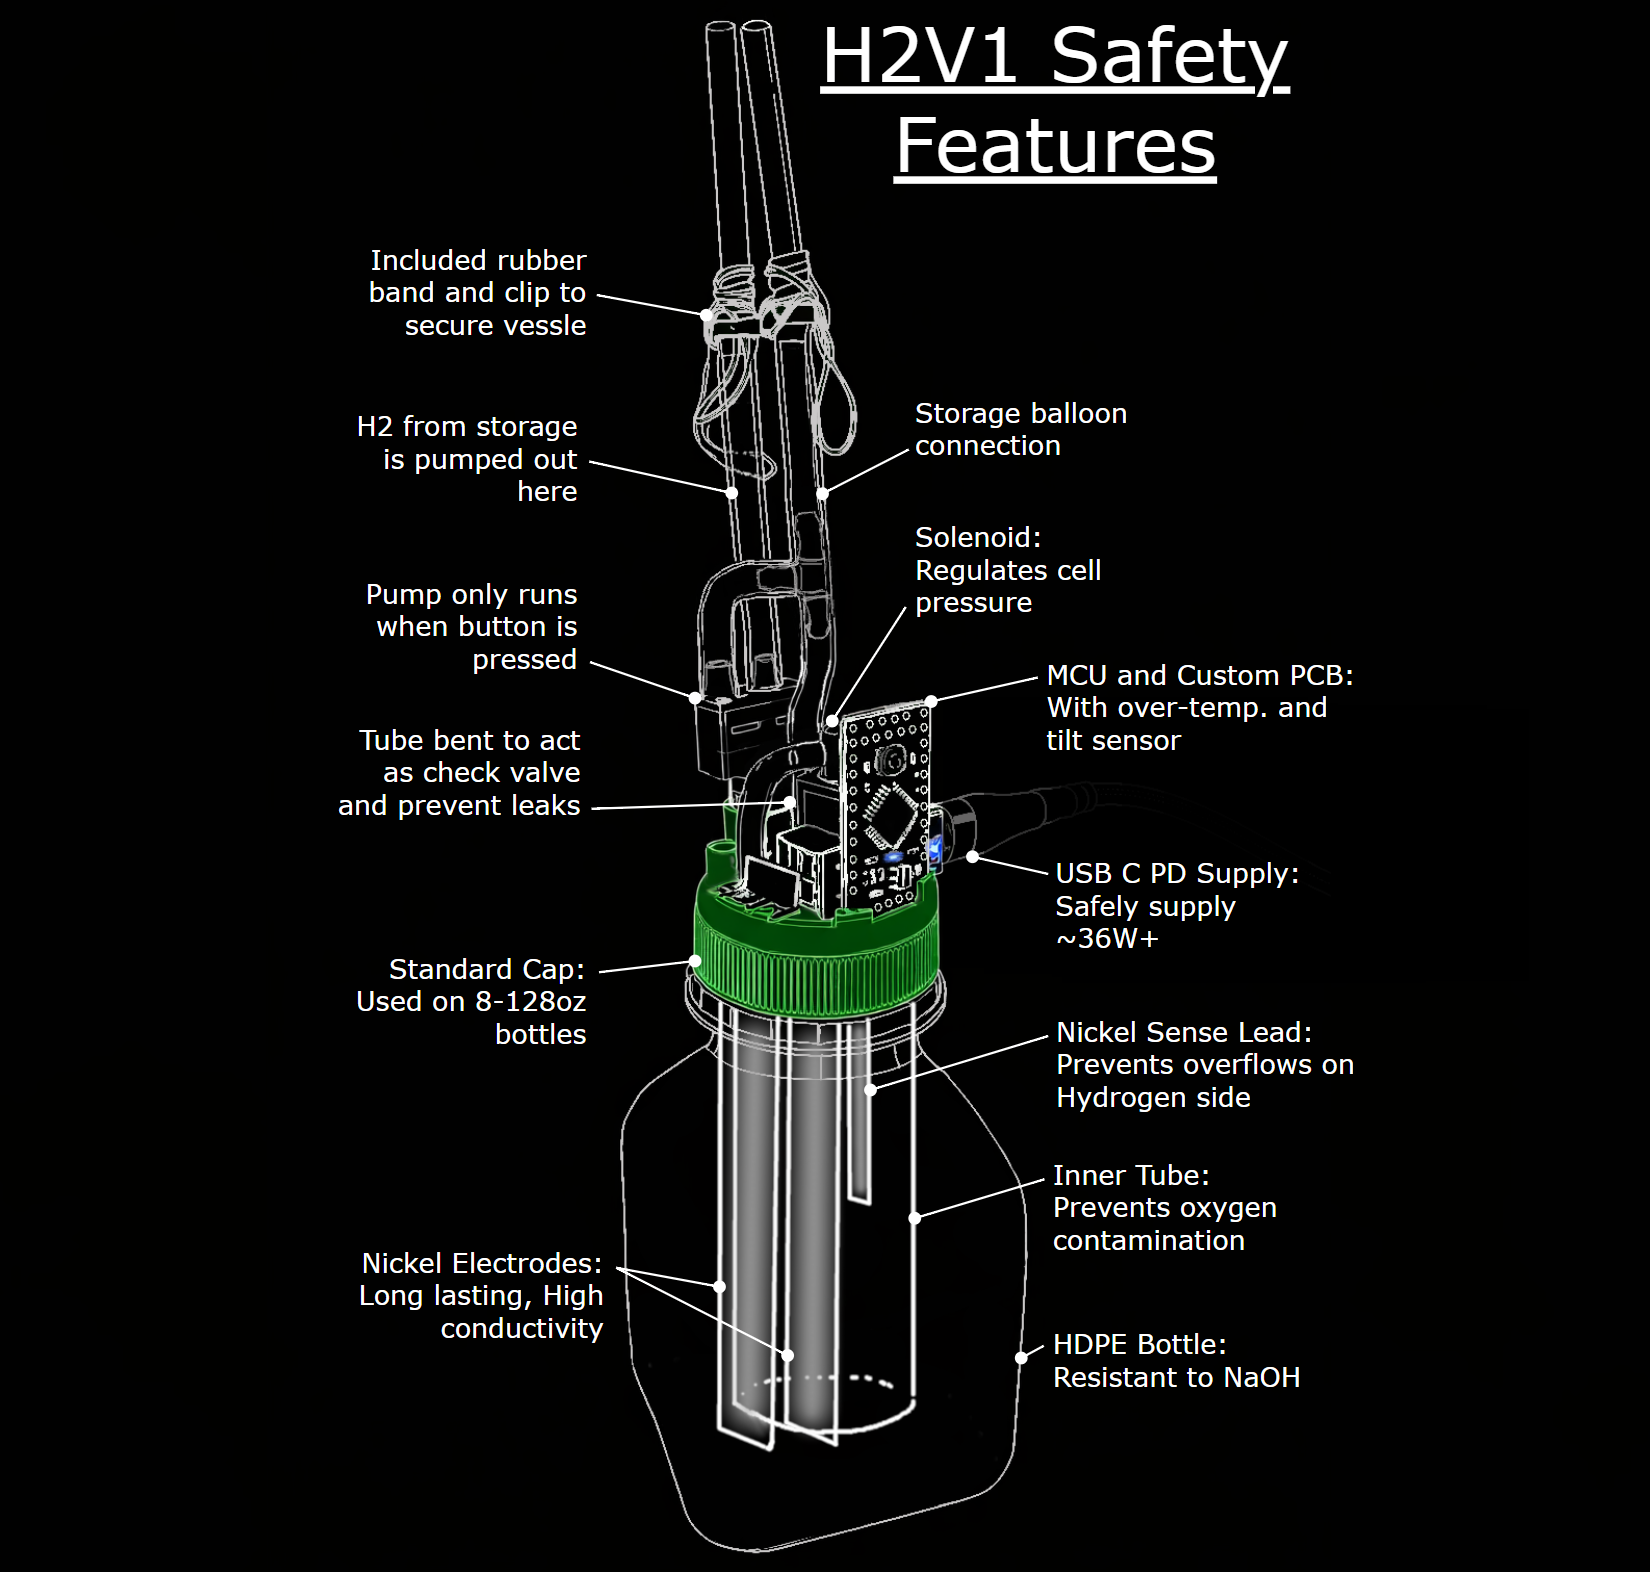
I did my best to lock down this cell but it is still important to treat it with respect. The solenoid is the only active element and both failure modes (stuck open/closed) are account for in firmware. The tilt switch seals everything if the cell gets bumped and the temperature sensor prevents overheating. Adult supervision is required.
Why Would I Want An Electrolysis Cell?
Obviously I’m in it for the balloons but hydrogen has many scientific and educational uses. Understanding how this cell functions is essential for aspiring chemists. Here’s a list of possible uses I though of:
Inflating Hydrogen balloons
Demonstrations (2:1 gas ratio, redox reactions, etc.)
Science fair projects (materials, gas volume vs time)
Testing Hydrogen sensors
Demonstration for clean energy (Blue Hydrogen!)
Blimps/weather balloons?
What This Cell is...
USB C PD is limited to ~36W (@12V) in this design. This is plenty fast for demonstrations but it can take hours to fill a balloon. That is why I redesigned the cell to incorporate storage! You can also use a lab bench power supply for more power (I’ve tested up to 60W peak), just expect a lot more heating. Electrolysis is most efficient in the 2-3V range so slower is better in this case. The cell is plenty capable of filling smaller 10″ and 18″ balloons but don’t expect it to replace helium for parties (for many reasons). This low output has the benefit of making the cell safer to use. The solenoid is the only active element so you will hear intermittent clicking when the cell is running. I don’t find it annoying and it’s a good indicator of when the cell is running. It completely turns off once the storage balloon pressure is high enough.
Even at lower power, the cell is likely to accumulate evaporated water in the output tube over time. I recommend using the gloves when swapping tubes or clearing this water just in case. The mini pump currently operates off 5V which means it can take time to fill larger balloons. It is fine for bubbling into water but I plan to redesign this system in the future. I prioritized cost, safely, and convenience over speed for this design.
Flexible By Design
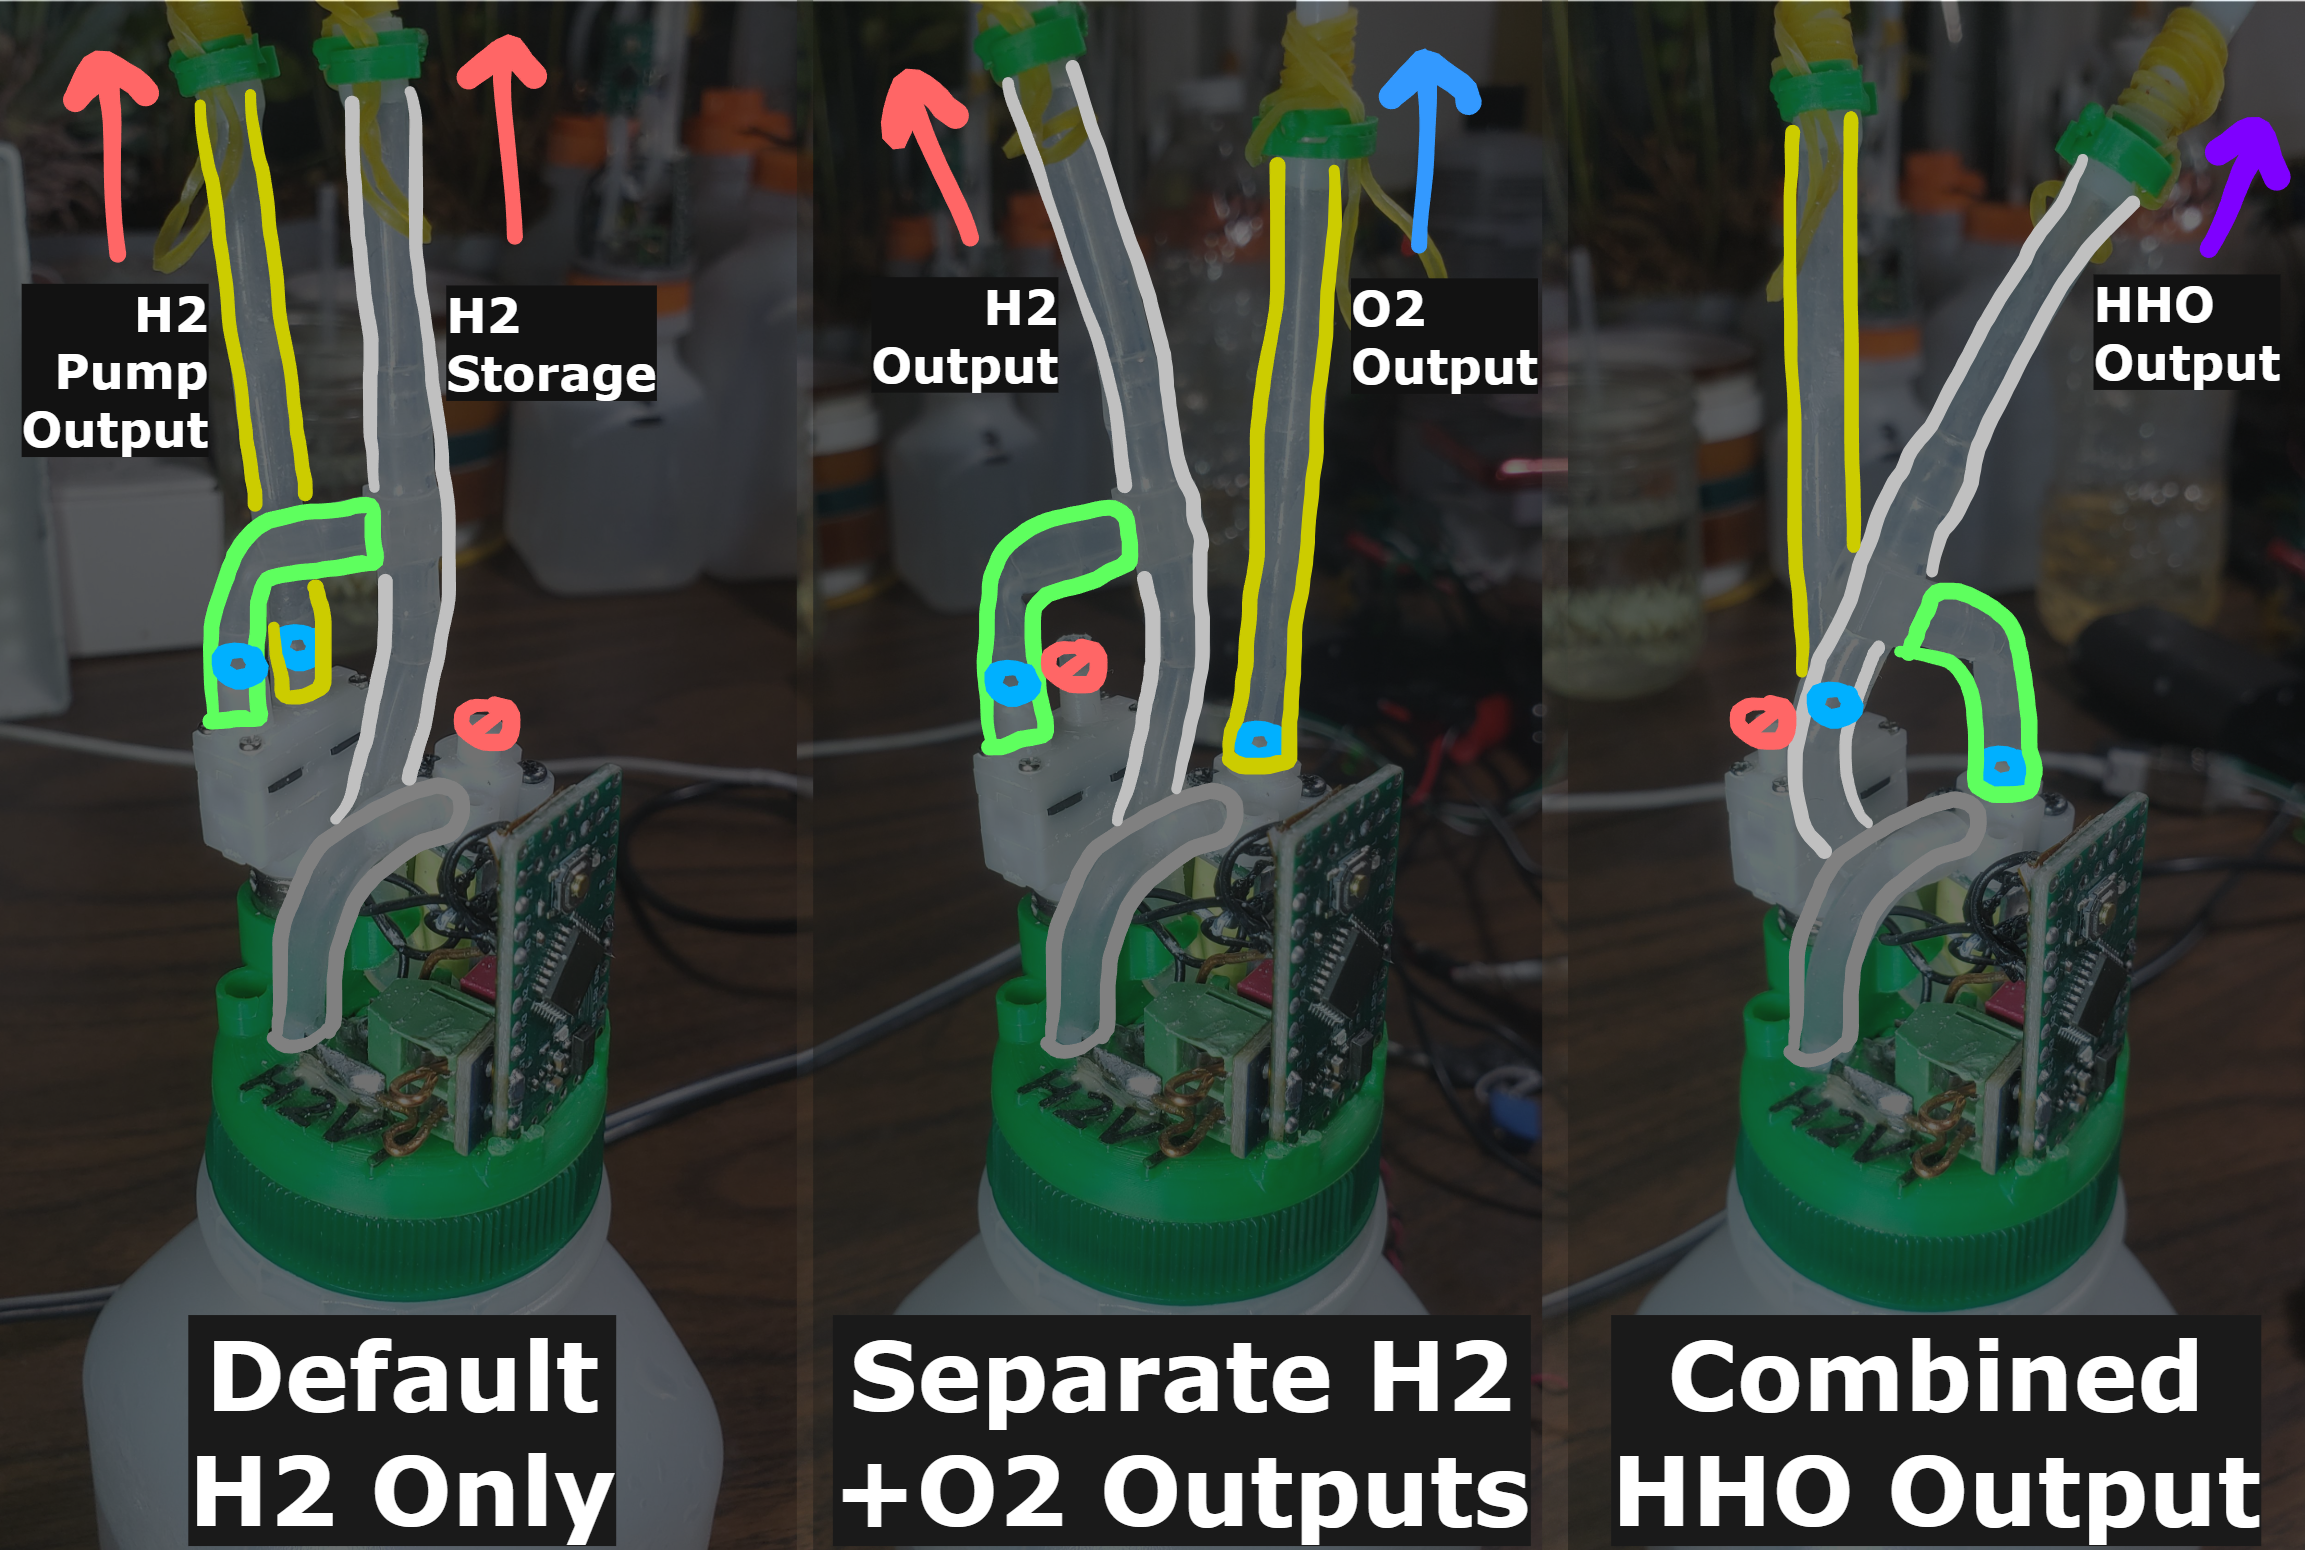
The default cell is meant to store and pump out hydrogen but you can swap a single tube to adapt it to your project’s needs! You can capture the oxygen output or generate HHO. Just make sure to use extra caution with these alternate layouts!
My History Of Hating Water
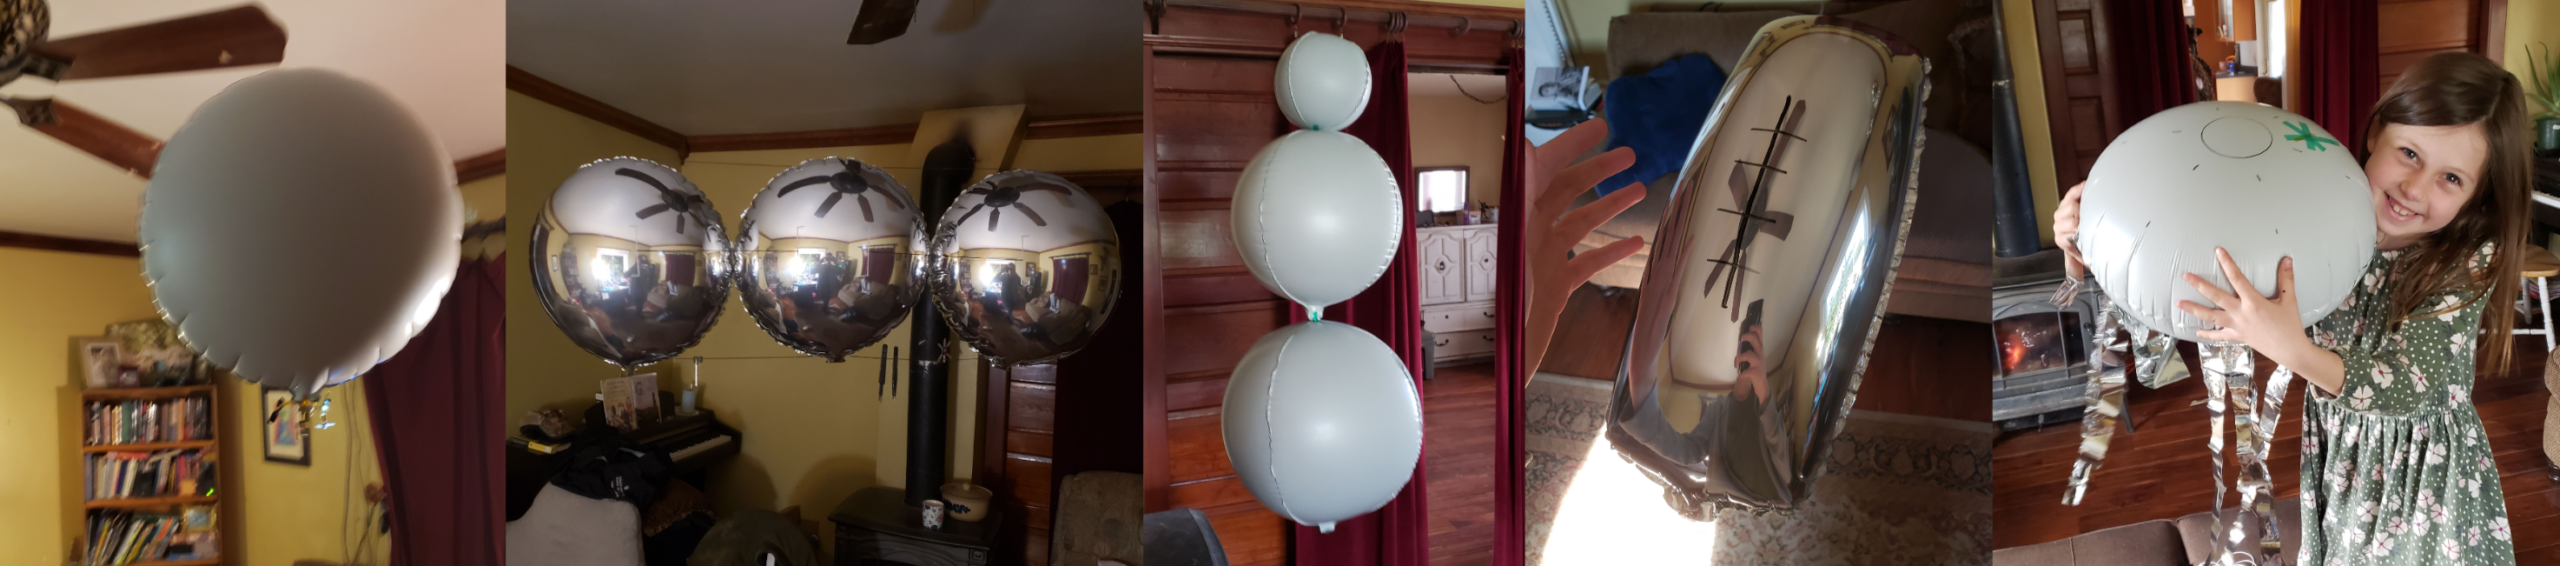
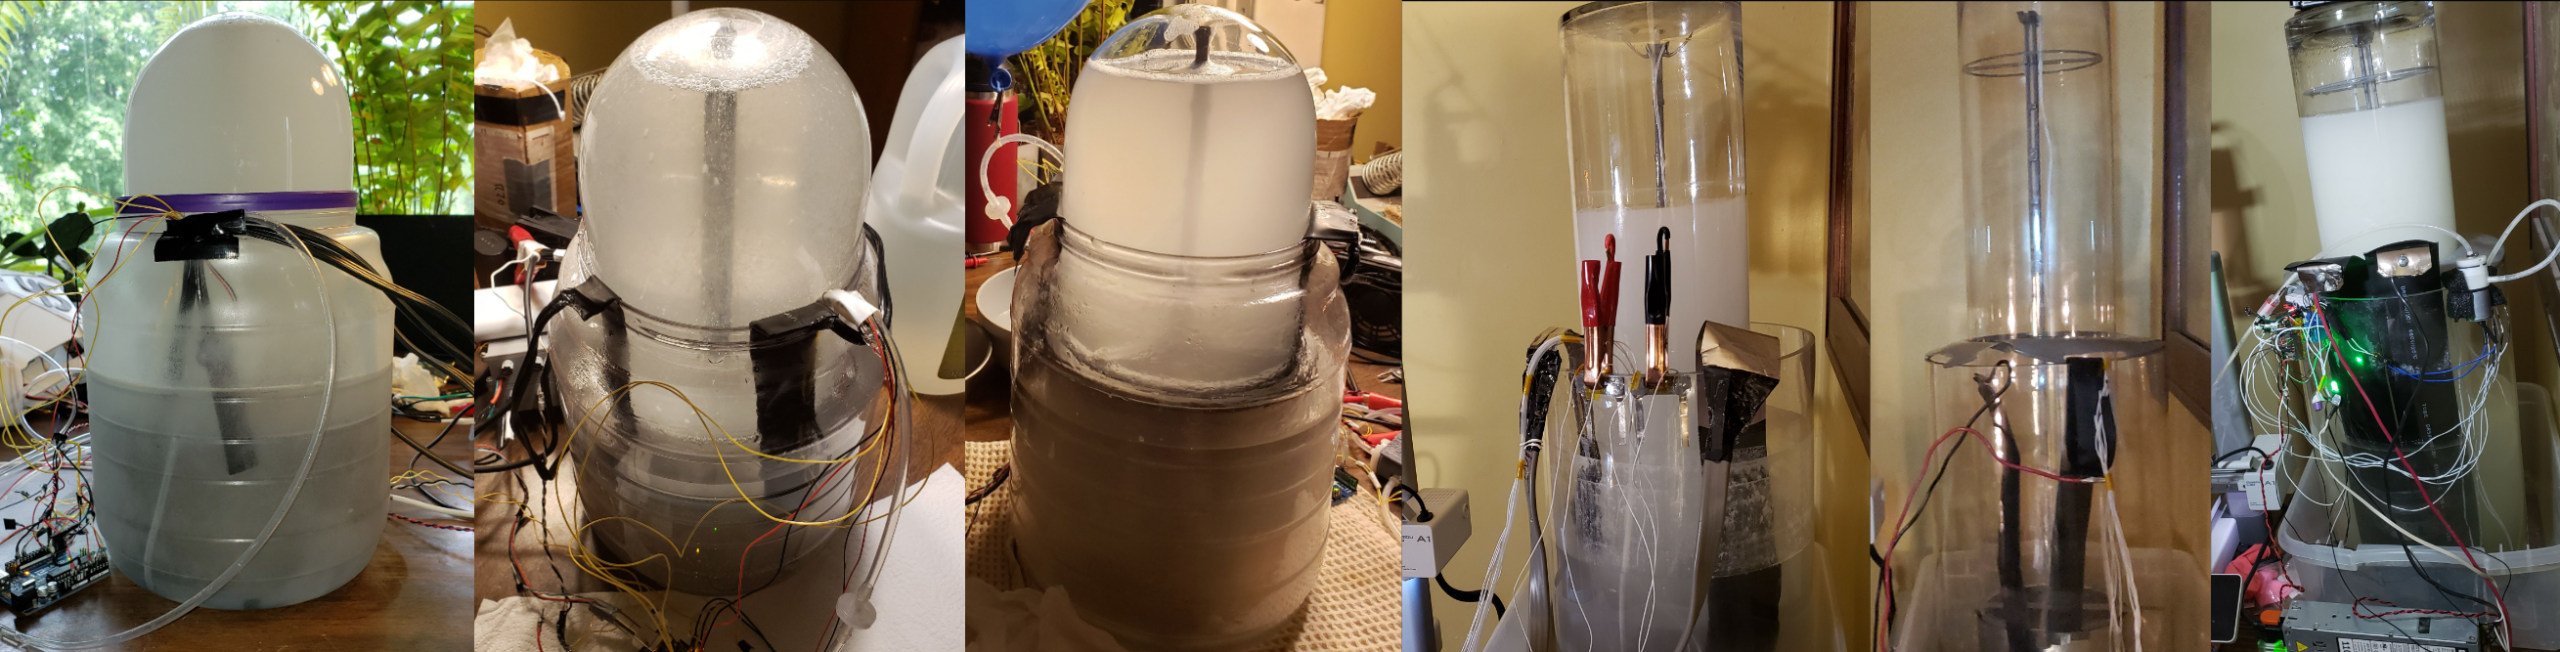
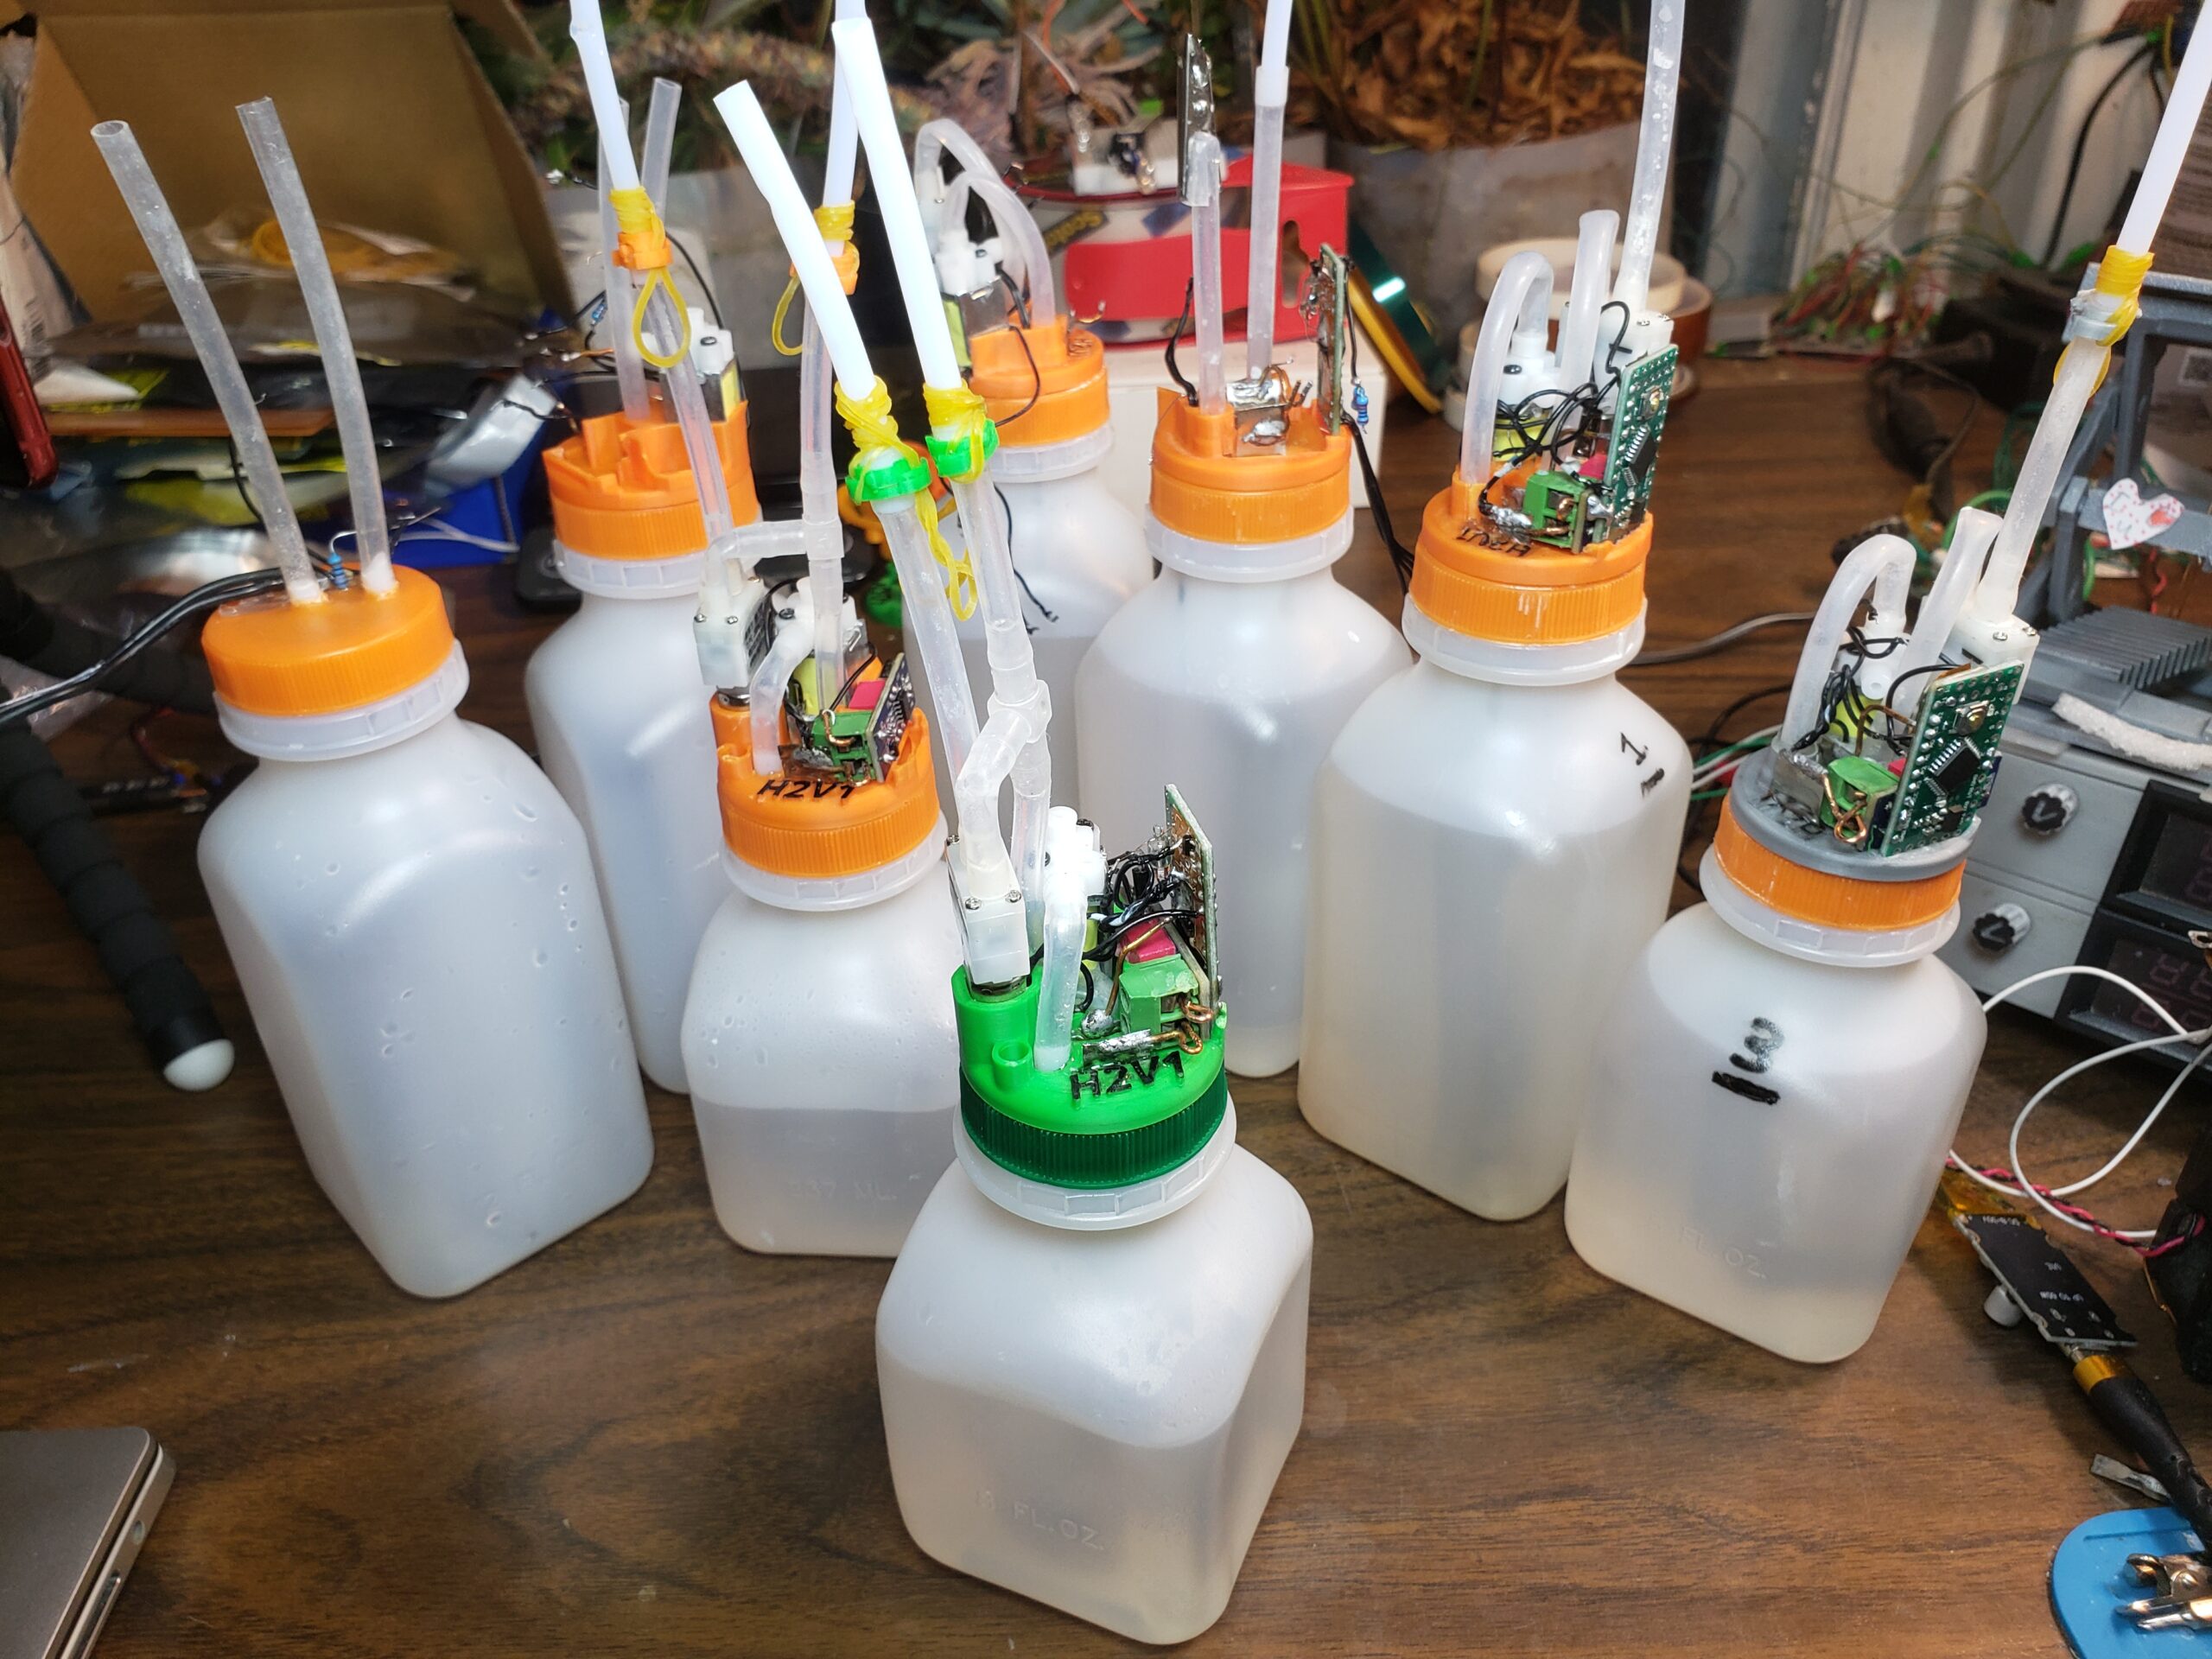
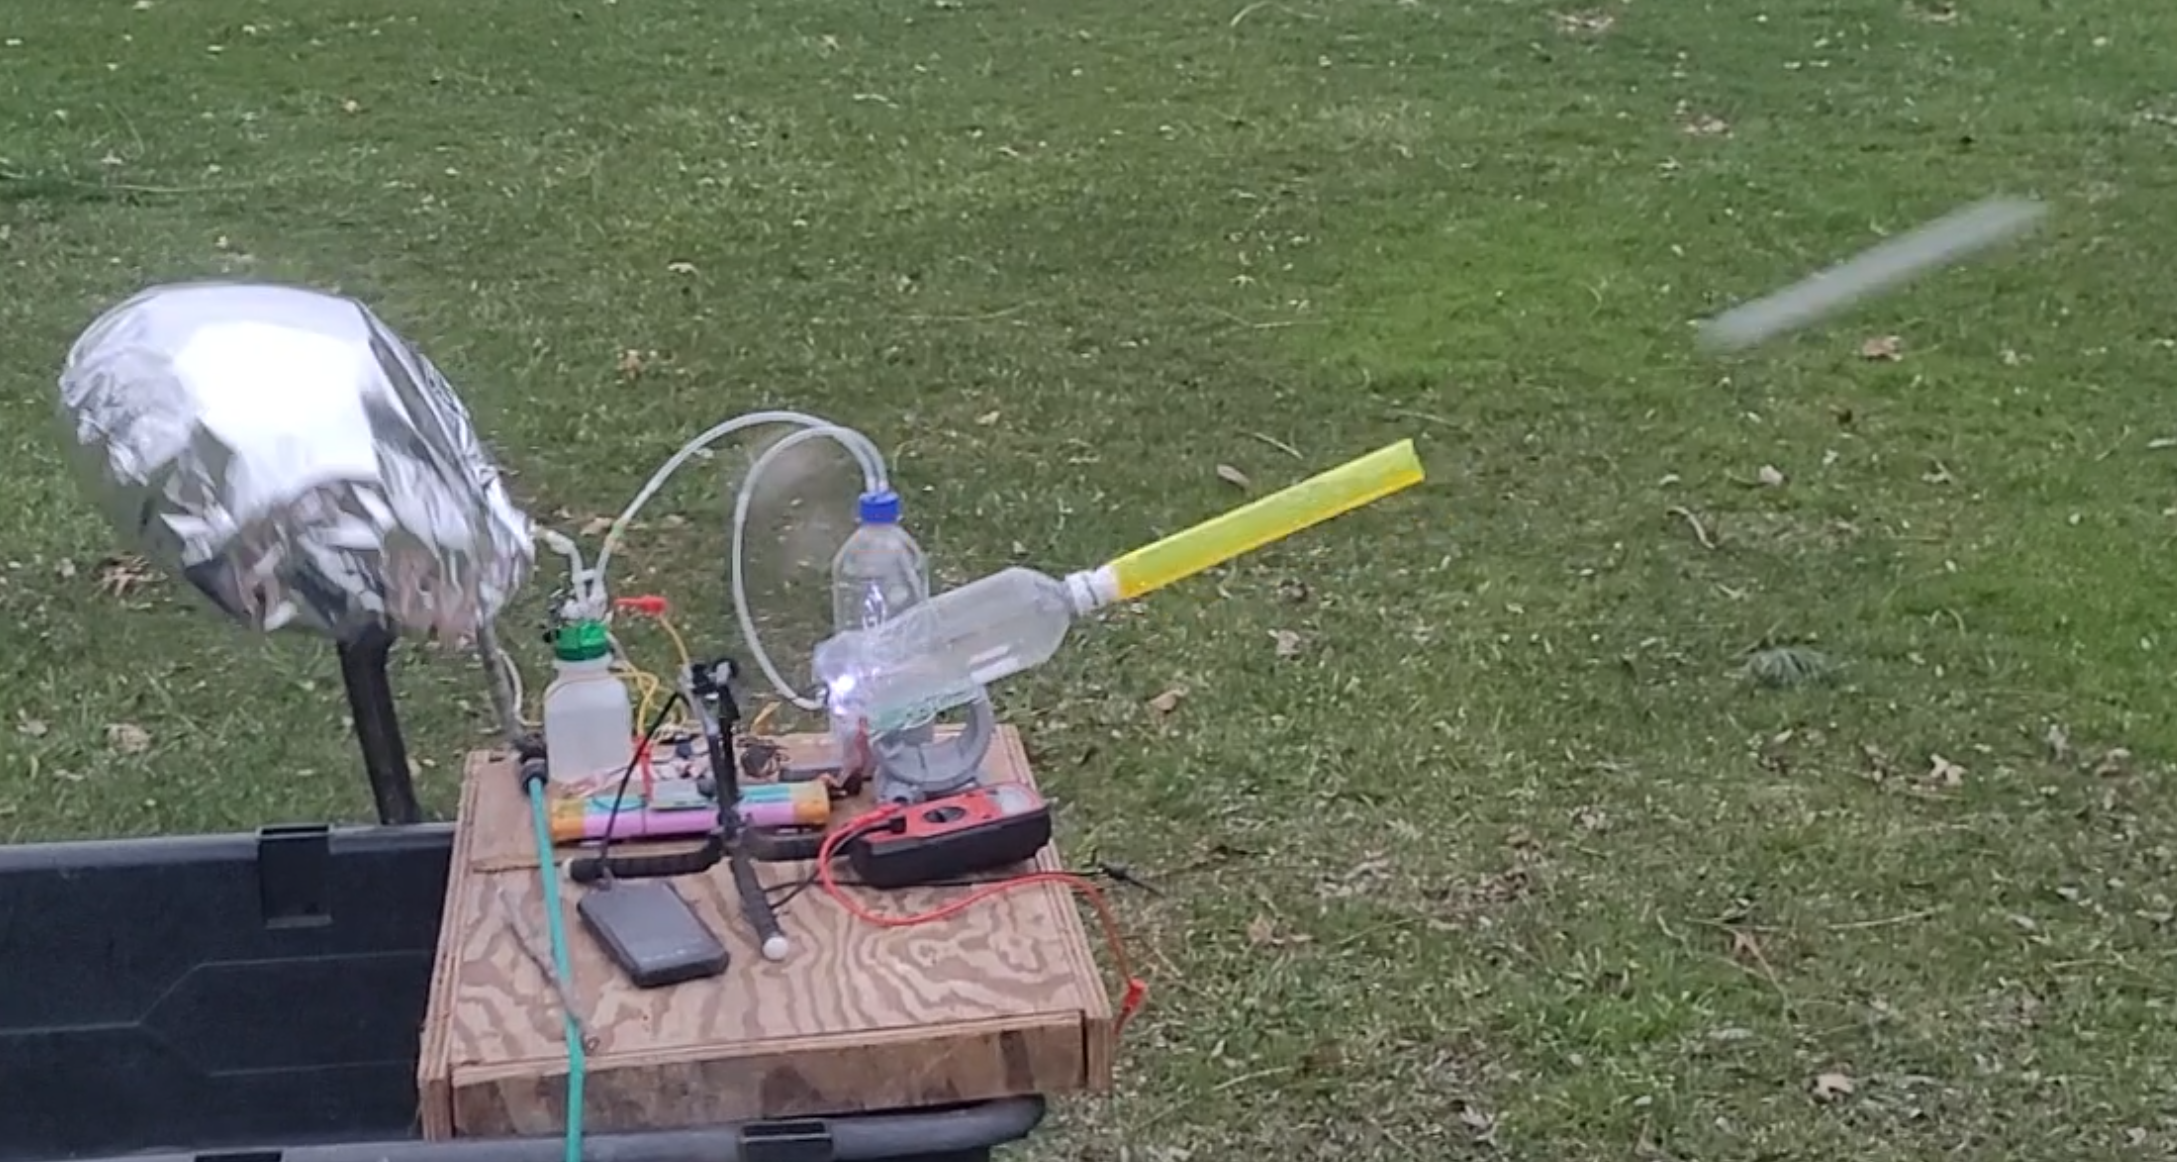
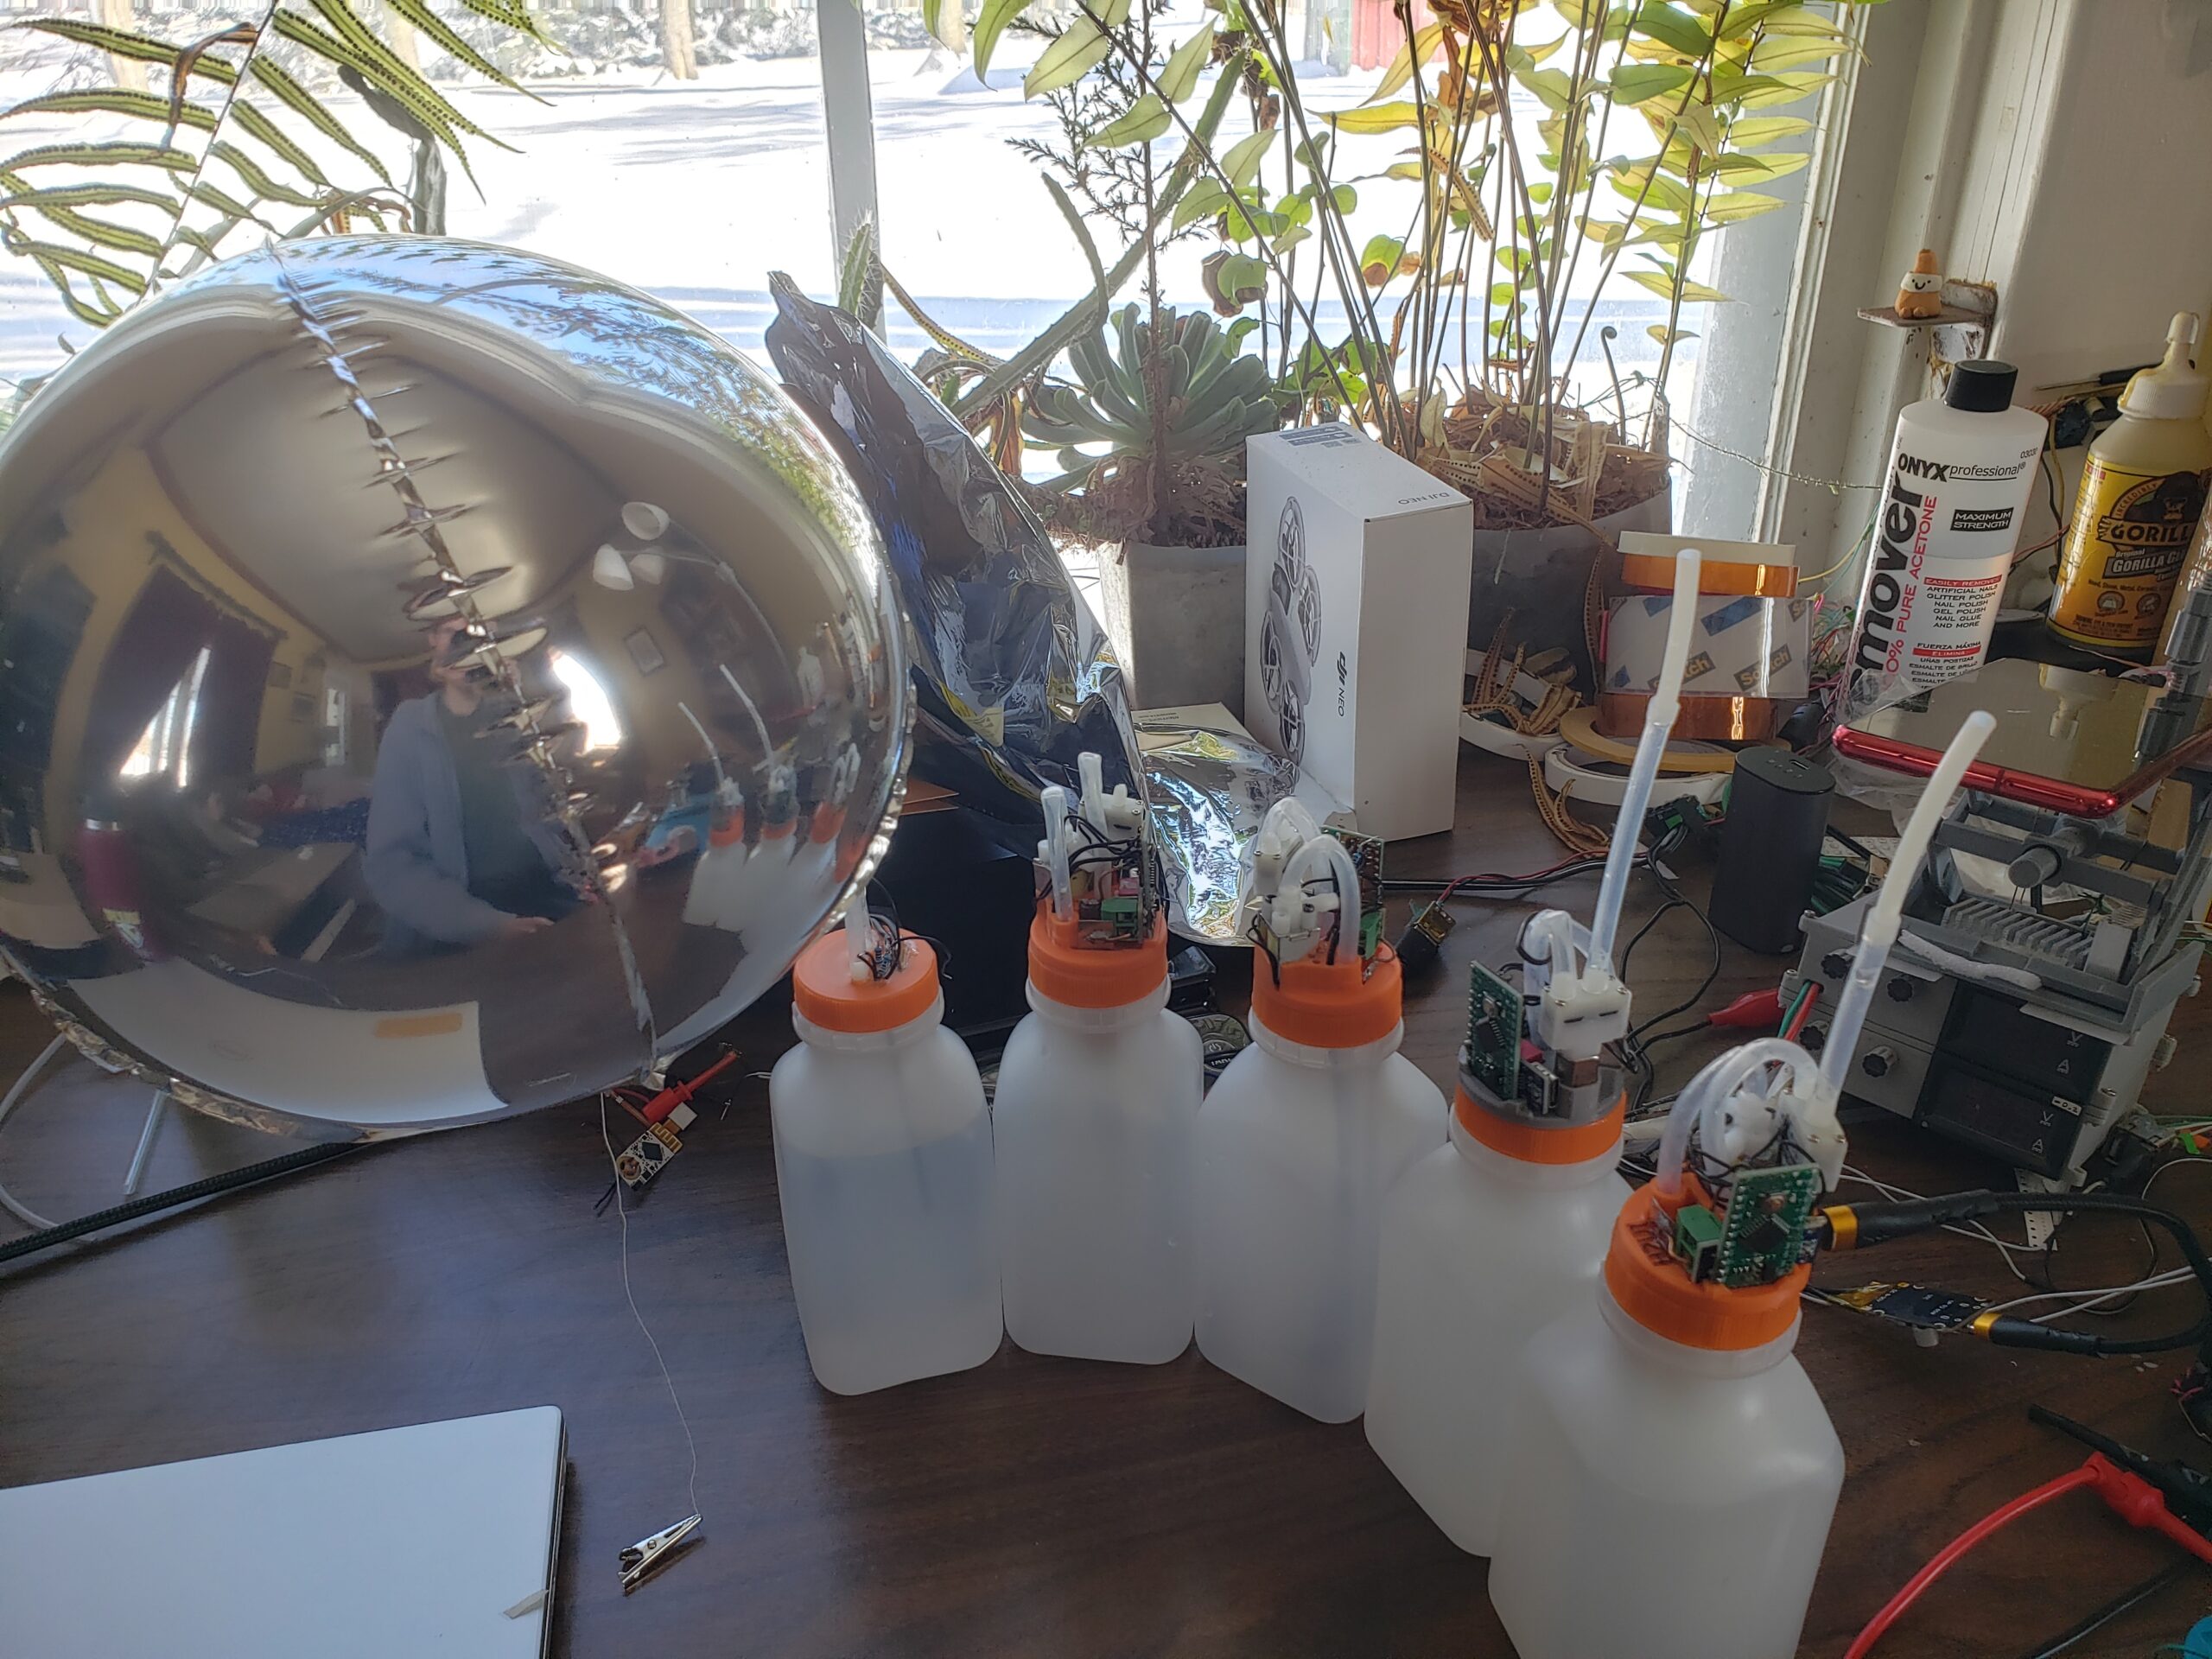
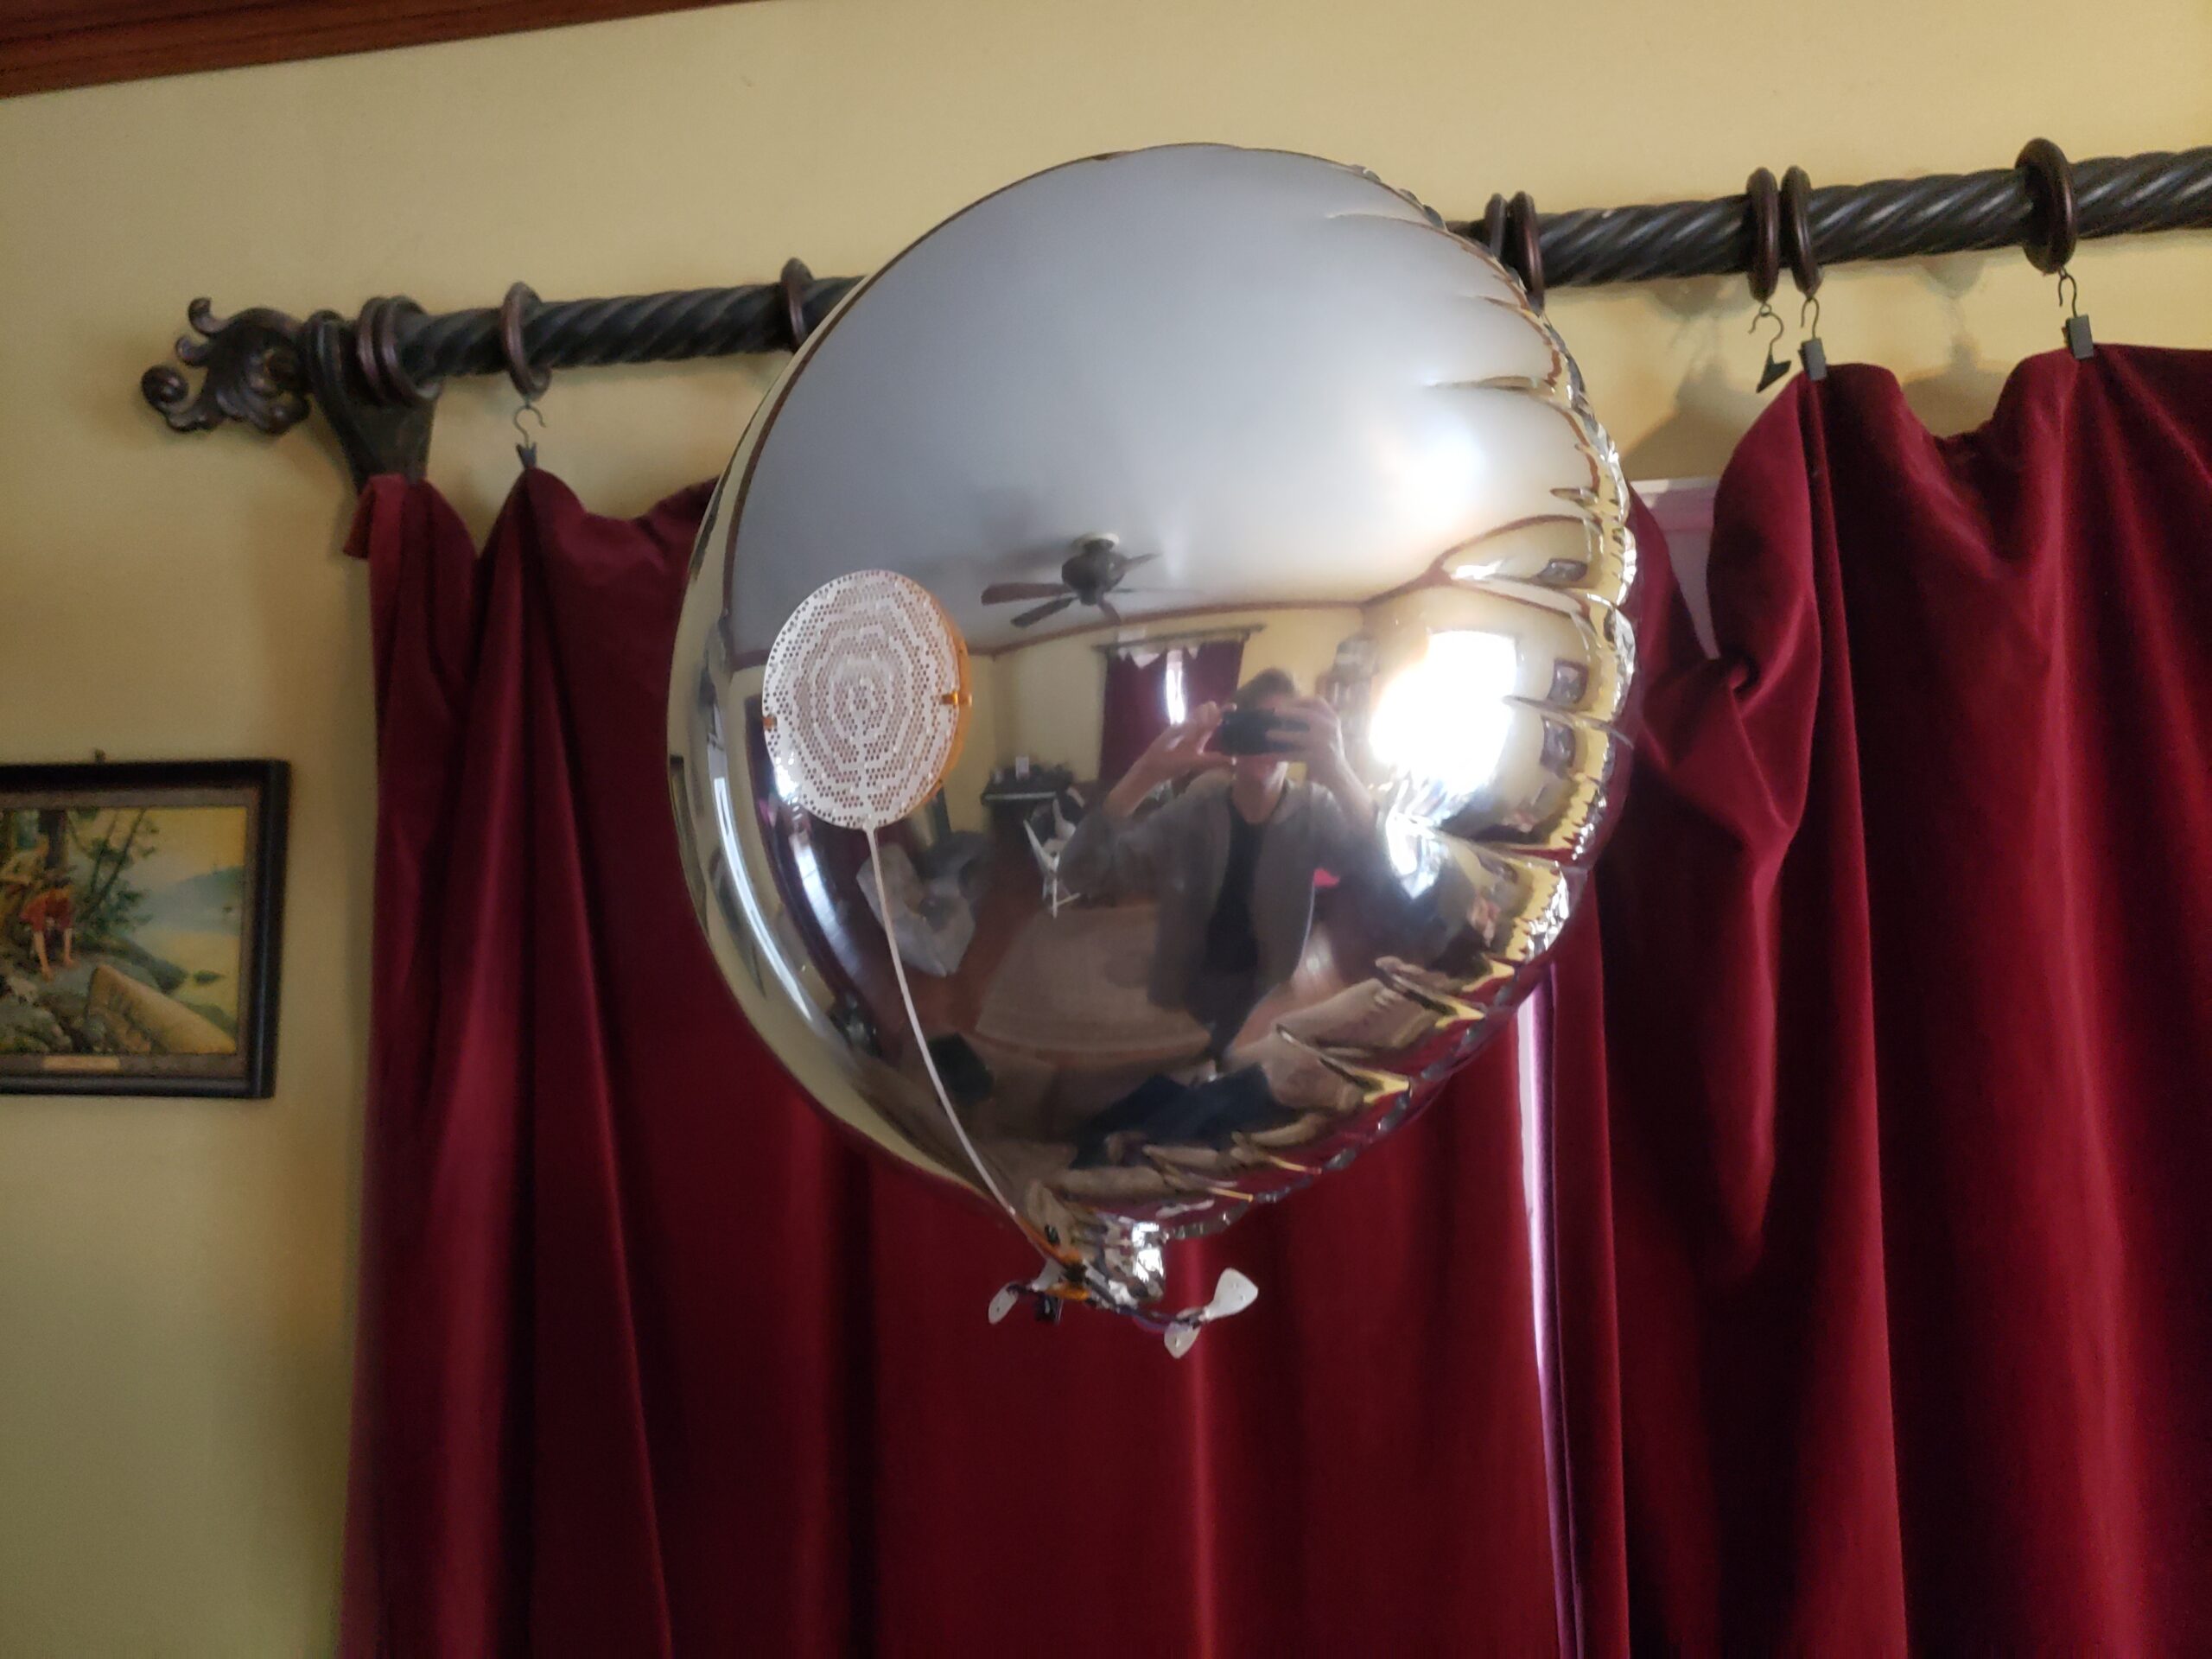
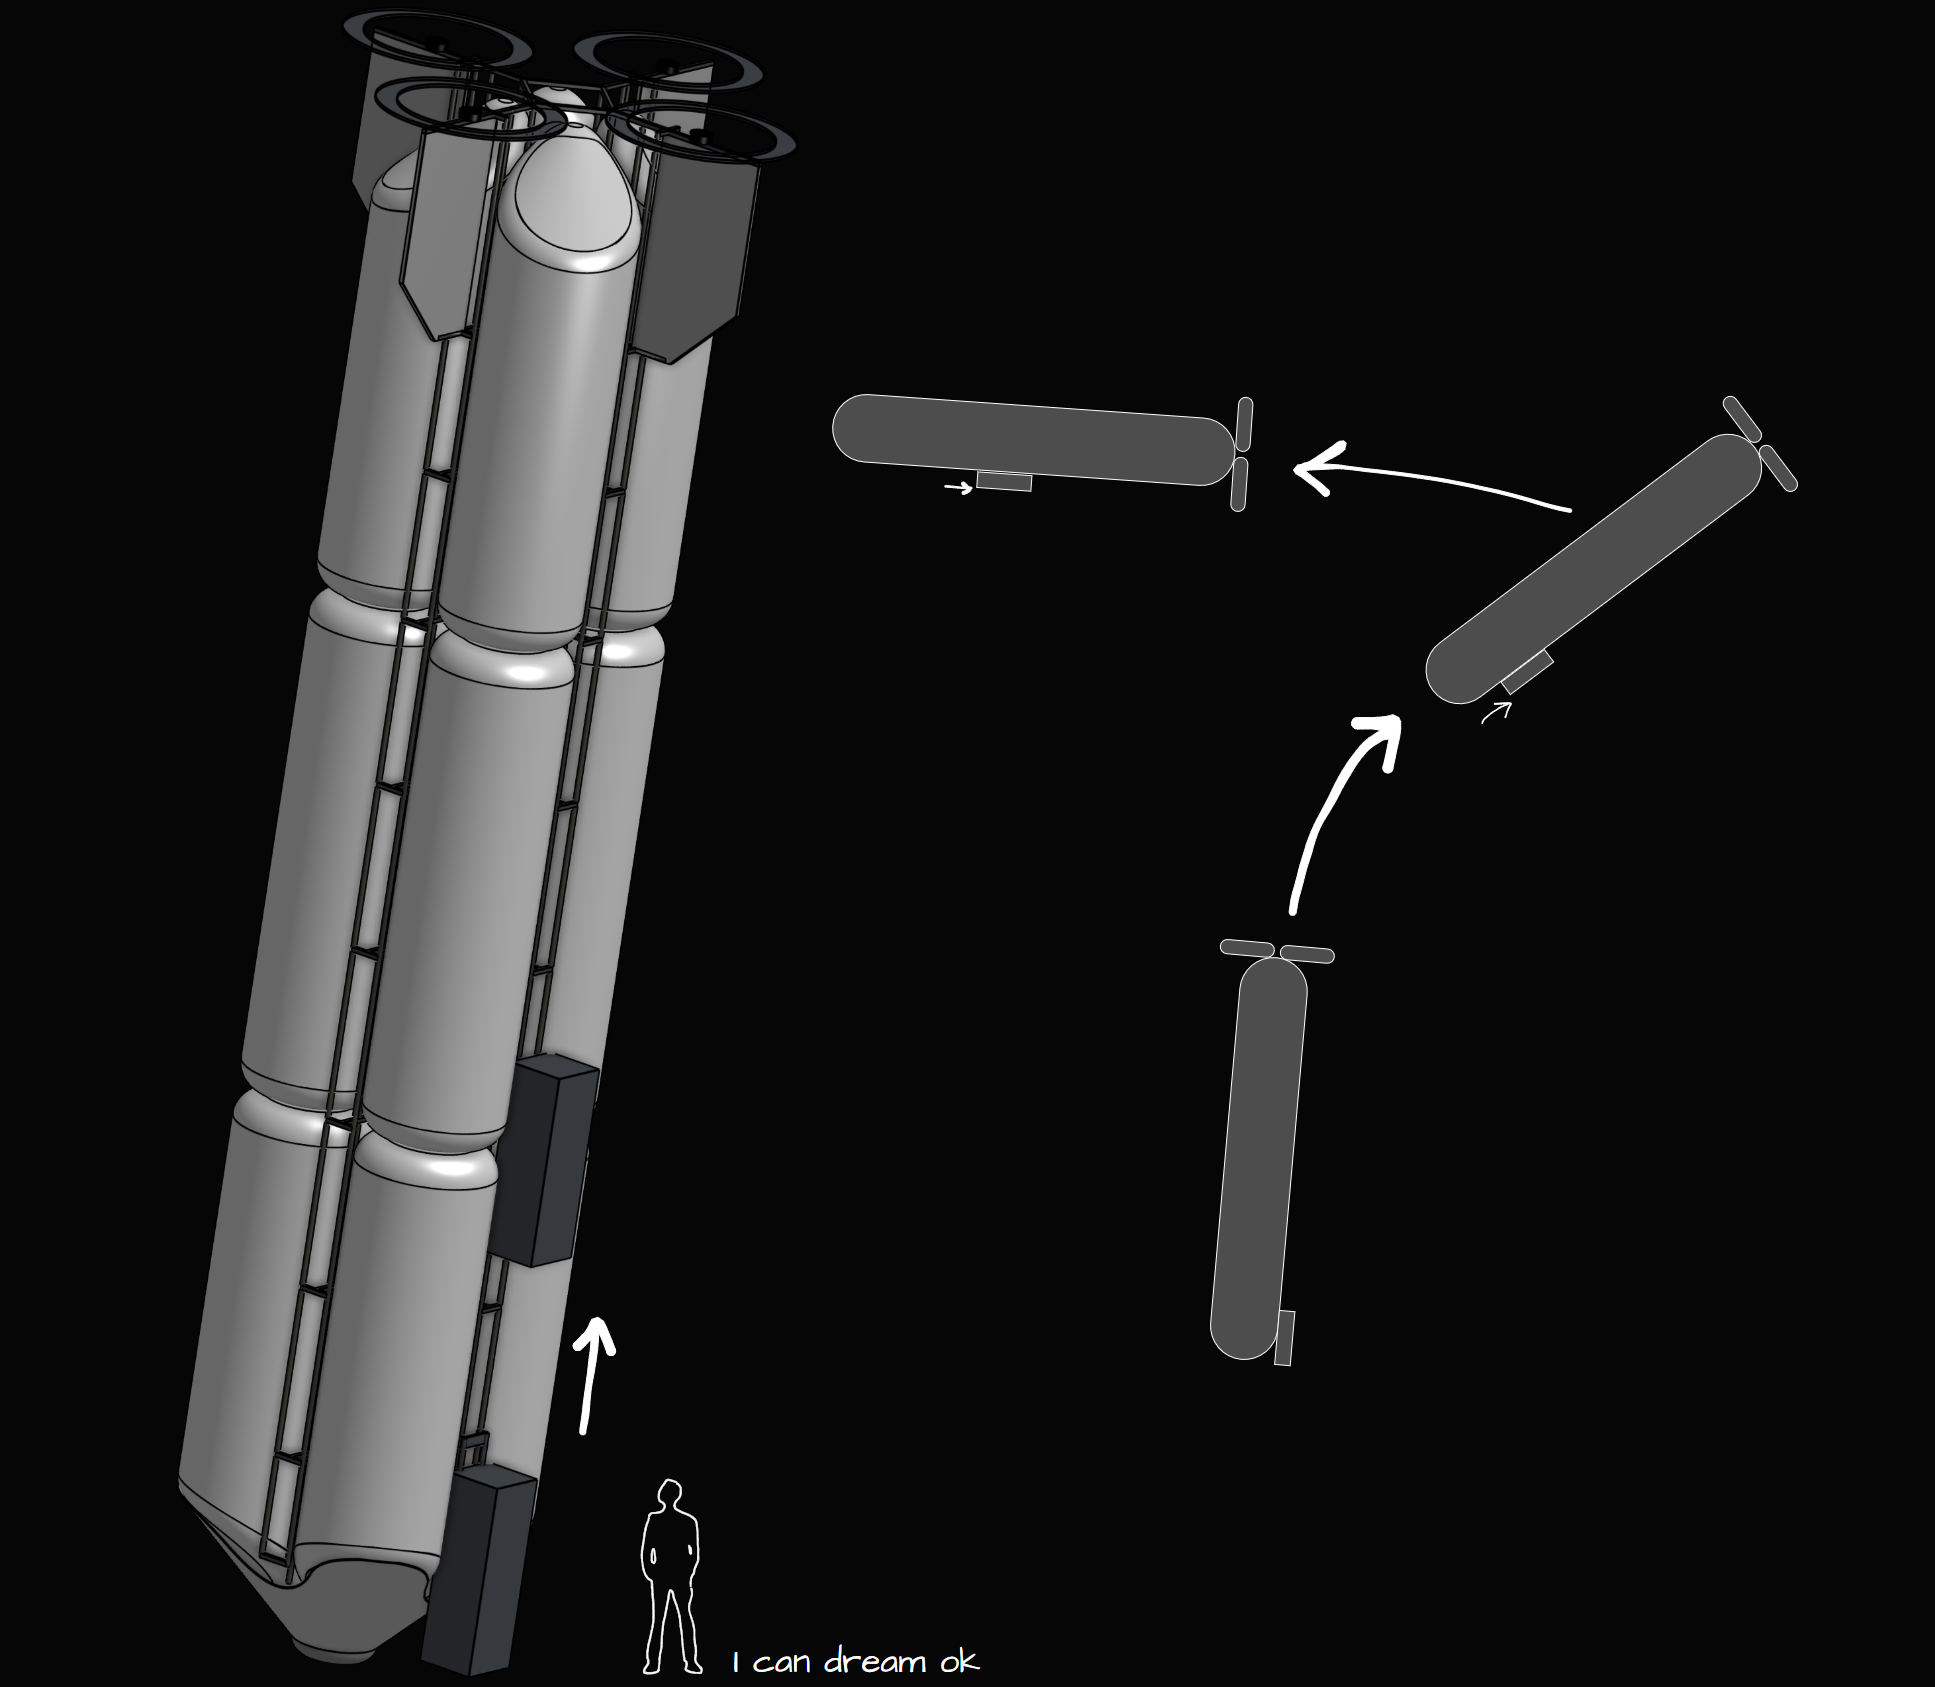
I’ve been building electrolysis cells to split water for the past 5 years. My first cells used graphite and table salt but that was enough to get me hooked! I enjoy experimenting with blimps and other balloon projects pictured below. See my website for more! This cell is the latest in that series and hope that this design can help bring that joy to more people.
* Note: filling the 10″ balloon that comes with the kit consumes 8–10Wh and only ~1.4ml of water. So a standard 500ml water bottle contains enough water to inflate ~350 of these balloons and each balloon requires ~3–4 alkaline AA batteries worth of power to fill (though, in reality, much more energy goes into heating the cell)
The Science Behind Water Electrolysis
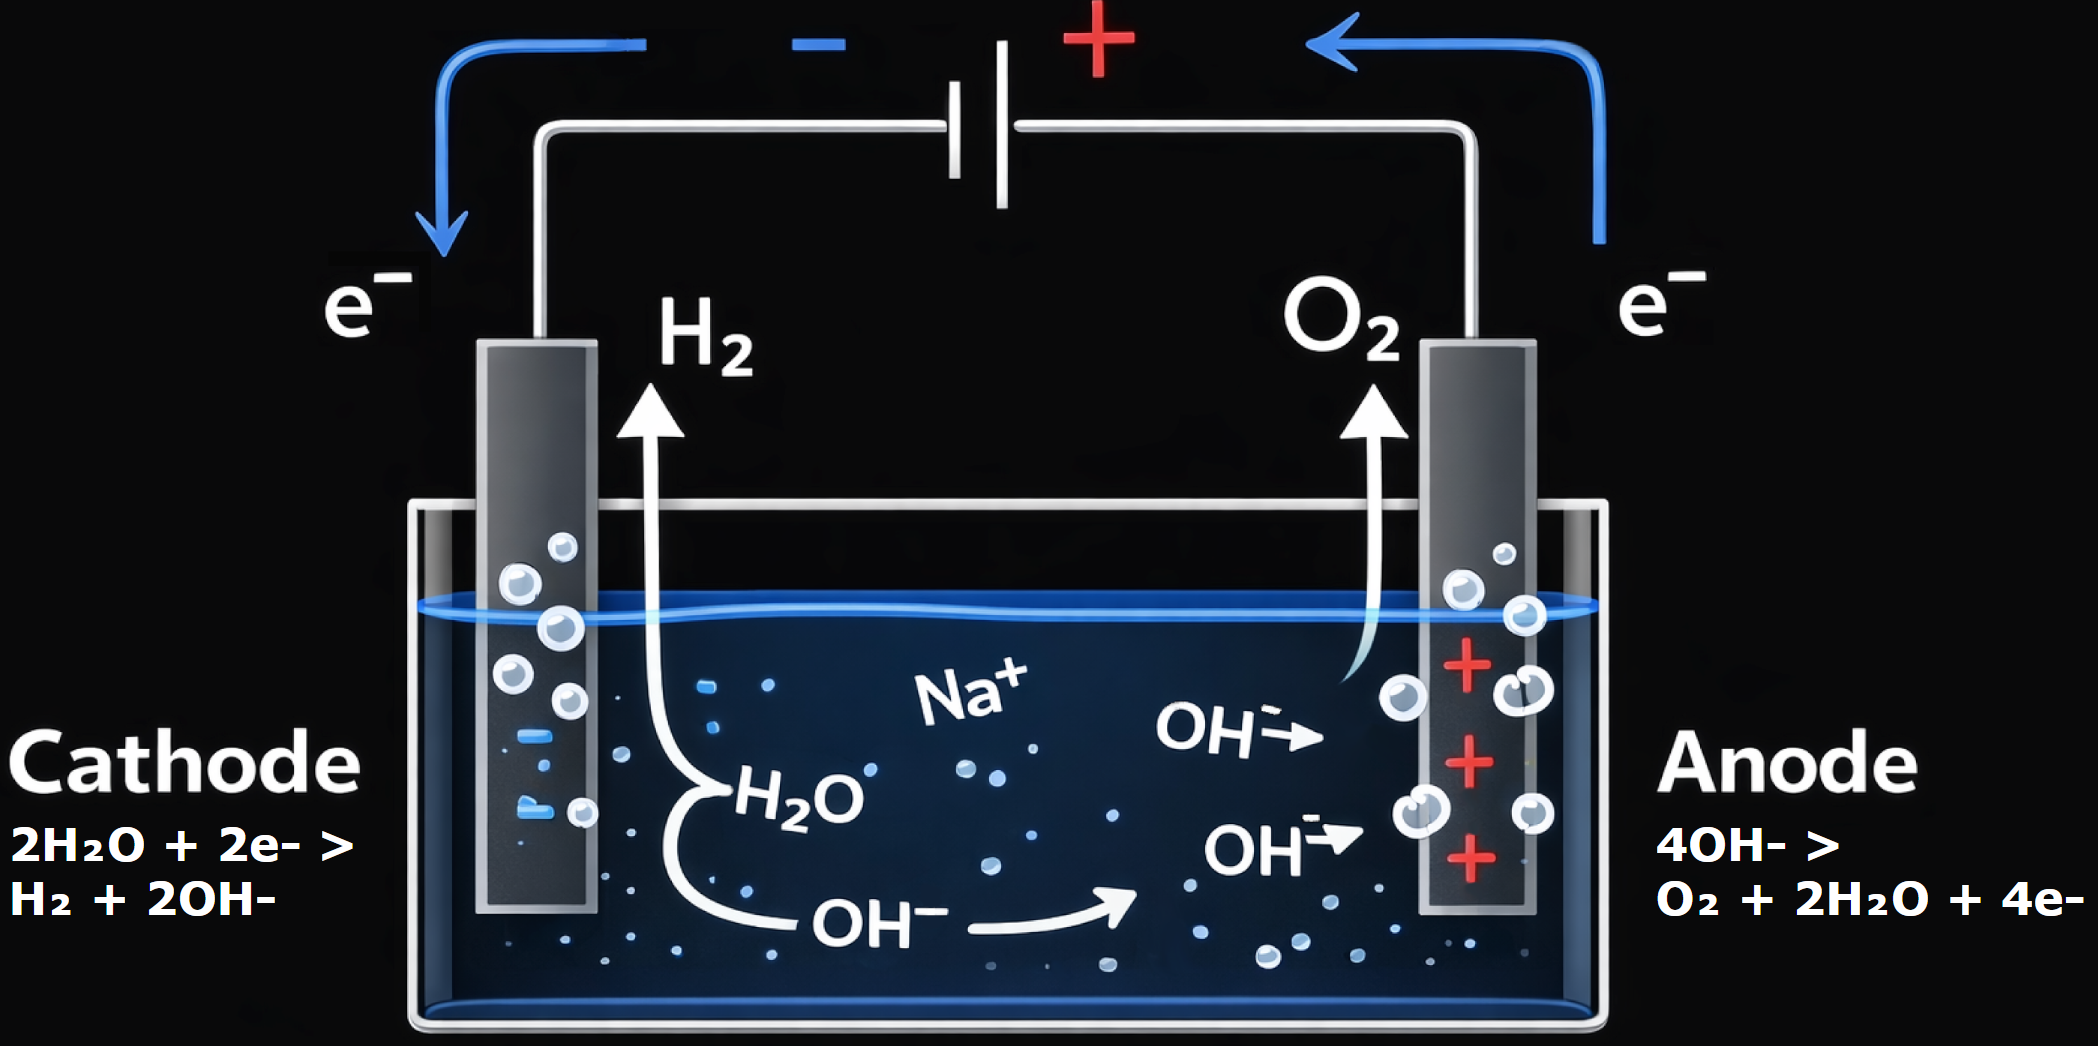
At the Cathode (negative electrode): 2H₂O + 2e- → H₂ + 2OH- Water molecules gain electrons and split into hydrogen gas (H₂) and hydroxide ions (OH-)
At the Anode (positive electrode): 4OH- → O₂ + 2H₂O + 4e- Hydroxide ions lose electrons and combine to form oxygen gas (O₂) and water.
When electricity flows through the water, it causes water molecules to break apart at the cathode, releasing hydrogen gas bubbles. The hydroxide ions (OH-) created at the cathode then travel through the solution to the anode, where they give up their electrons and recombine to form oxygen gas. The sodium ions (Na+) from the NaOH don’t react, they simply help conduct electricity through the water. This process continuously splits water into its two components: hydrogen and oxygen.
What's In the Box
I decided to support additional shipping locations outside the US: – Within the US –> USPS Ground Advantage – Select Countries (CA, UK, EU, AU, JP…) –> USPS First-Class International
I decided to support additional shipping locations outside the US: – Within the US –> USPS Ground Advantage – Select Countries (CA, UK, EU, AU, JP…) –> USPS First-Class International
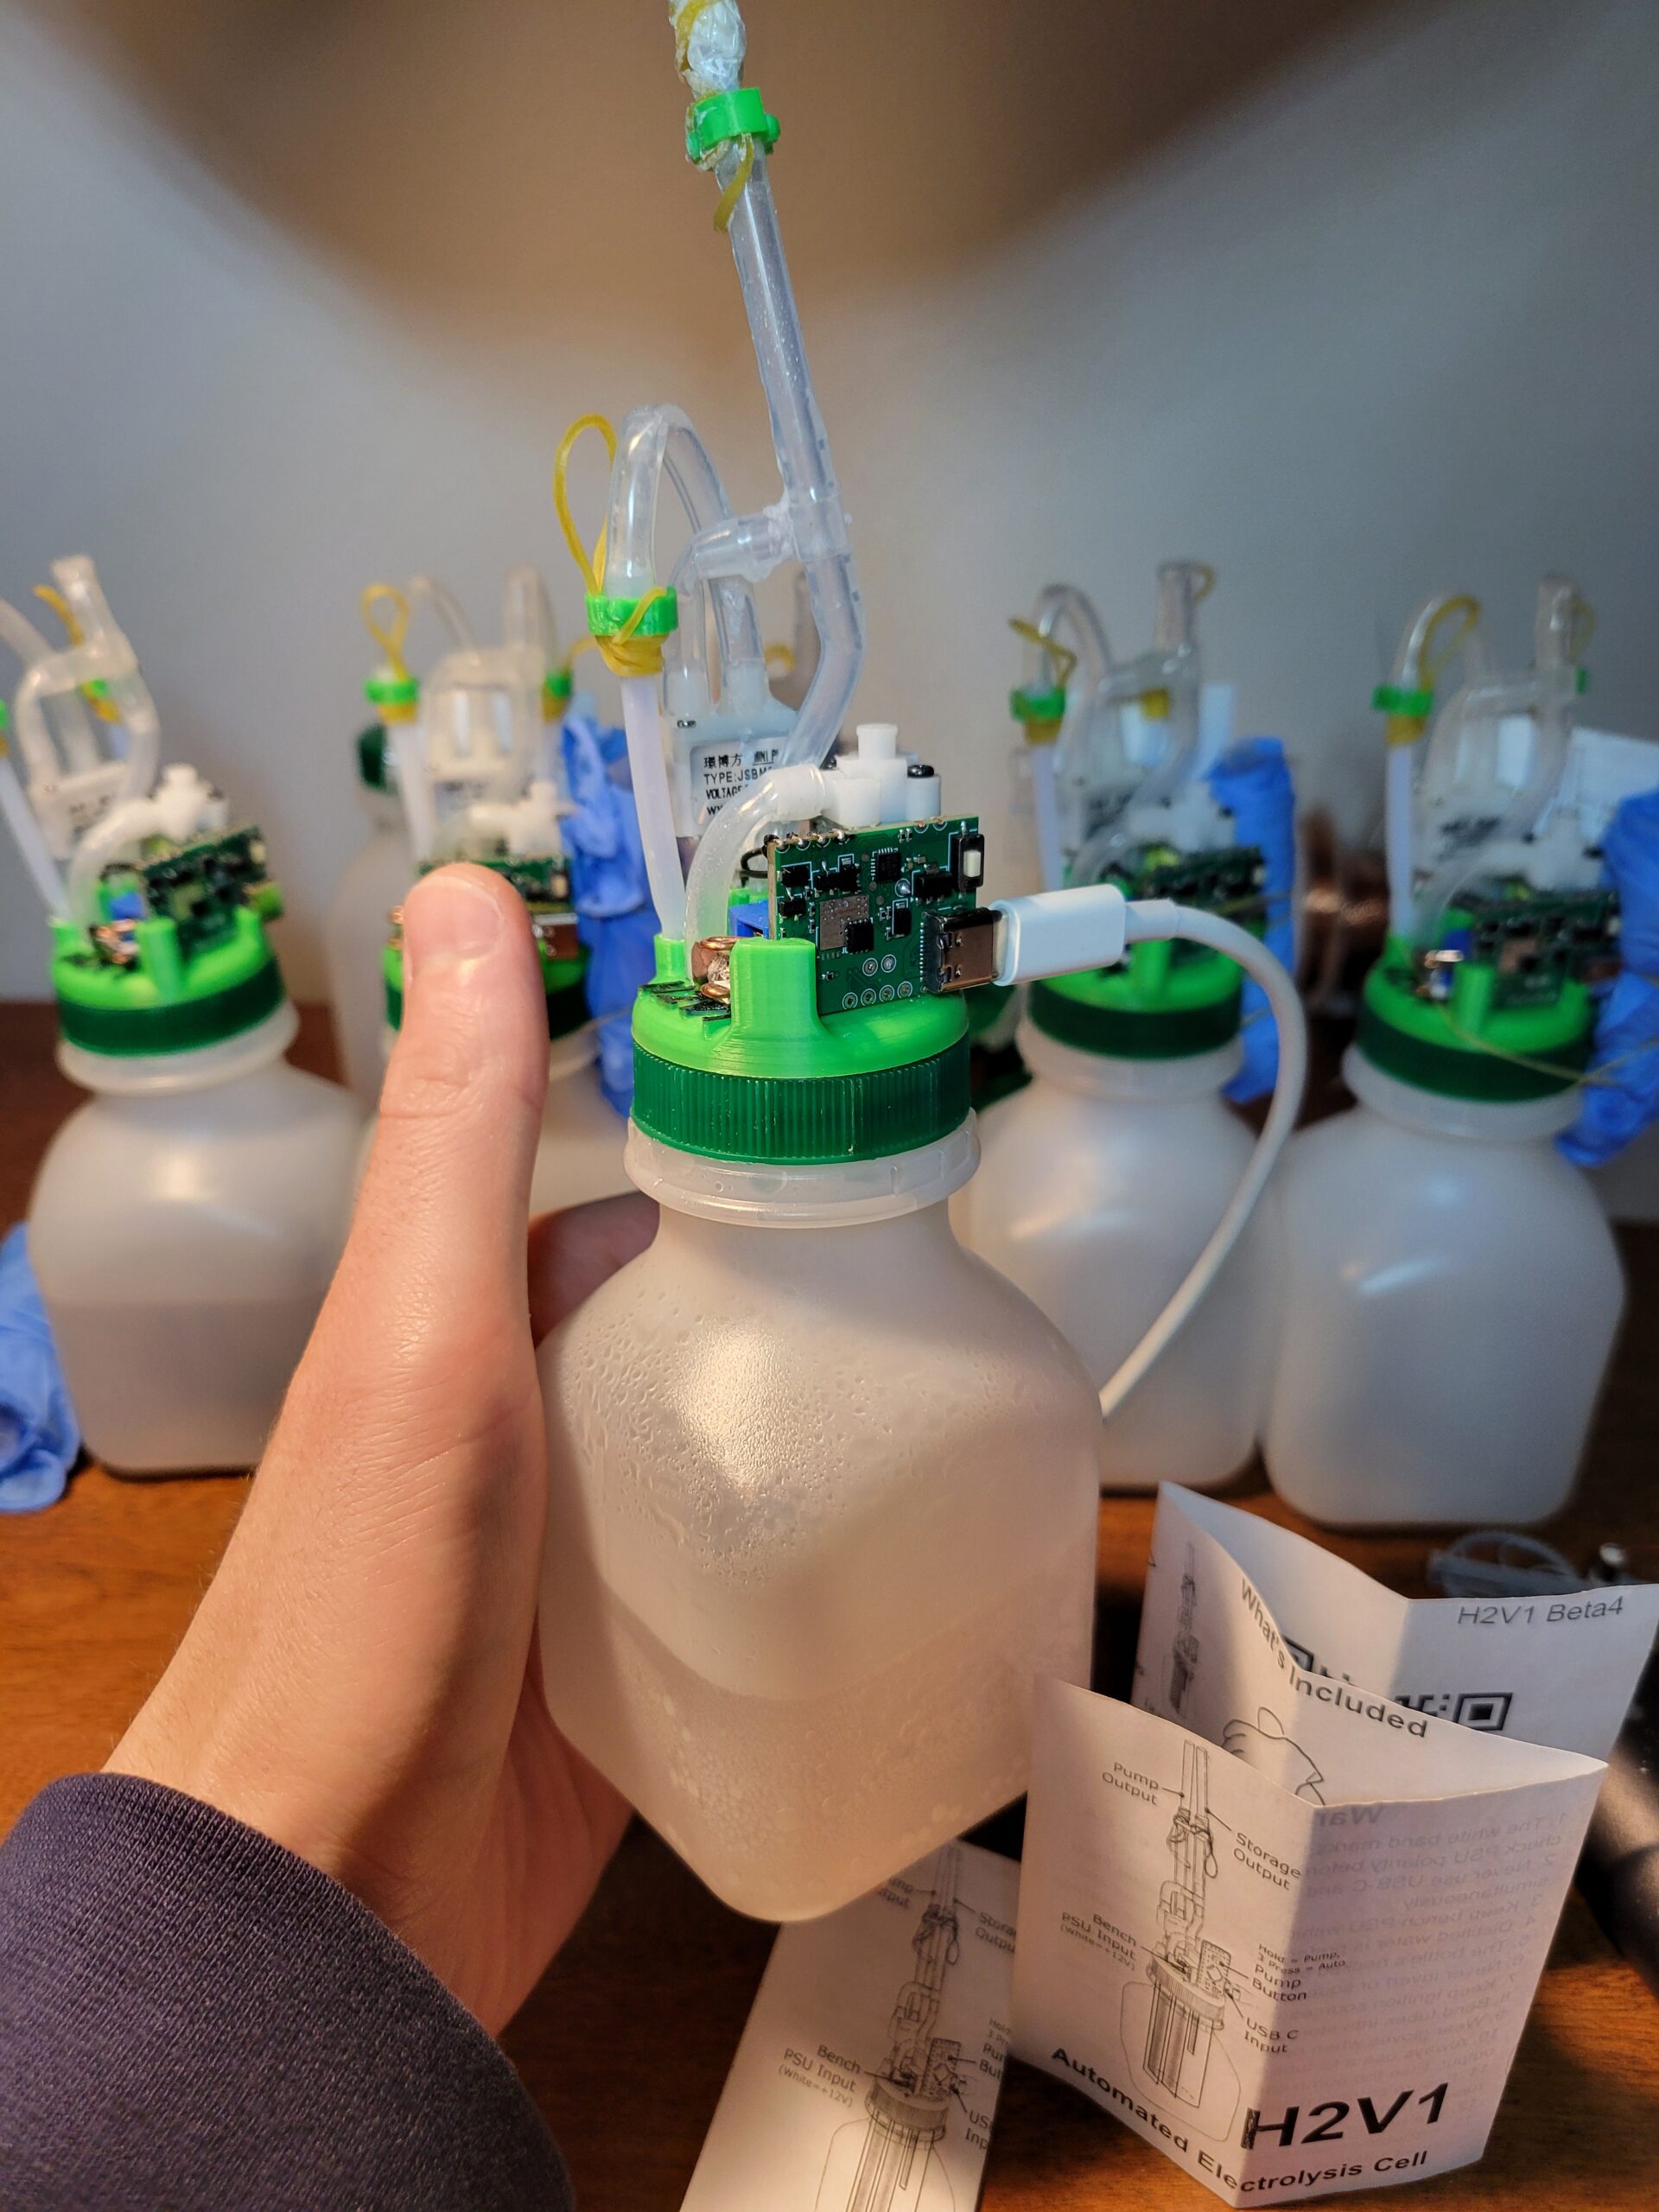
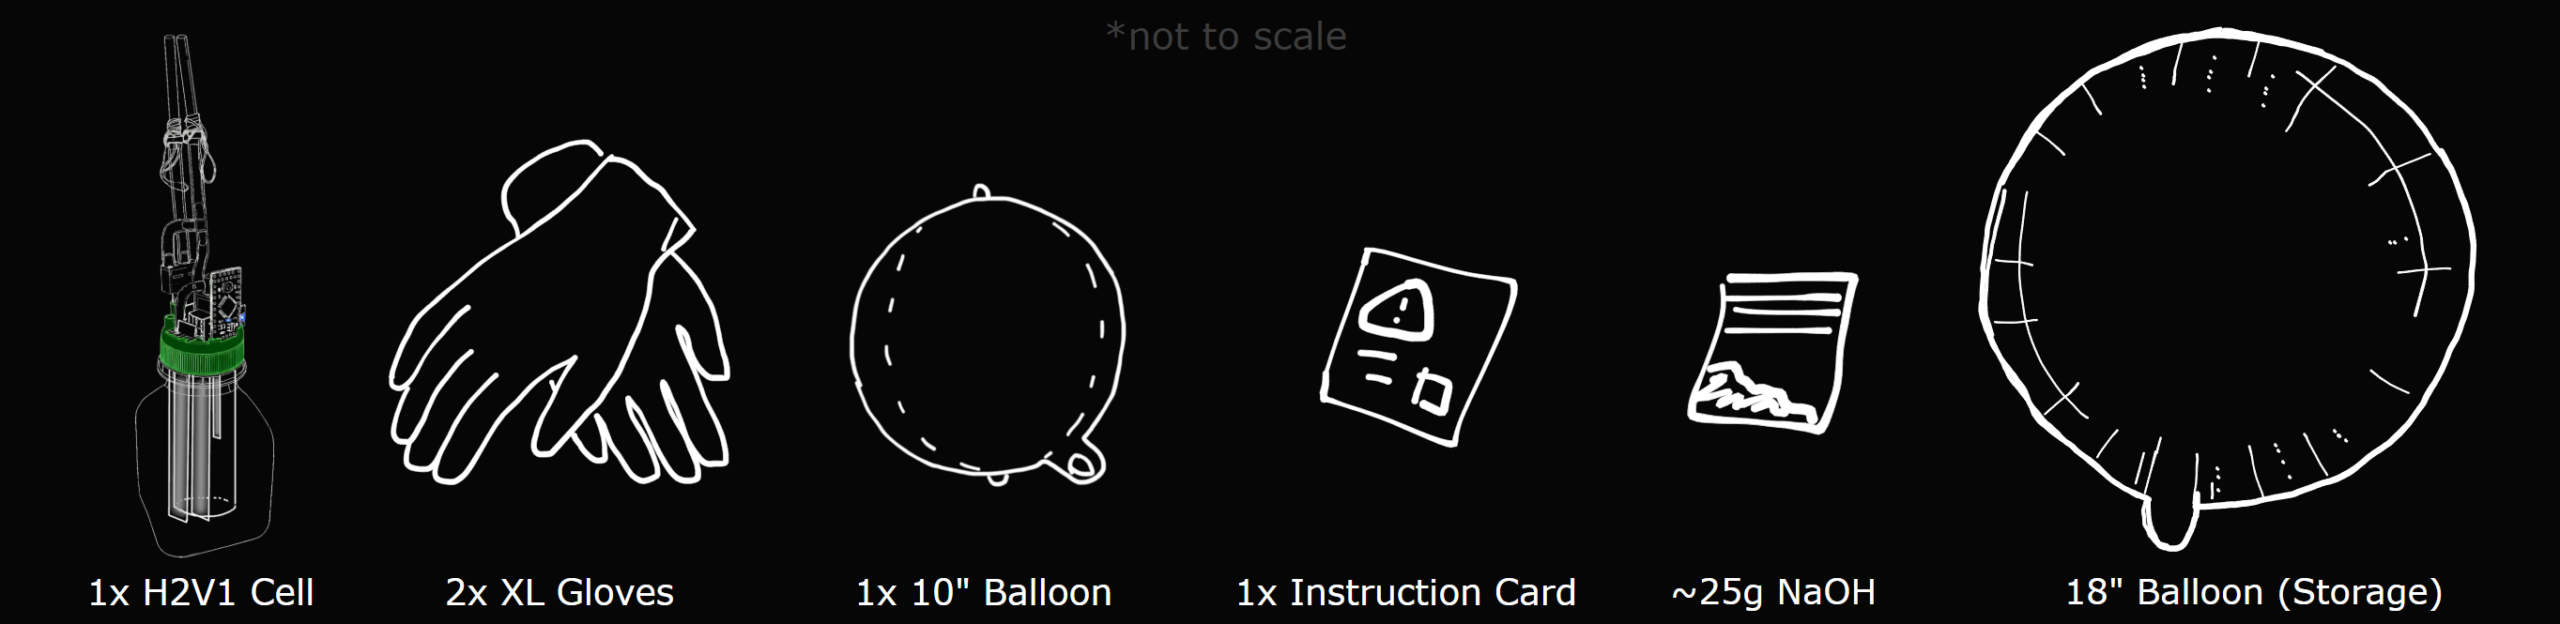
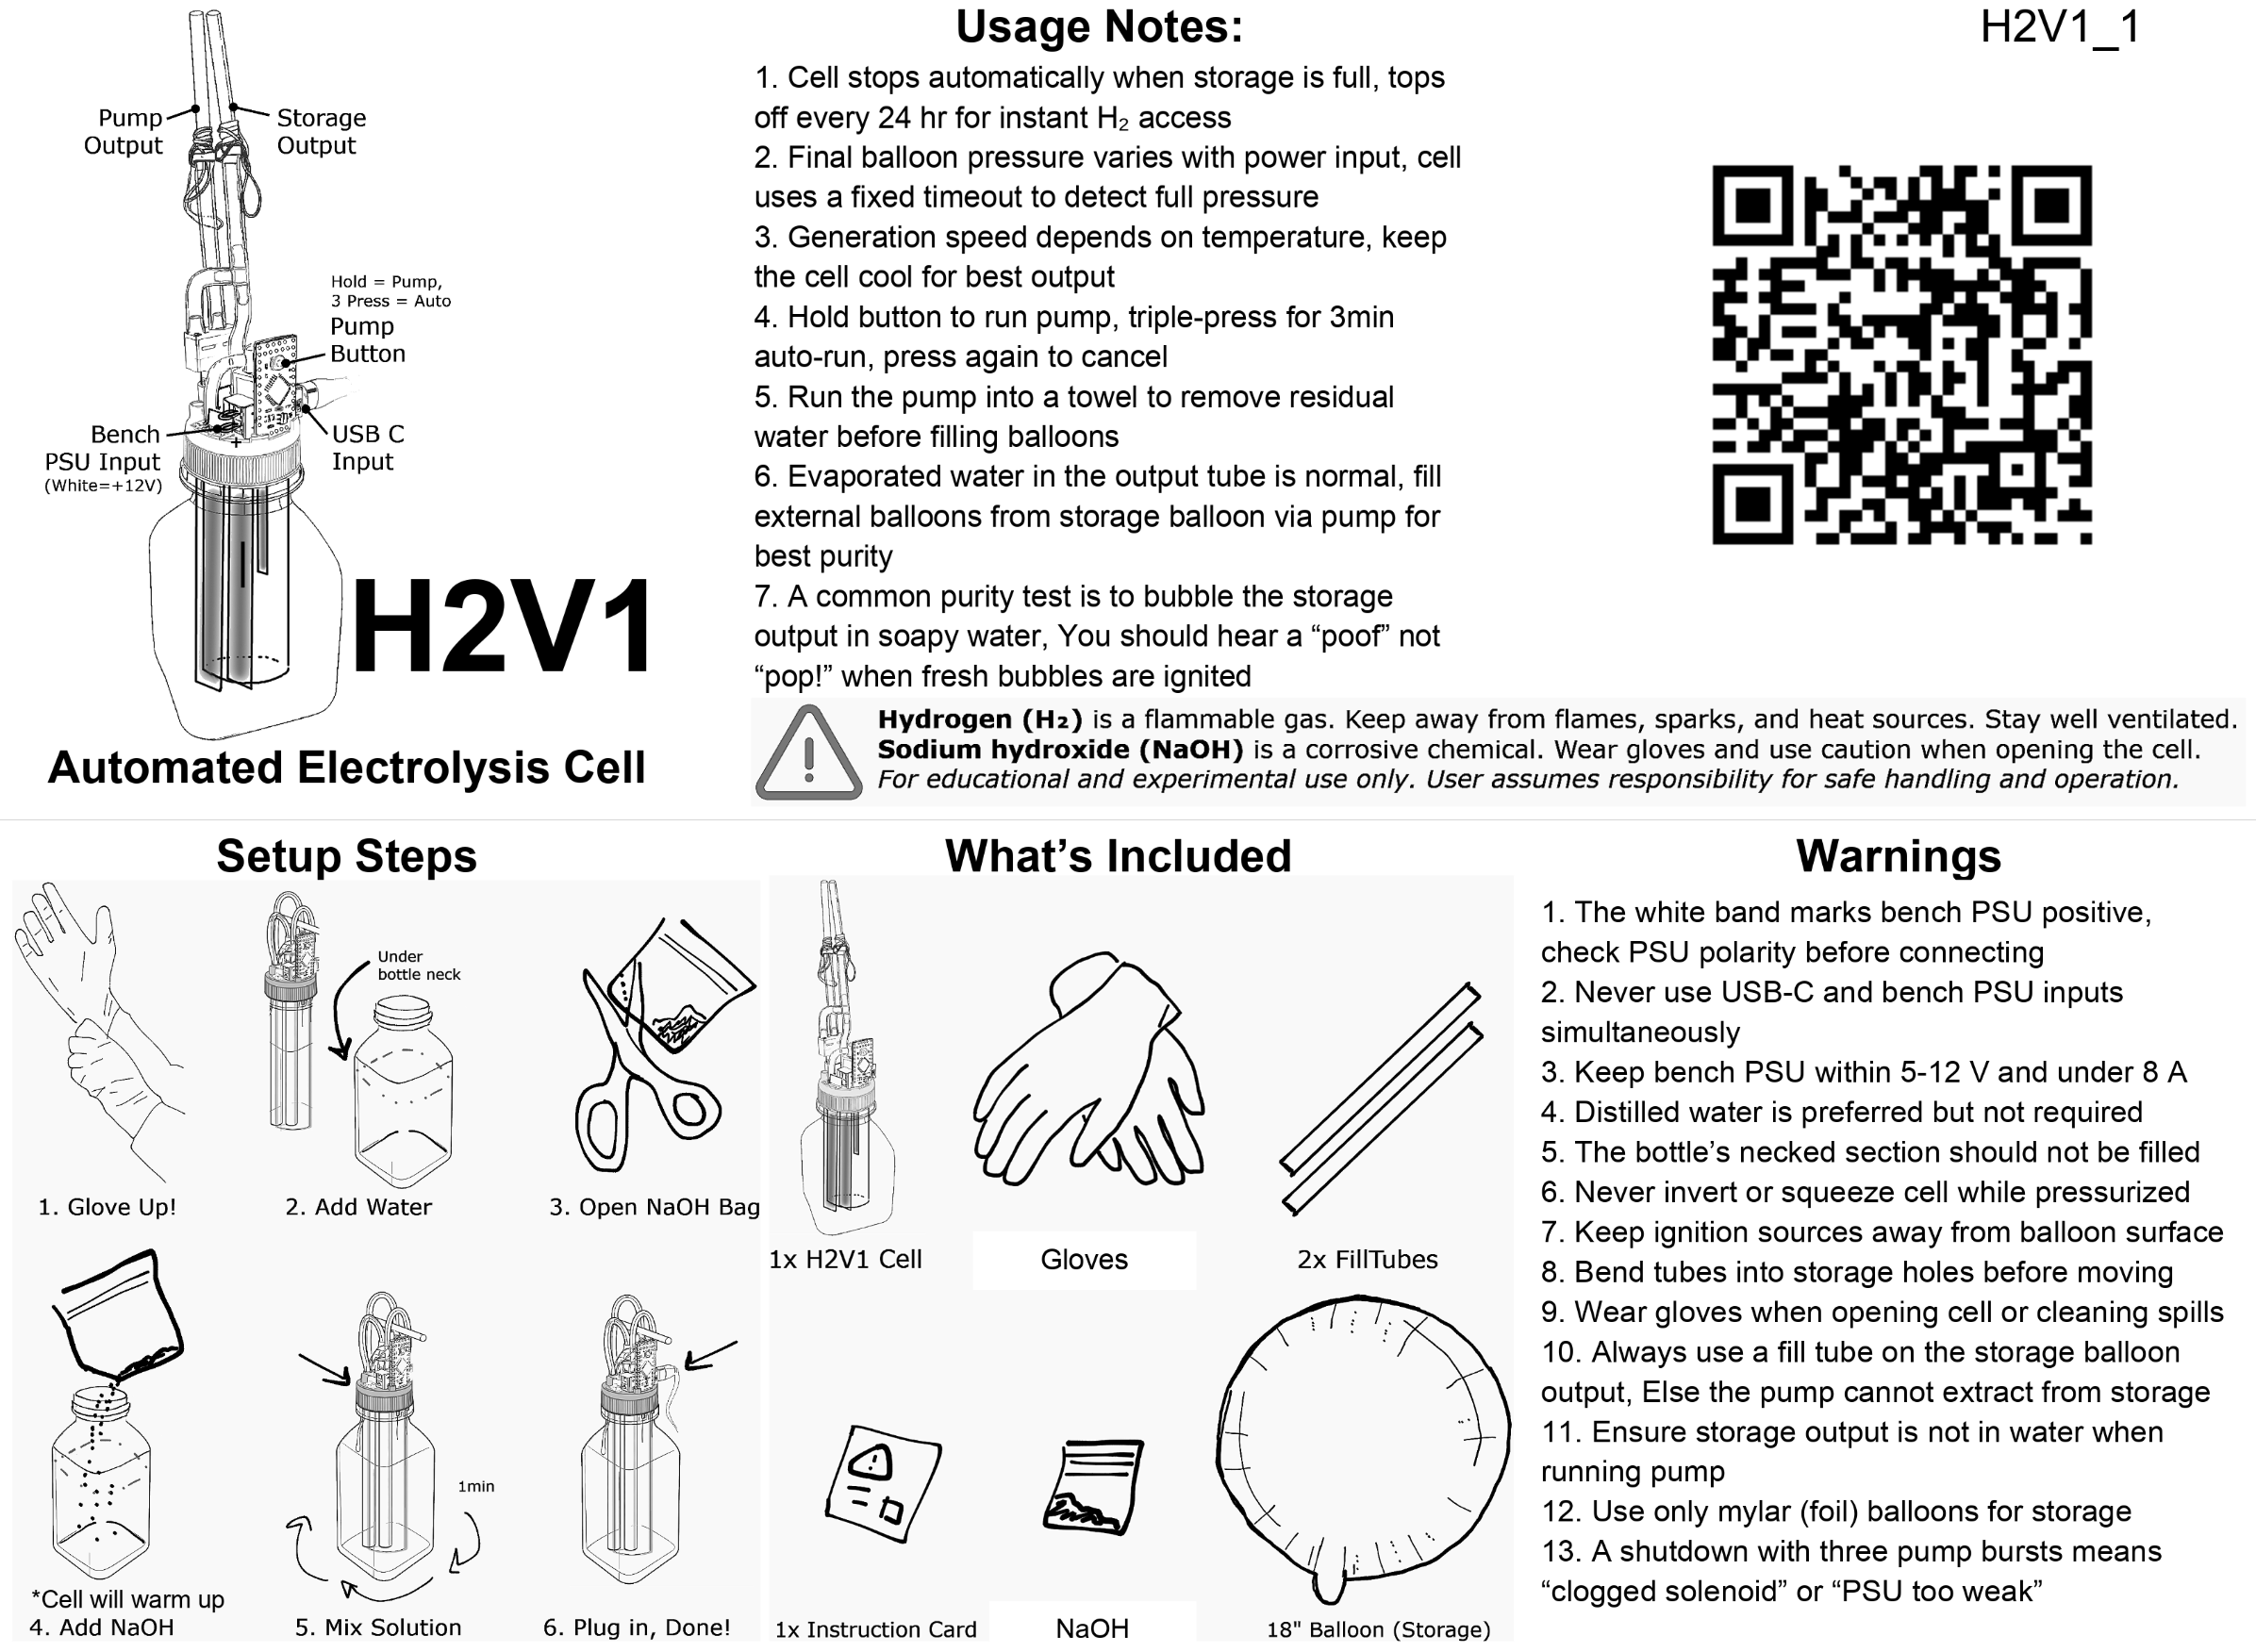
This graphic shows the basic parts included in every kit. The NaOH will be in a bag inside the cell for extra protection. I’ll need to do testing to find what amount of NaOH leads to the highest conductivity (accounting for water loss over time). I include a small 10″ balloon and 18″ storage balloon so you can get started right away!
Simple Setup Process
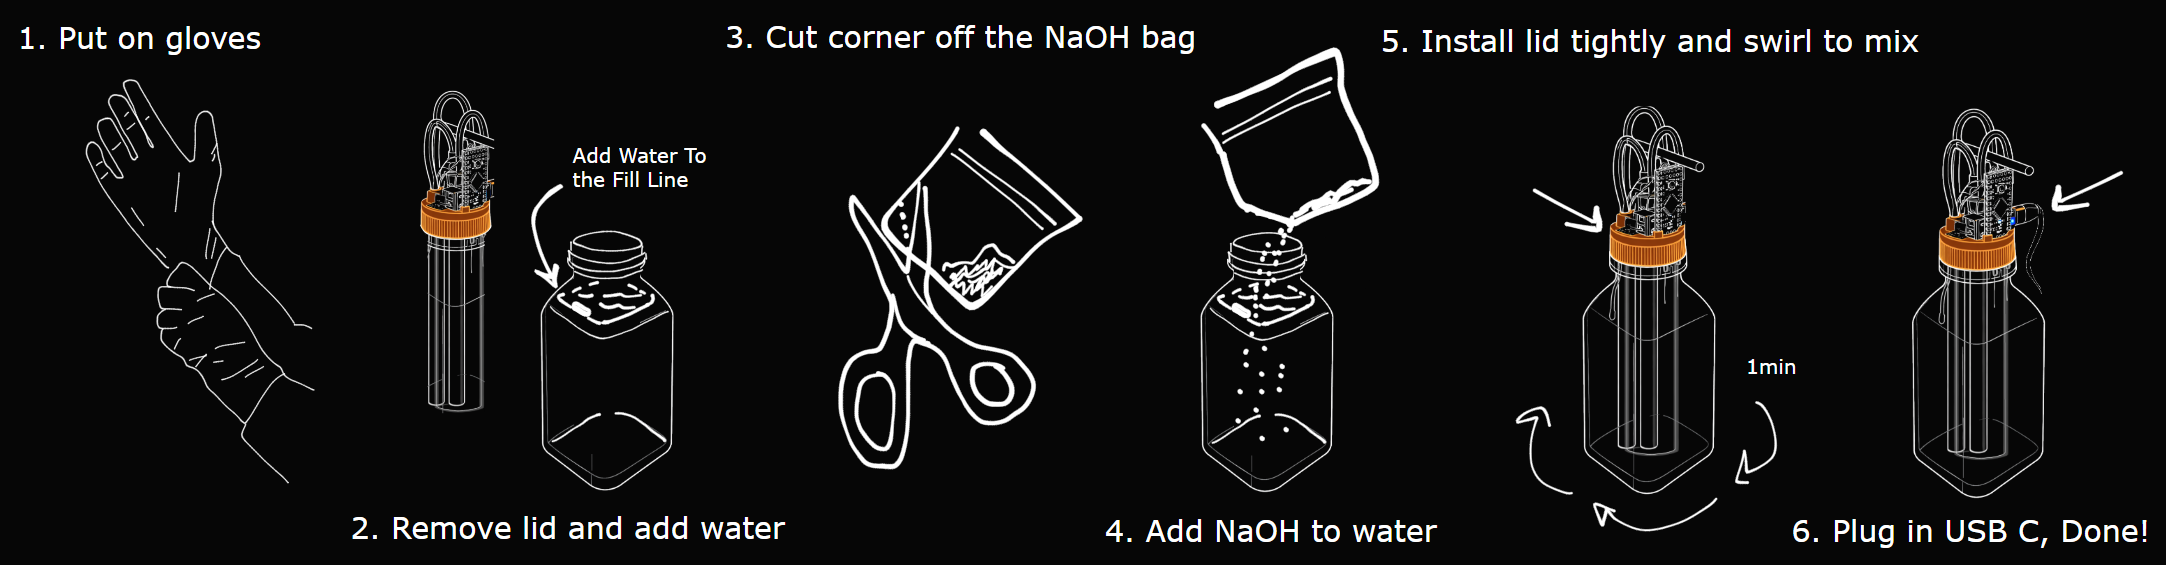
I’m not going to ship water in the cell so that’s the step you’ll need to do. Make sure to glove up first! You can use tap water without issue but it might reduce the lifetime of your electrodes or reduce hydrogen purity. Buying distilled (not drinking) water is recommended. Either way, add water up to the fill line and then cut a corner off the NaOH bag to safely add it to the water (it’s ok if the water is slightly above the fill line after this step, I’ll account for this). Screw the lid on tightly (make sure to check that all tubes are connected) and then swirl the cell in a circle to mix everything.
! NaOH dissolving in water is an Exothermic process so the cell will heat up a little bit while mixing. This is normal, it will get warm then cool back down !
Once the solution is thoroughly mixed, you can connect a USB C cable and hydrogen should start coming out of the storage output! You might want to let the cell fully cool down before running it too hard.
Inside the Cell
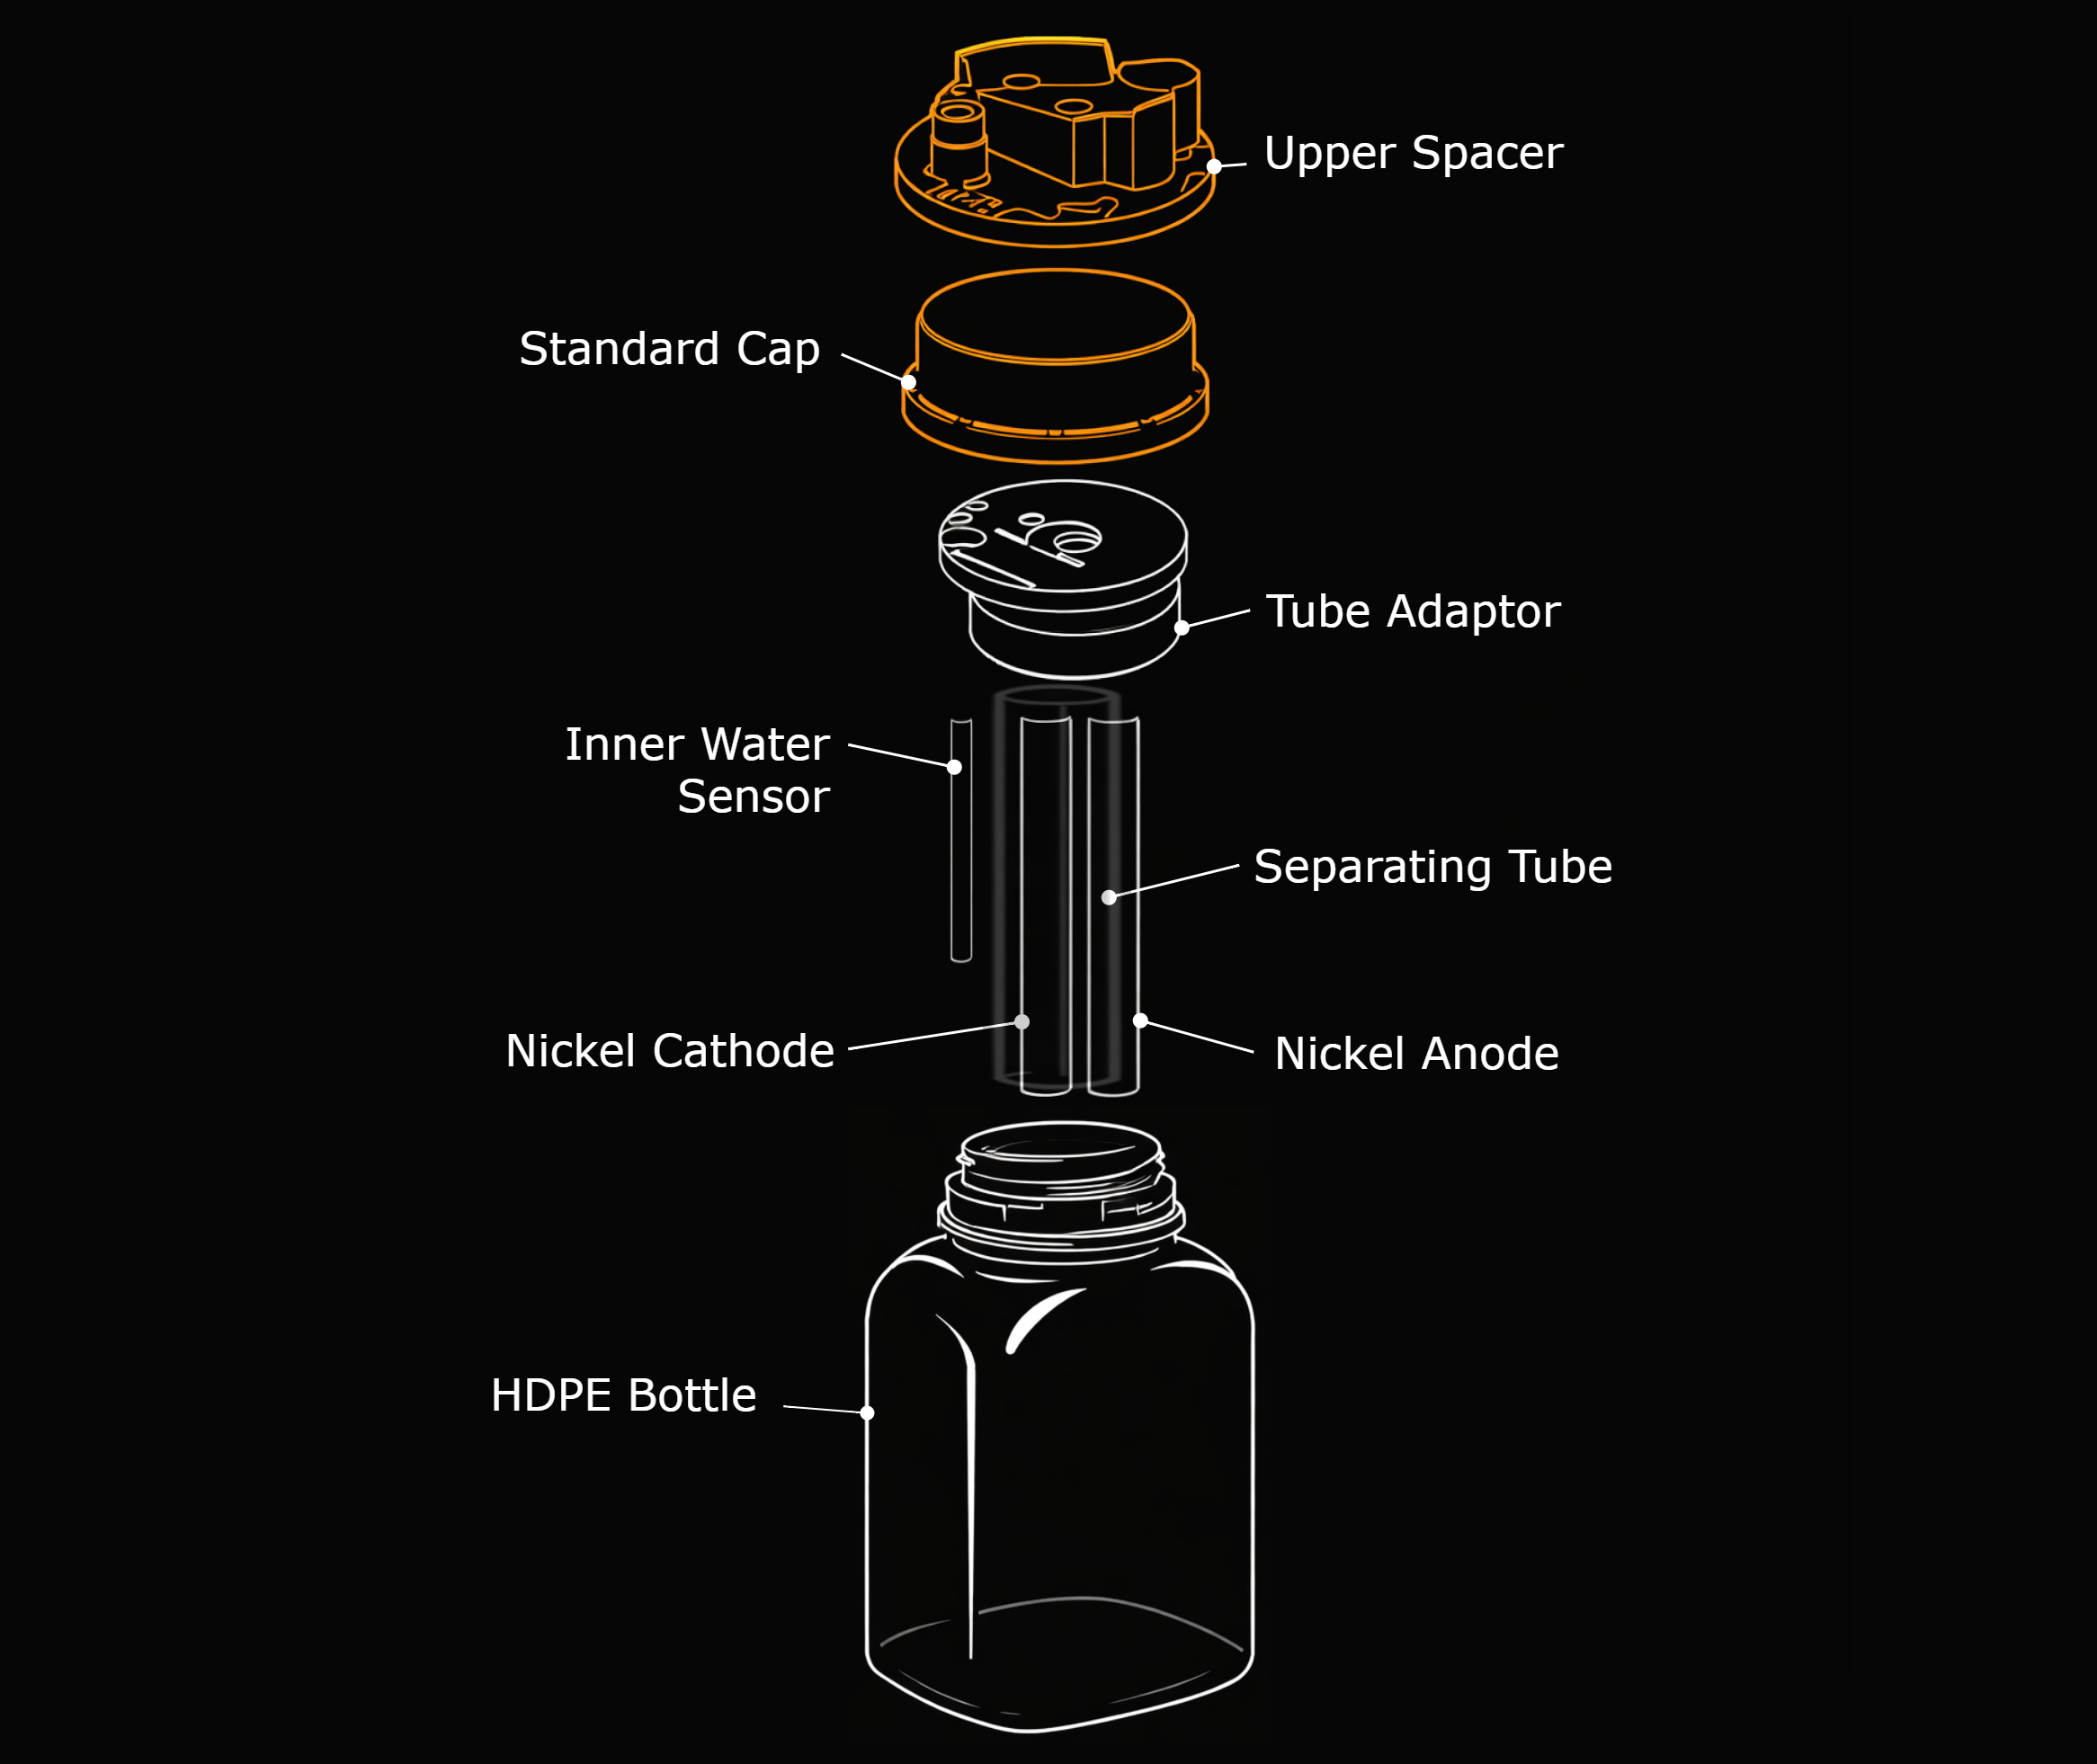
Here is the mechanical breakdown (mostly) to scale. The anode and cathode are separated by an inner tube to ensure hydrogen and oxygen remain separate. The cathode is in the inner tube connected to the pump. The anode is on the outside where the oxygen is generated to pressurize the cell. Generated hydrogen is stored in the tube where it is forced out by the generated oxygen. Eventually, the water level in the tube rises enough that it touches the “Inner Water Sensor”. The cell then opens the solenoid to vent the oxygen and prevent water from escaping on the hydrogen side.
Full Schematic
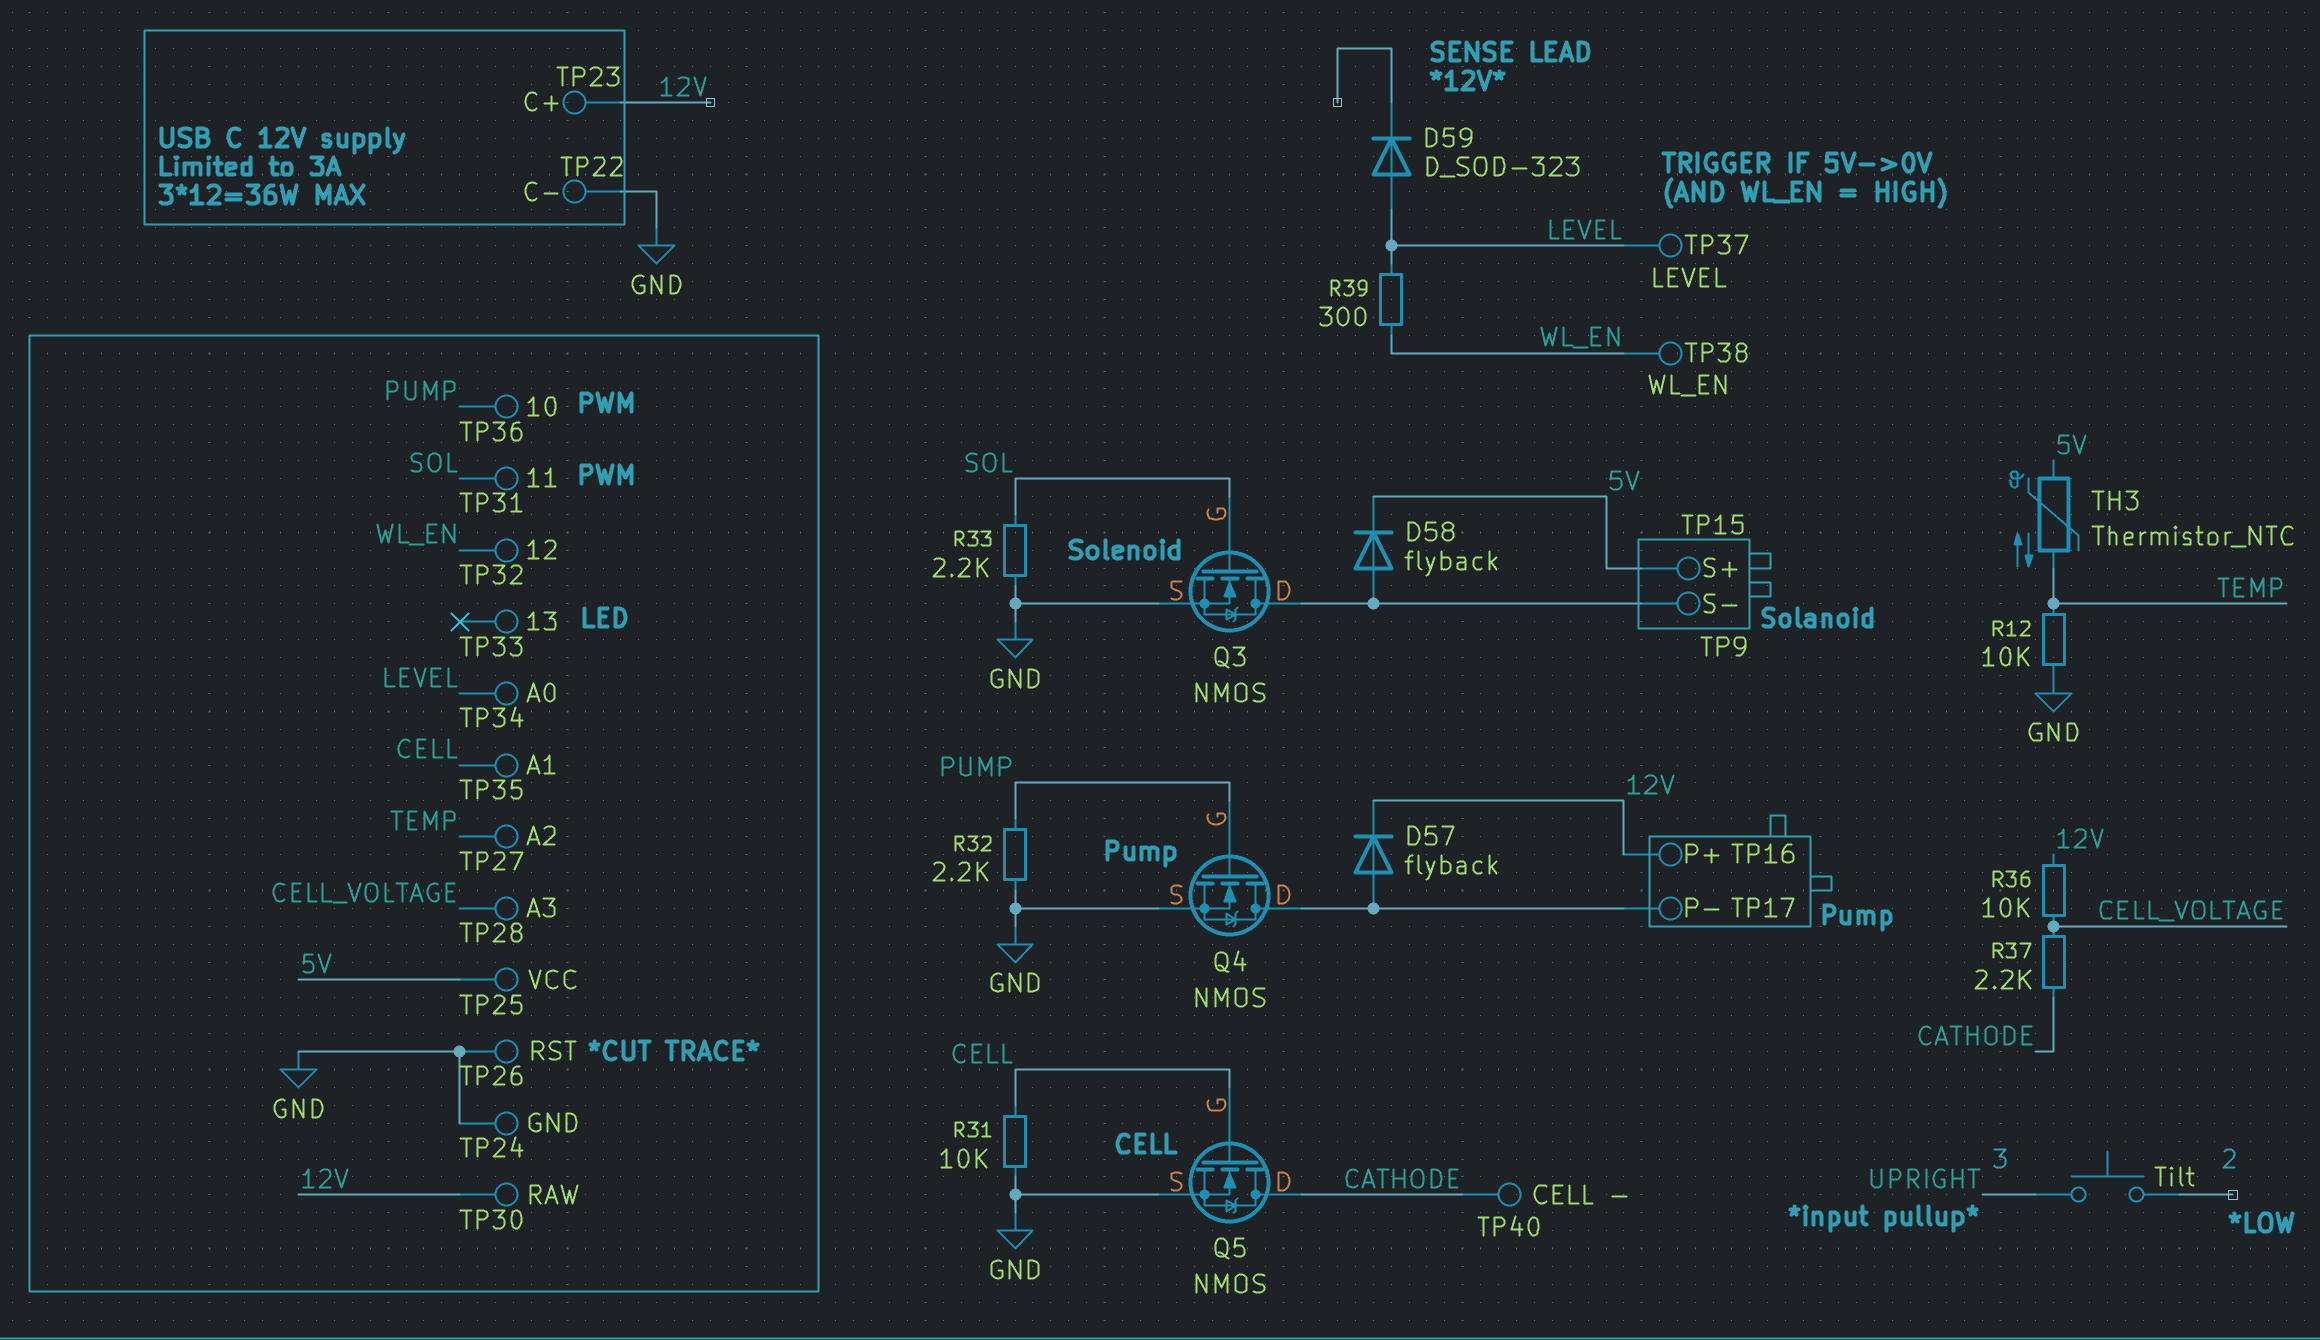
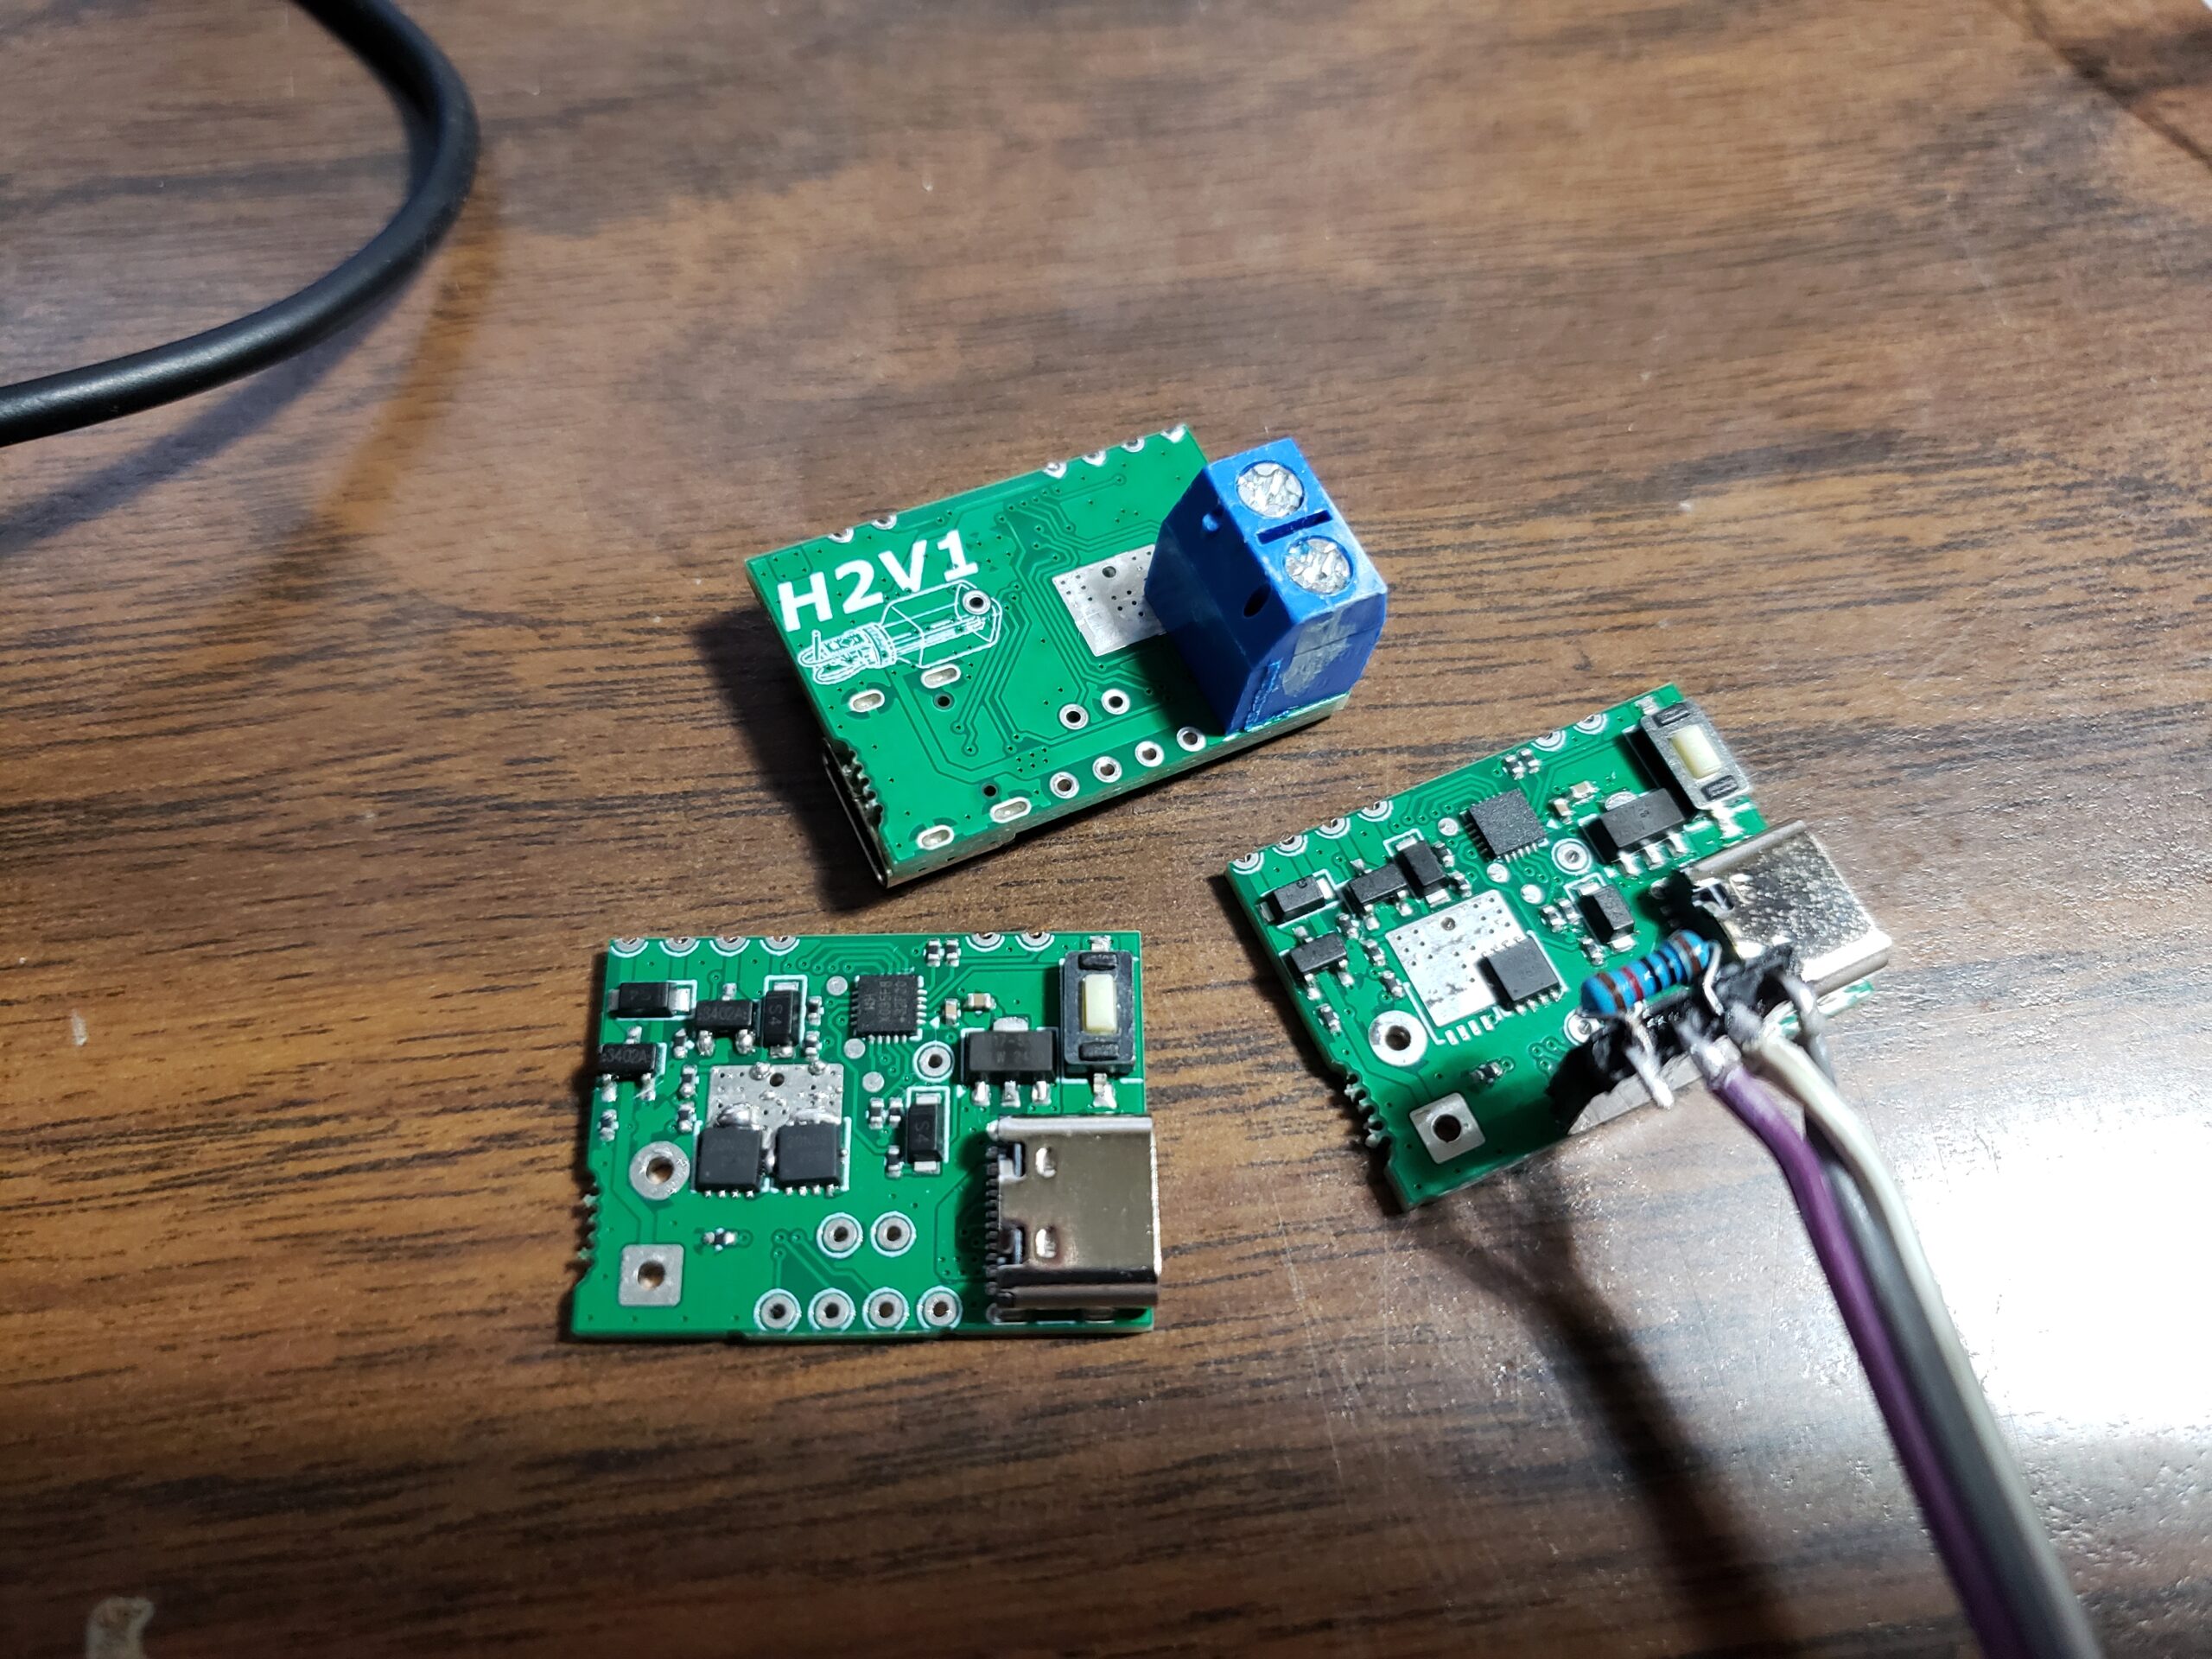
Here is the schematic for the custom PCB that is soldered to the back of the microcontroller. Everything is fairly standard aside from the water level sensing. Because the water connects everything inside the cell together (with high resistance), I found it most reliable to connect a low value resistor to the sense probe to act as a load. Once the water rises high enough for the sense probe to be connected to the cathode, the sense voltage drops from 5V (from the Arduino) down to 0V. This provides a reliable and repeatable trigger threshold regardless of the voltage you supply to the cell. Just know that the solenoid won’t open unless you supply more then 4V to the circuit.
TLDR: You can use any 45W+ USB C charger or lab bench power supply (4-12V) and the cell will run smoothly.
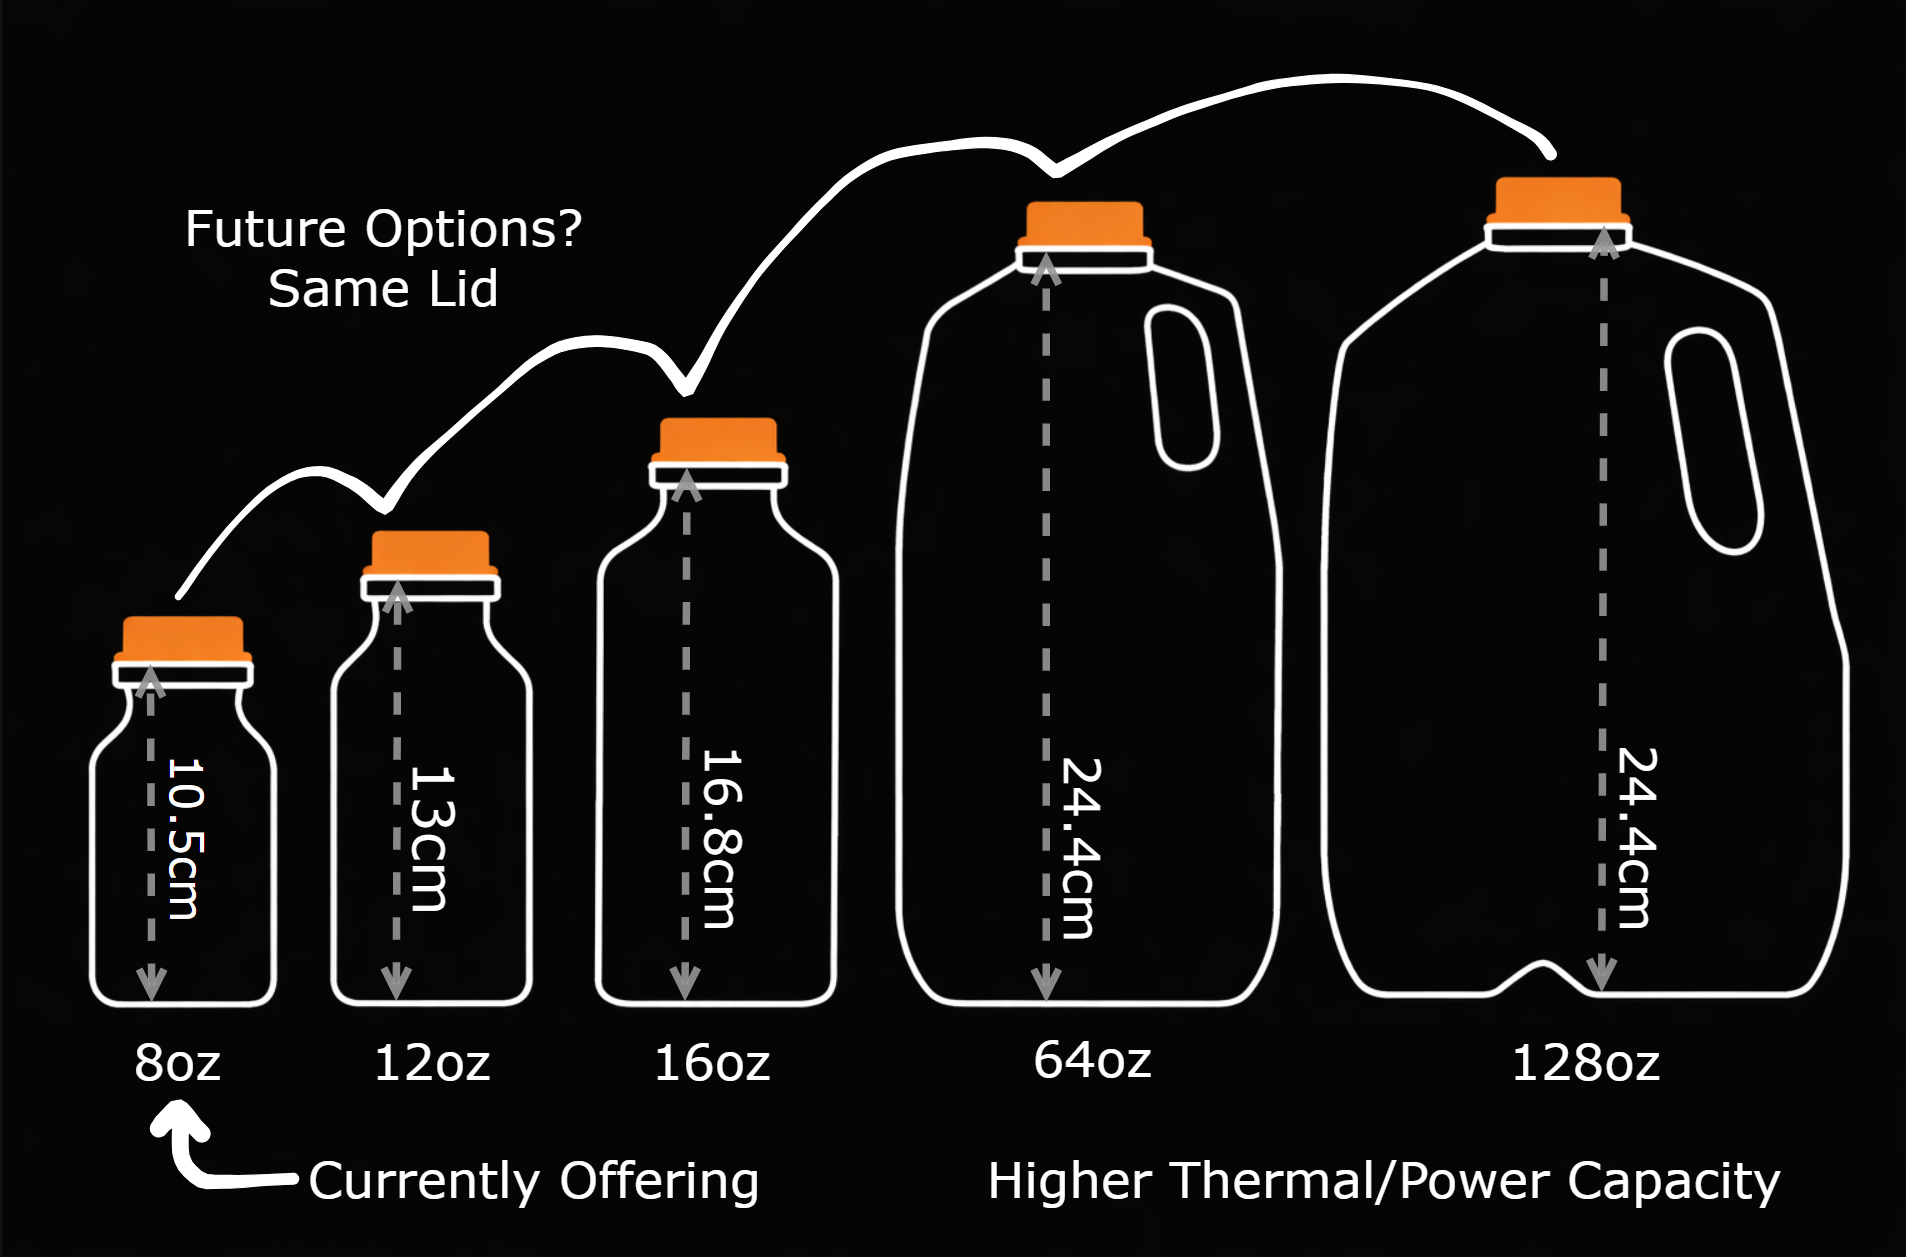
I’m only offering the 8oz cell currently to simplify production and reduce cost. Maybe if the project gets enough funding I can offer larger sizes for more output. I designed the cell to only modify the cap of the bottle for this purpose (this matters less after the storage focused redesign). I do want to try to make dry cells and/or even smaller cells later on.
This Week's Gallery:
For The Next Post...
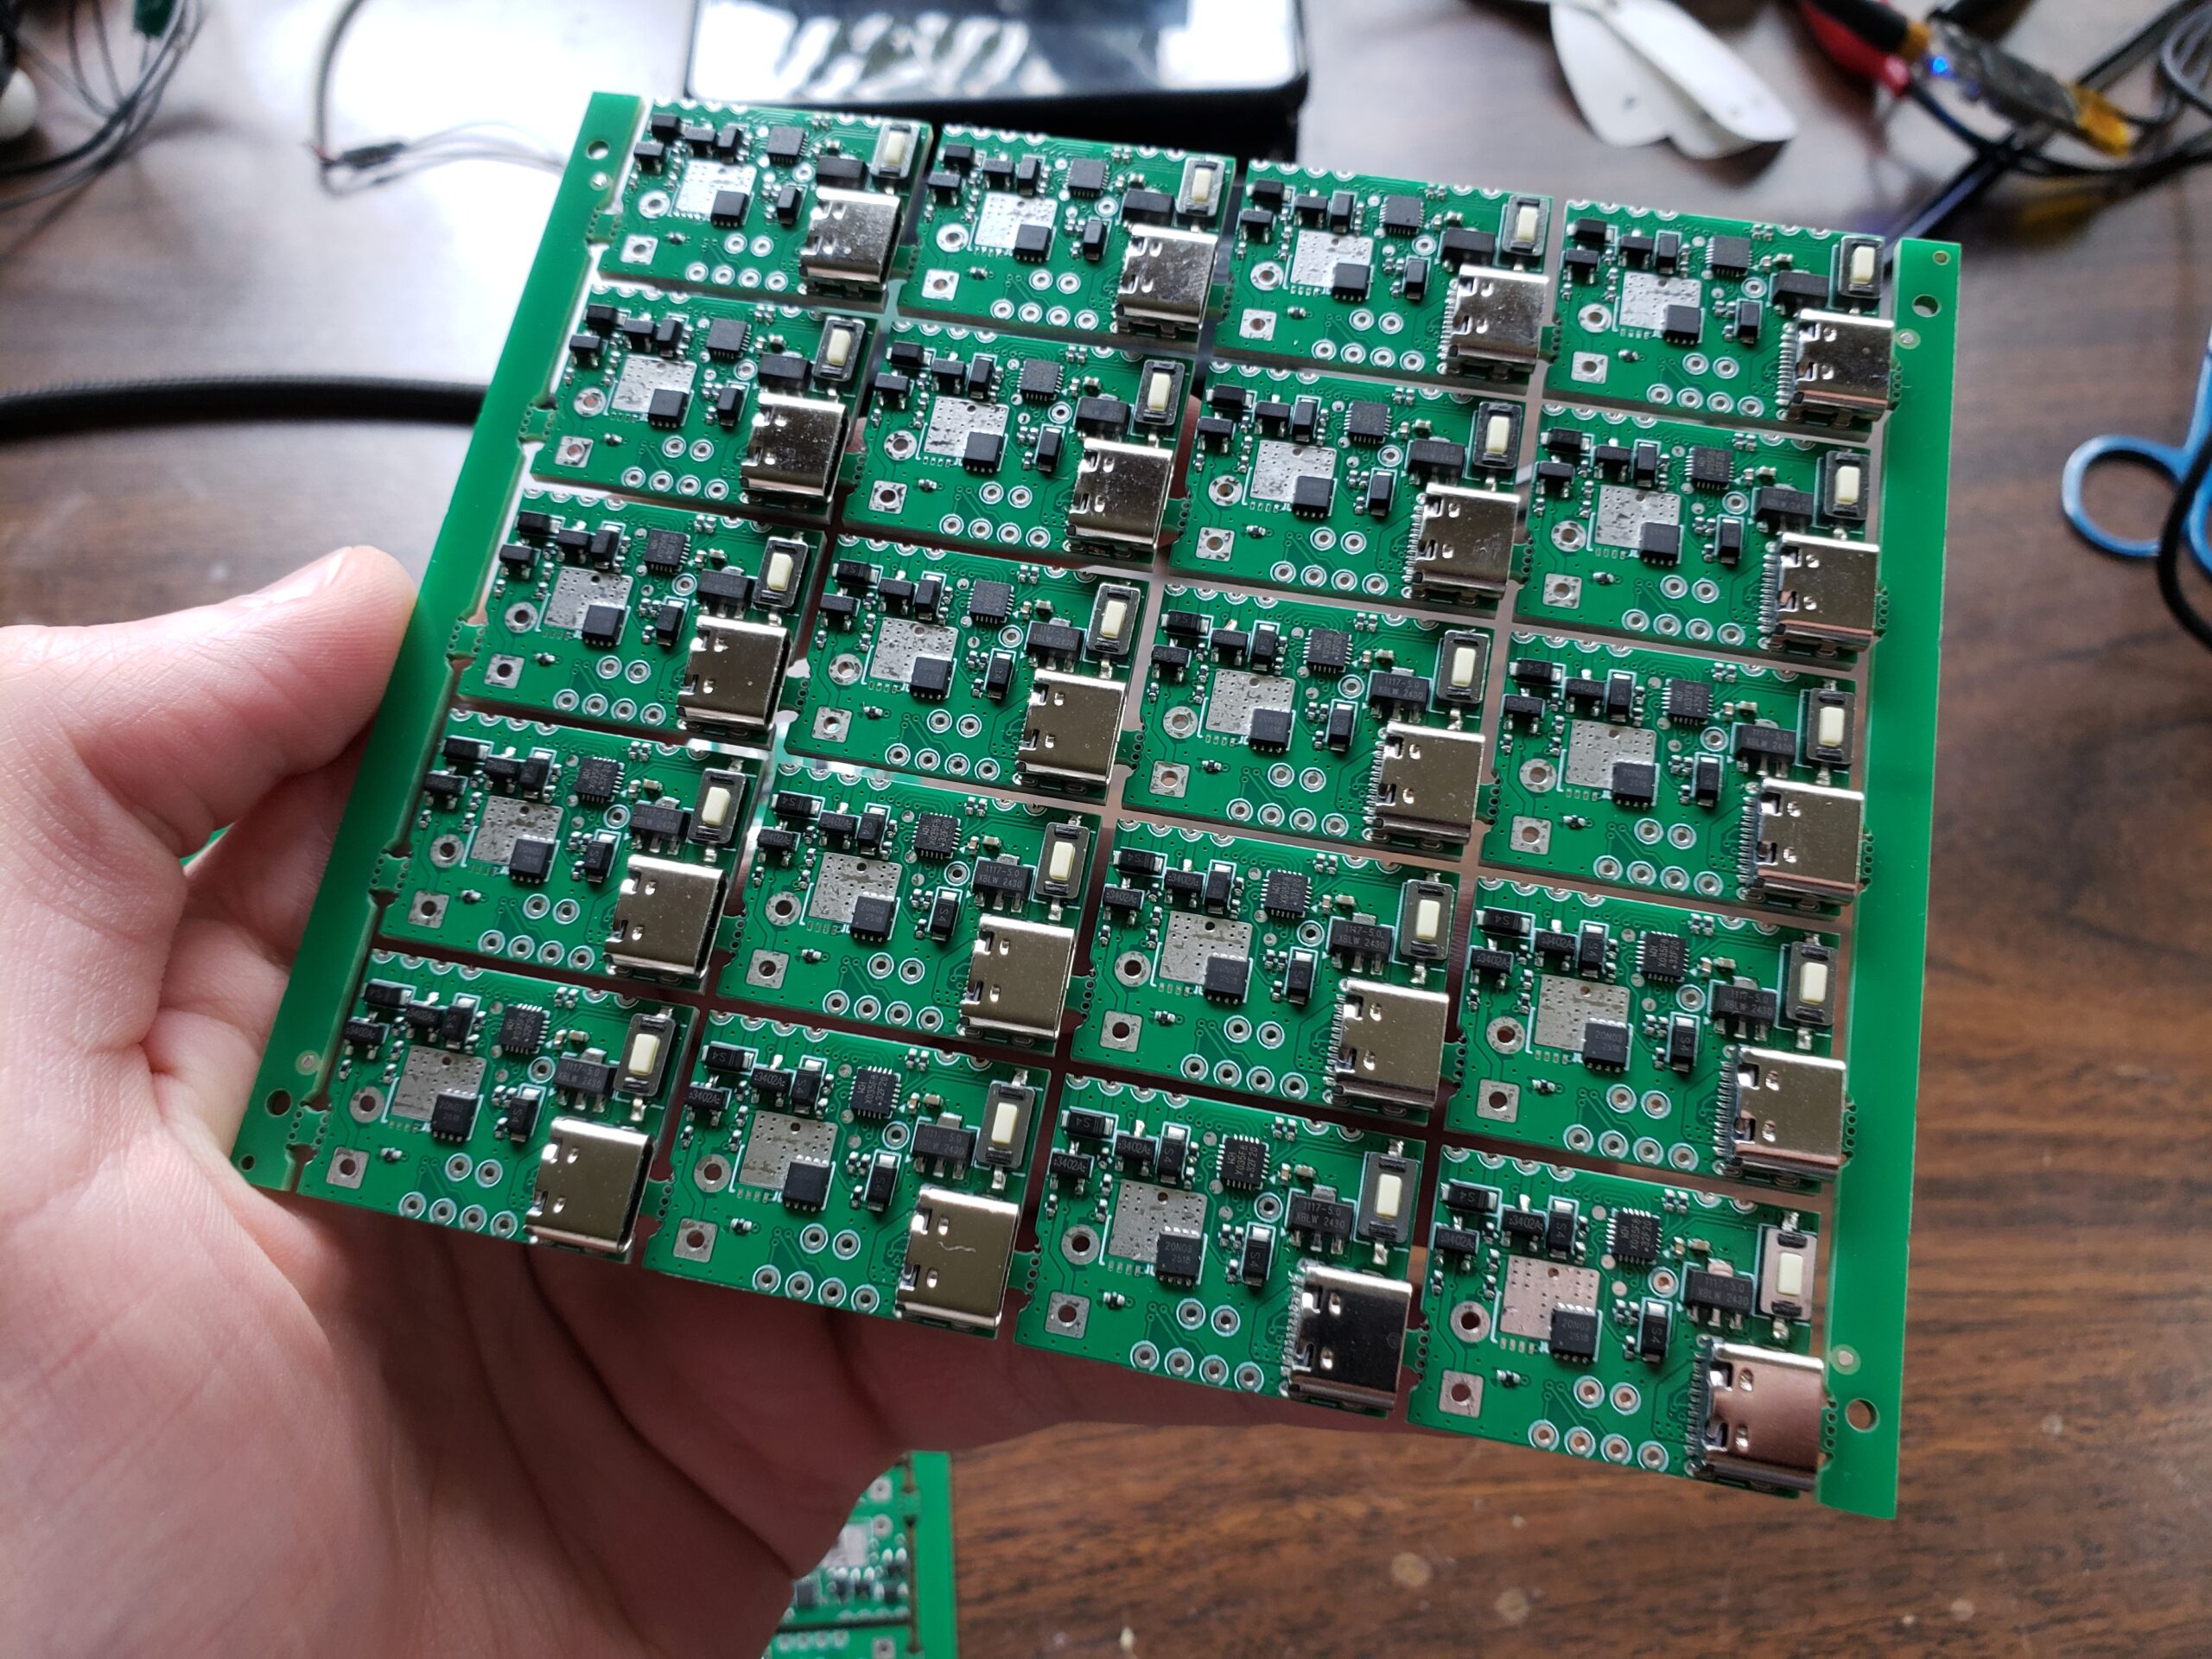
I’ll program while waiting on the new PCB (again..)
Priority is to get the PCB fixed because I really want to program the real hardware (in a fully functional state). I’ll probably get them assembled but I’ll do only 2 instead of 4 this time. I’ll also try to get the hydrogen generator rebuilt fully.