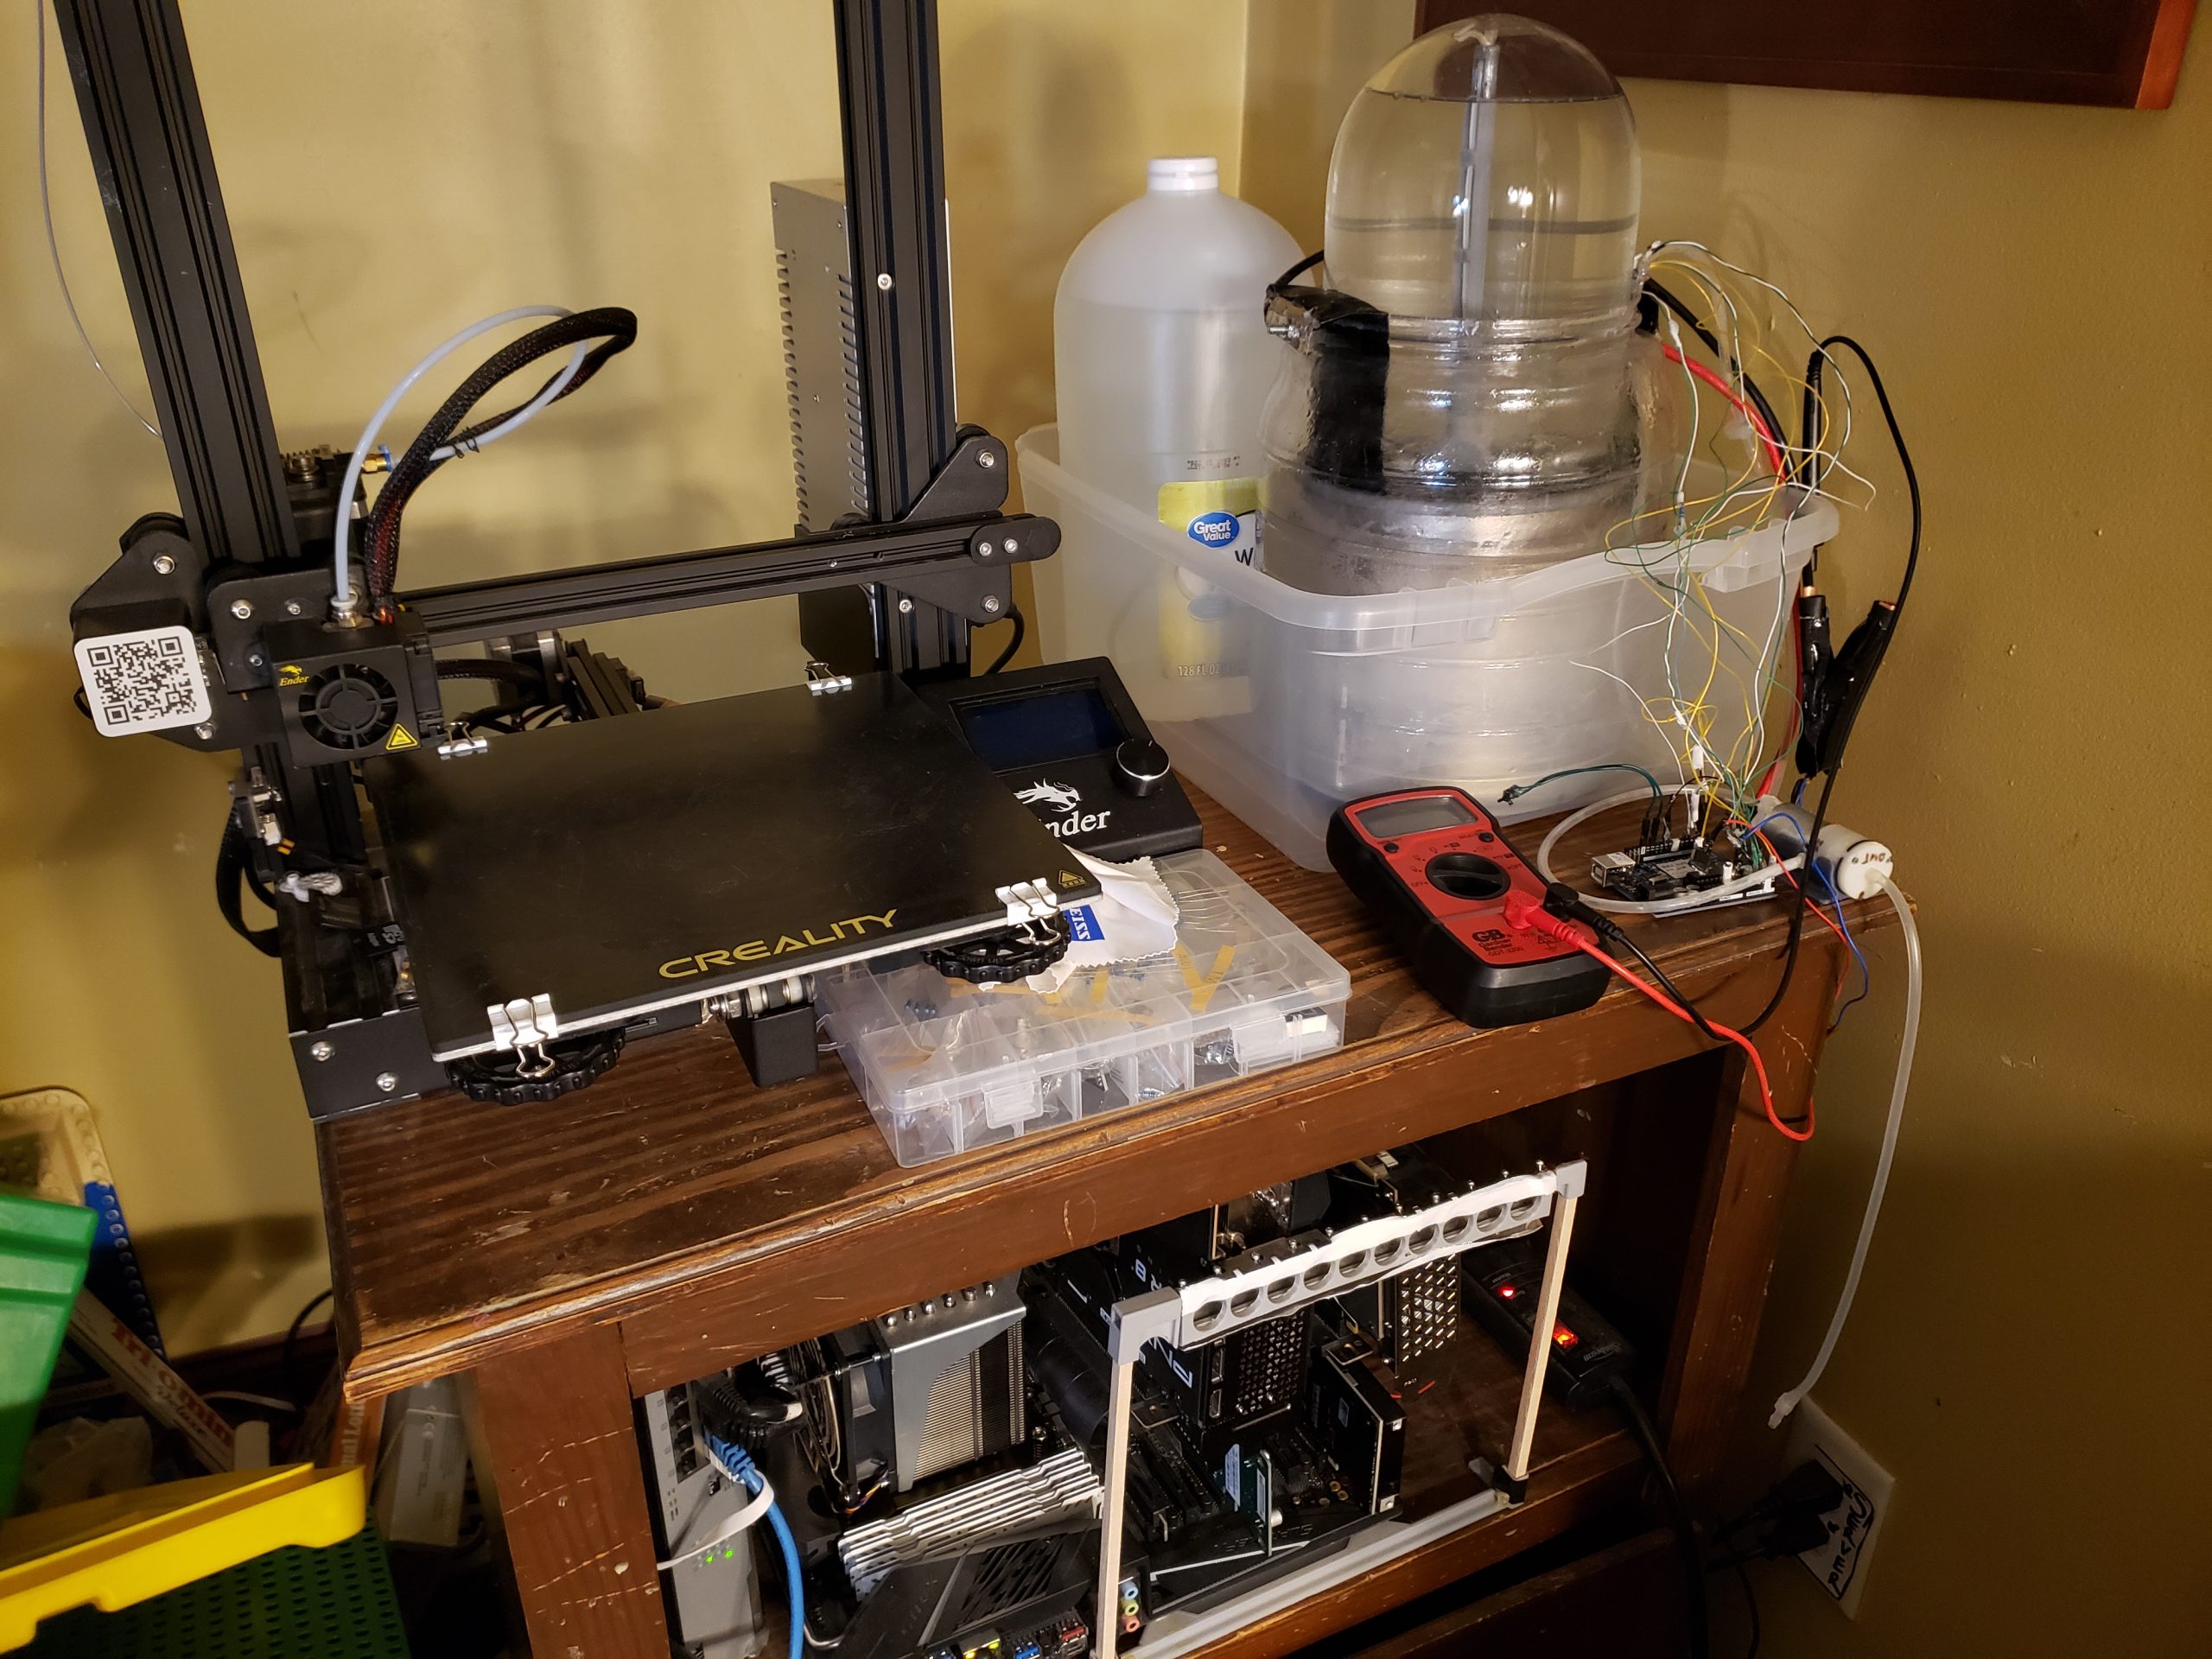
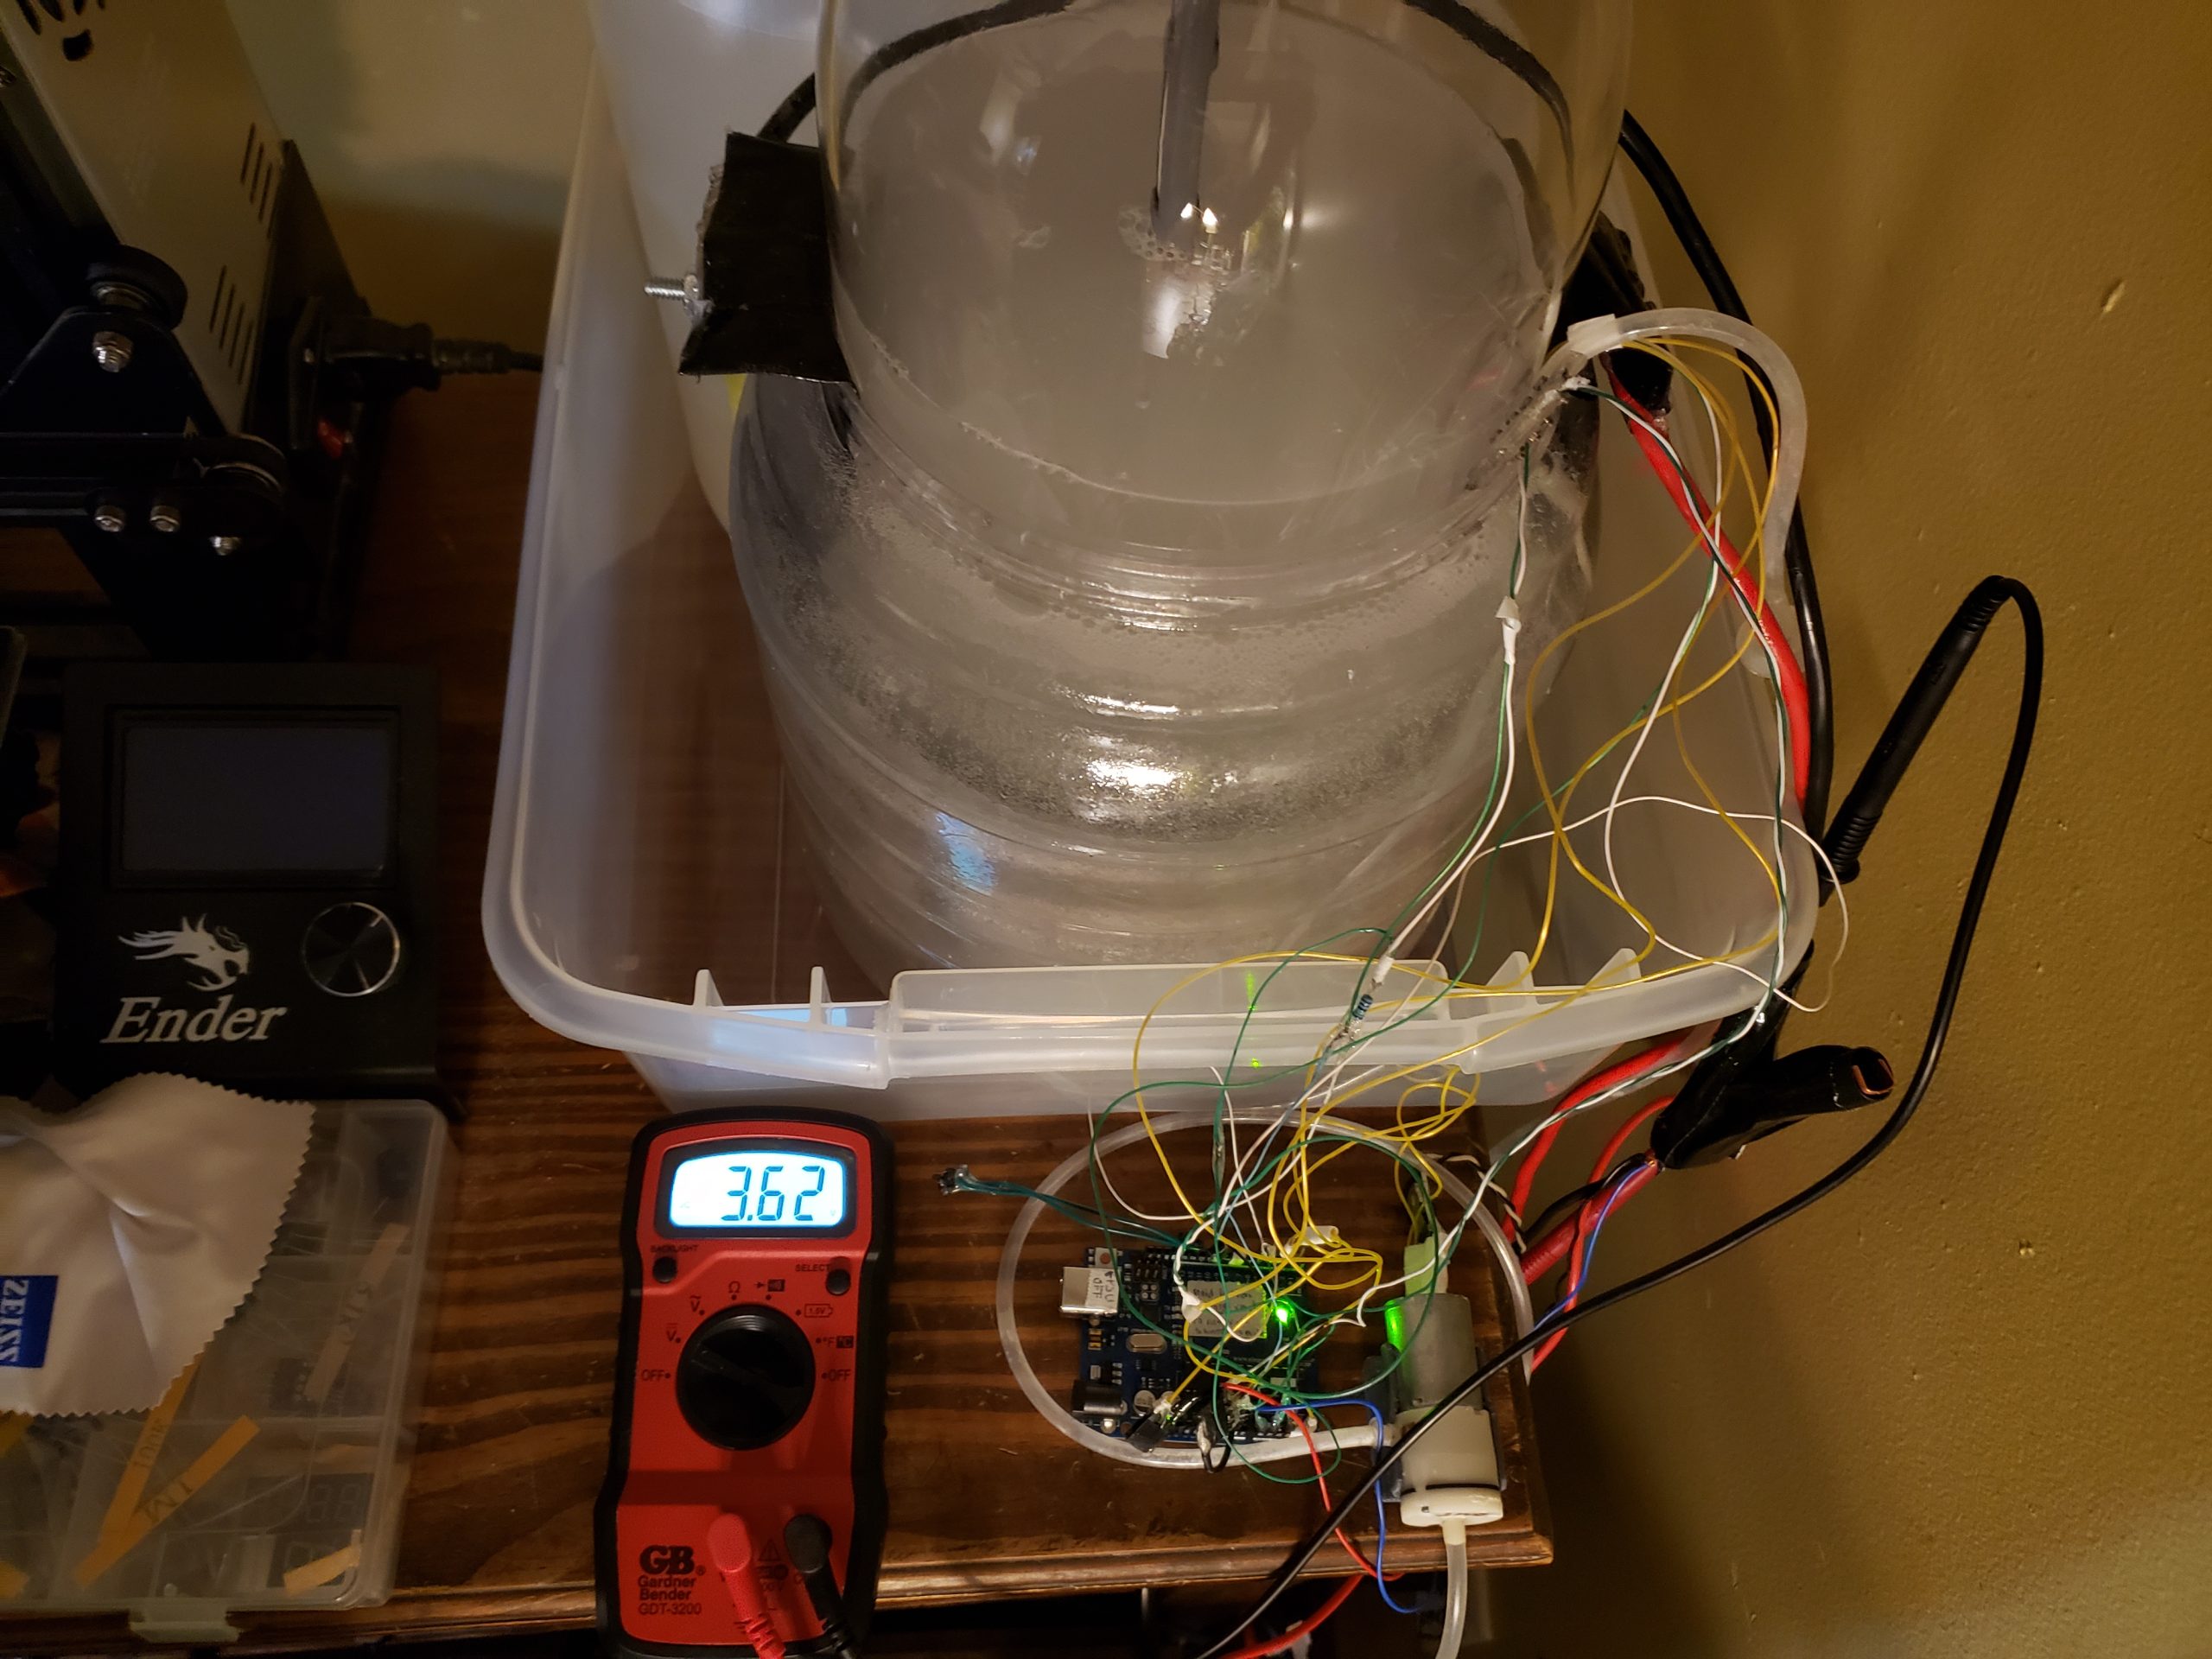
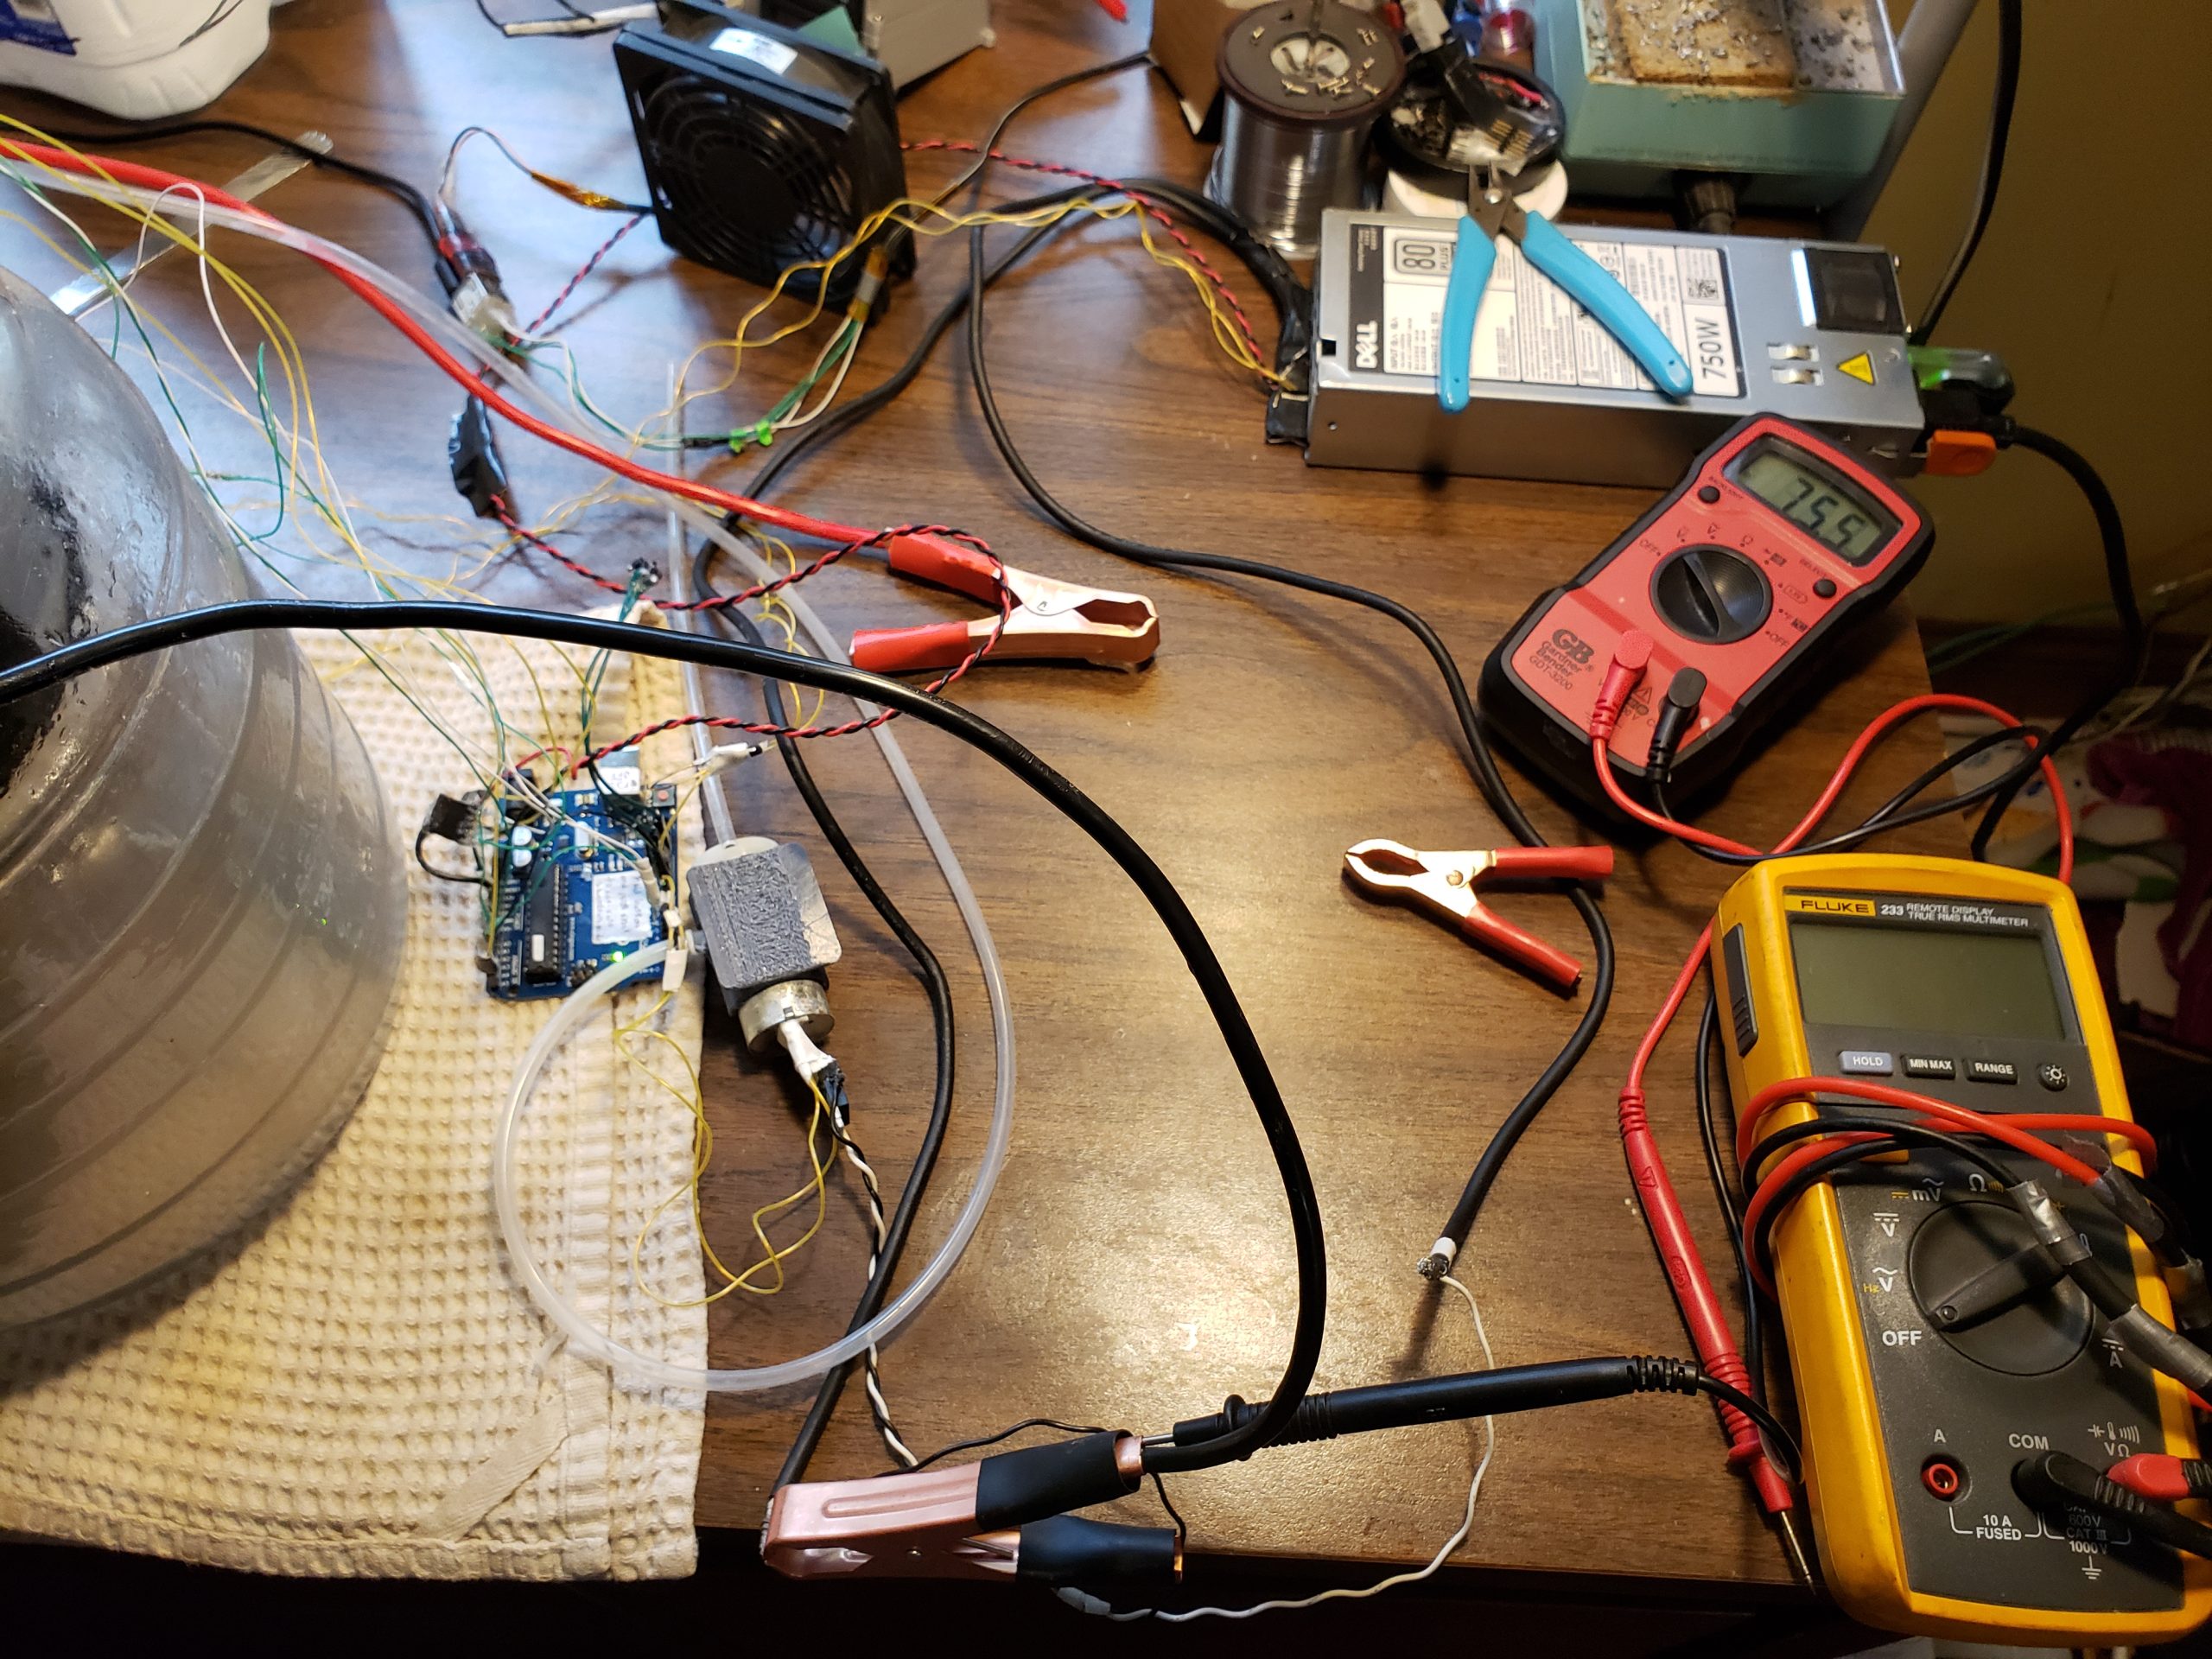
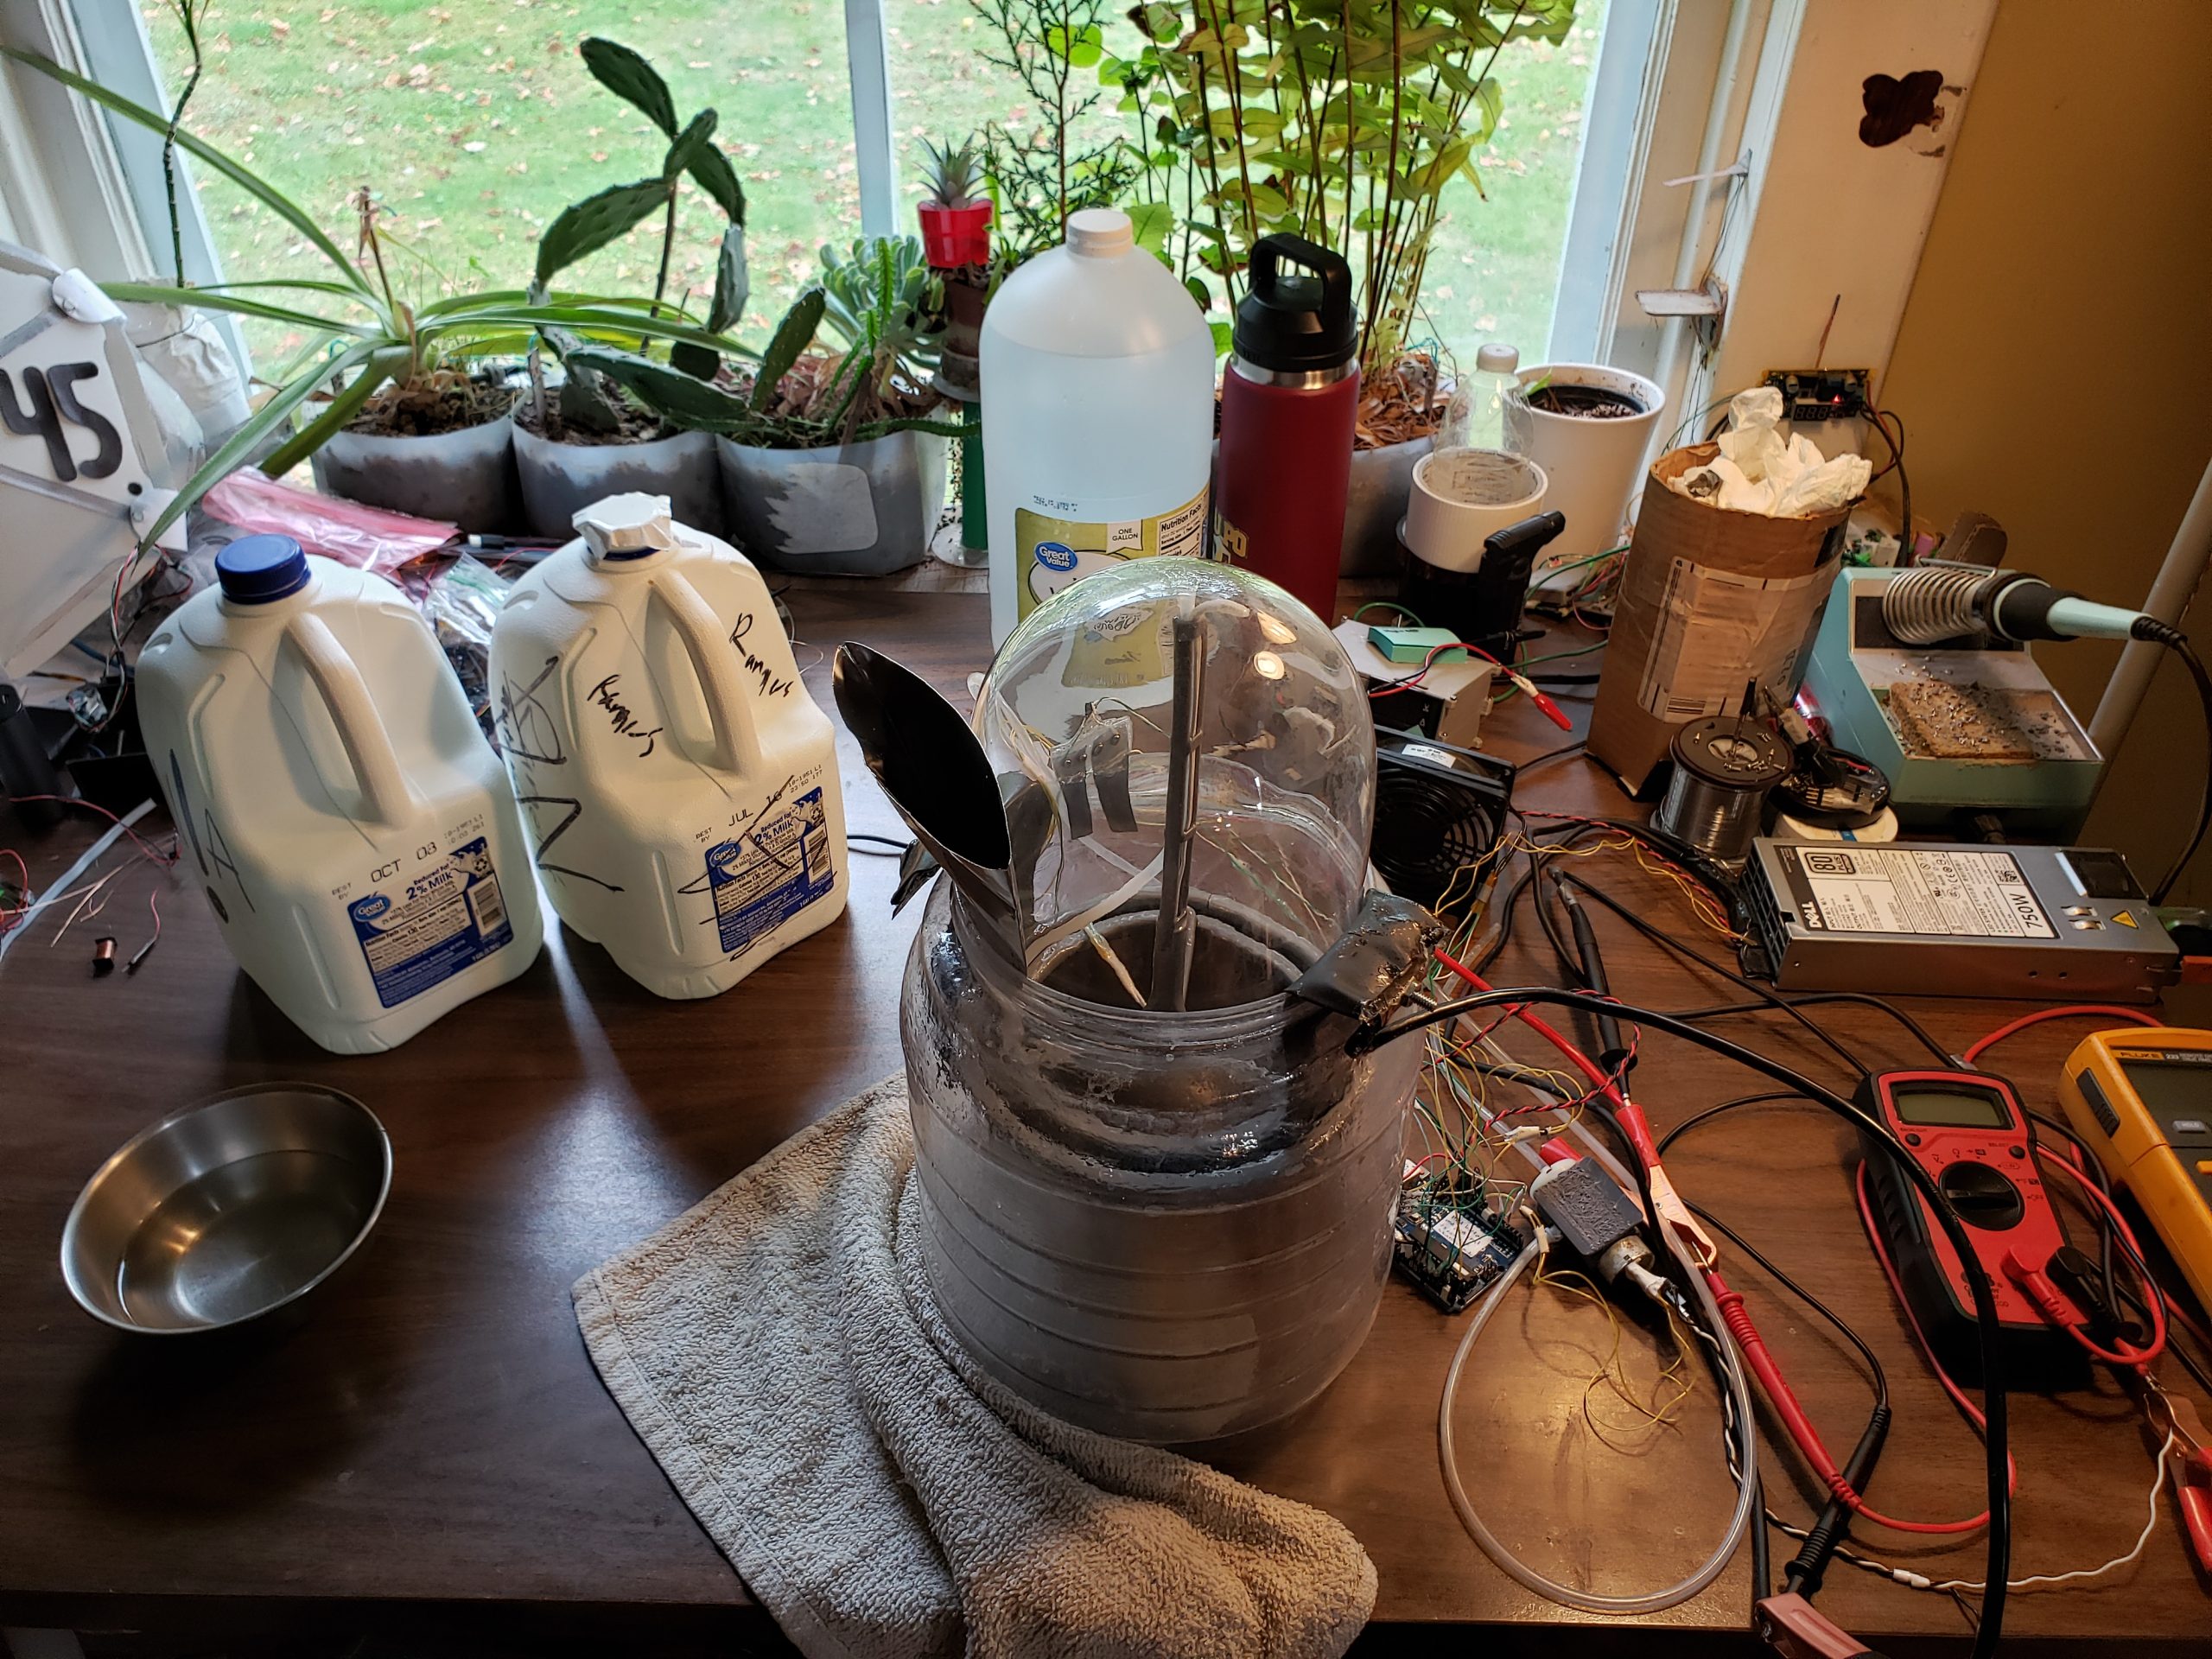
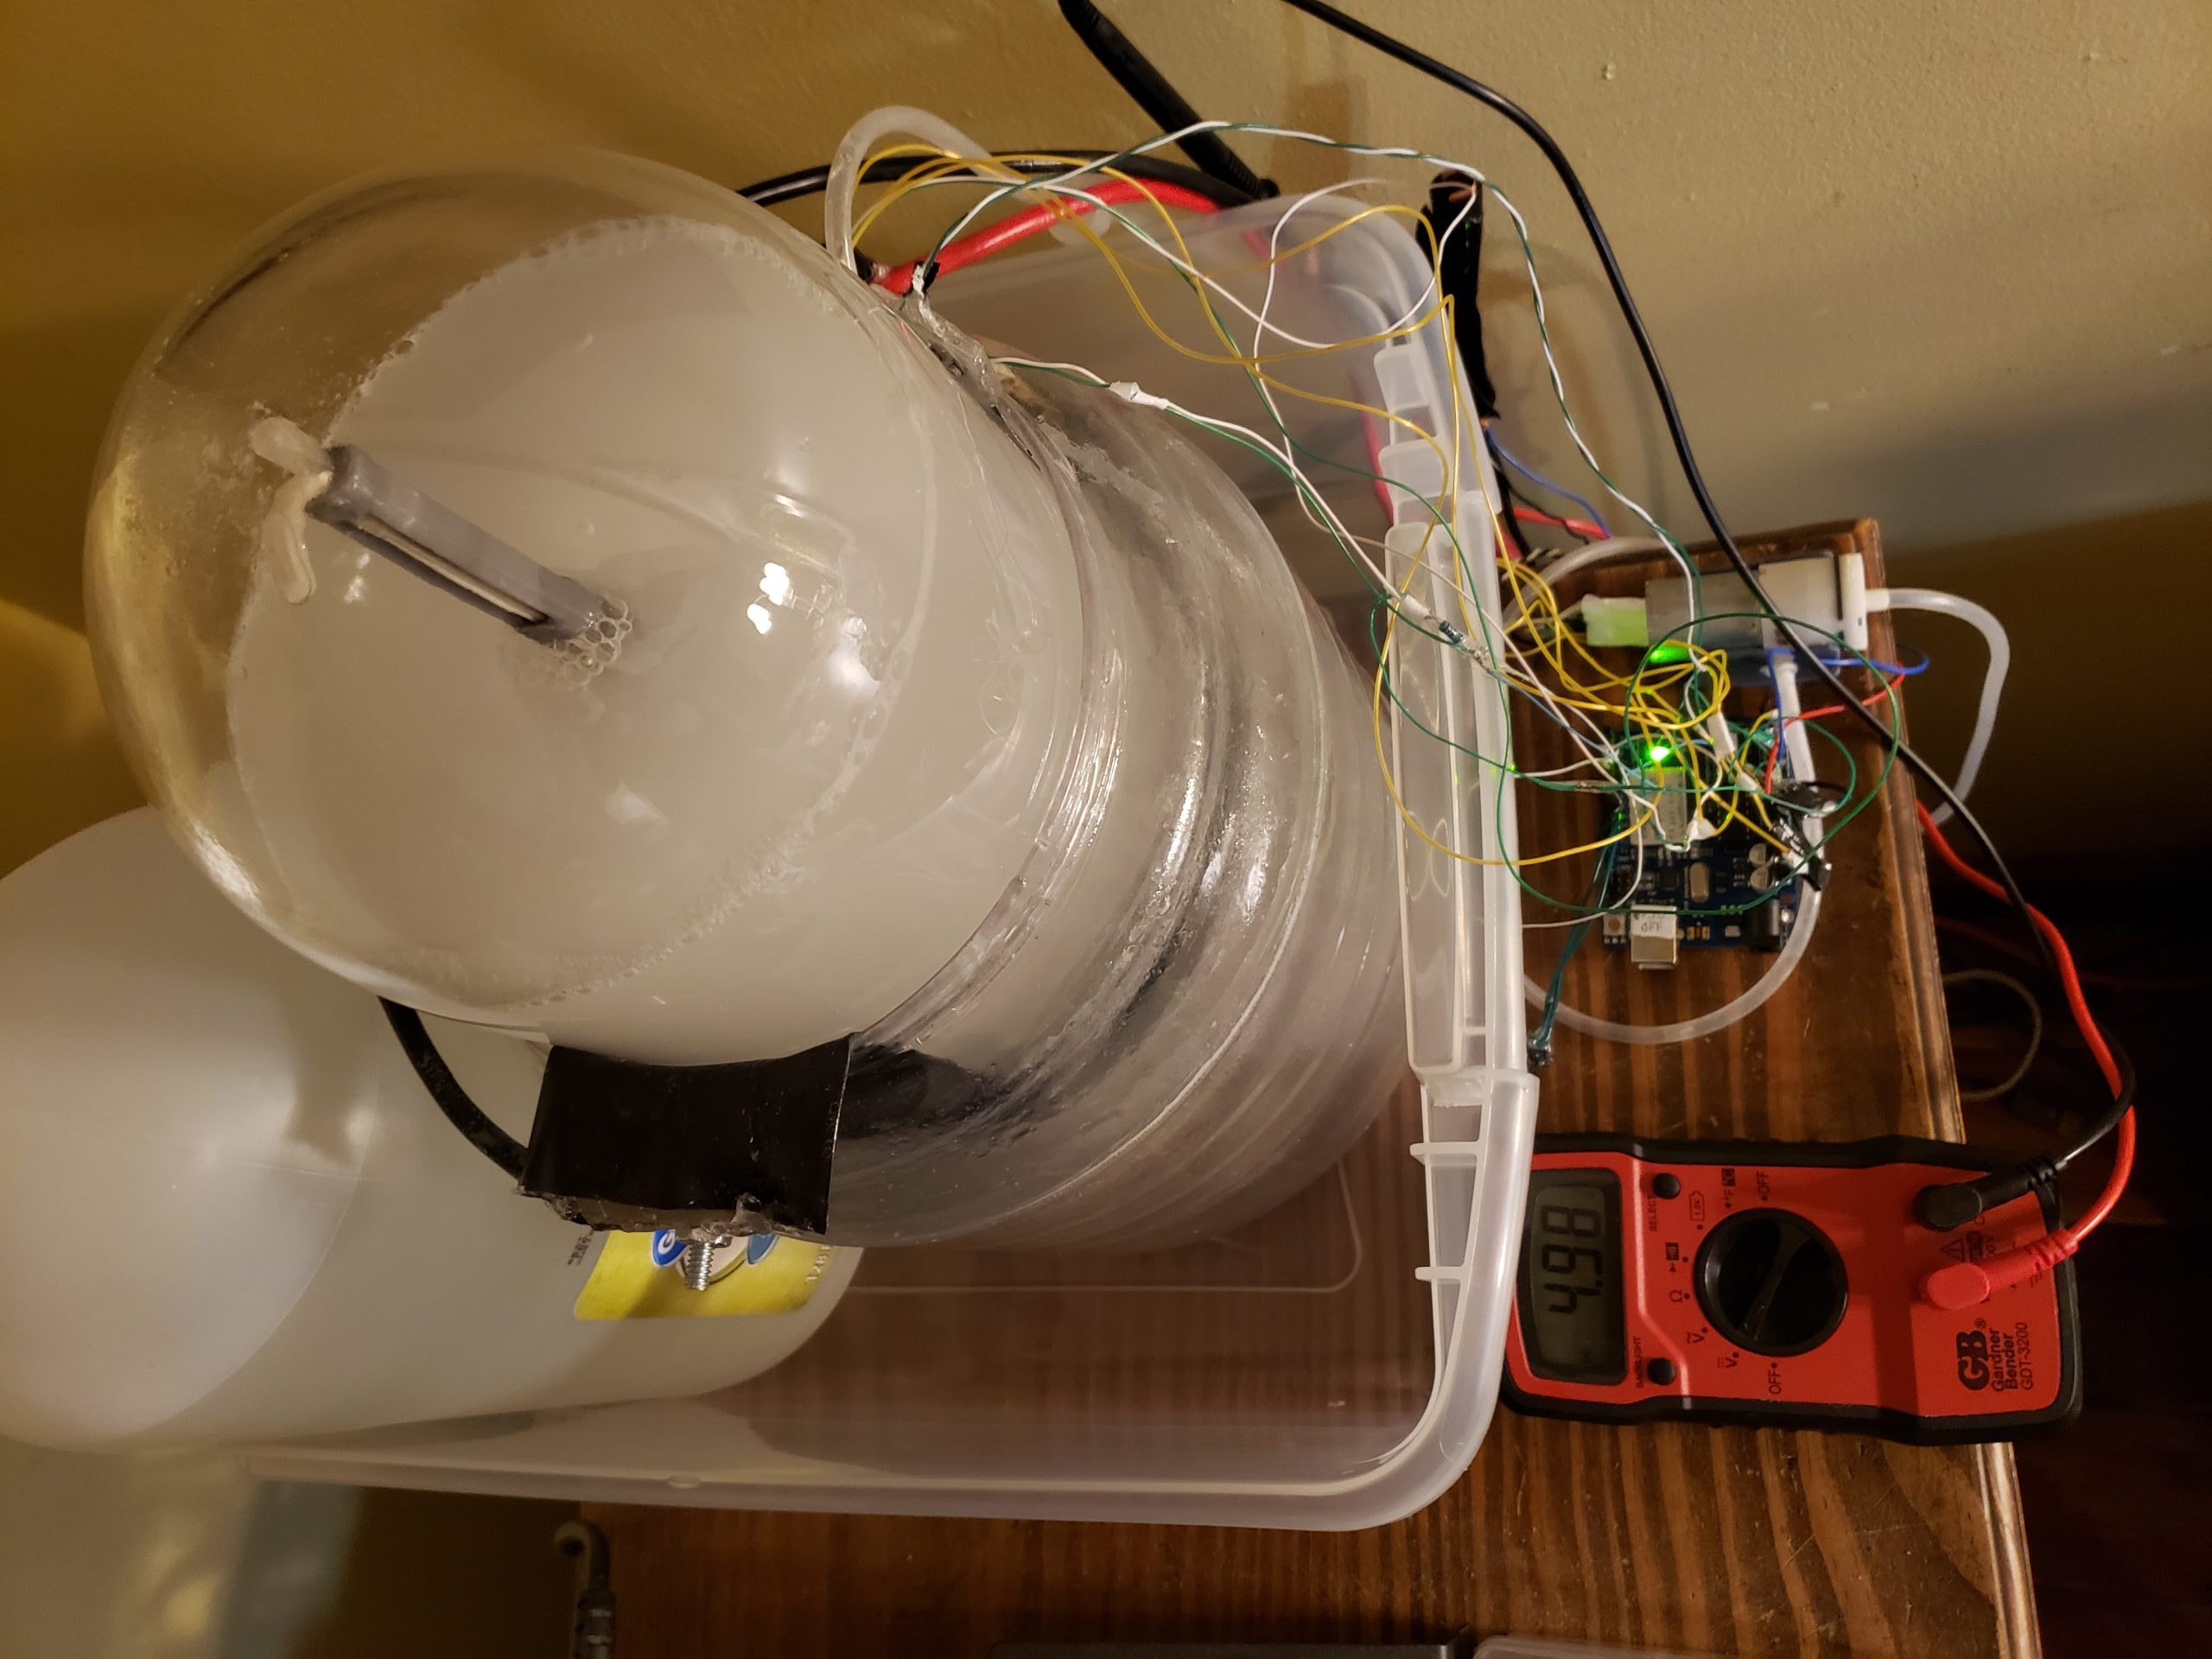
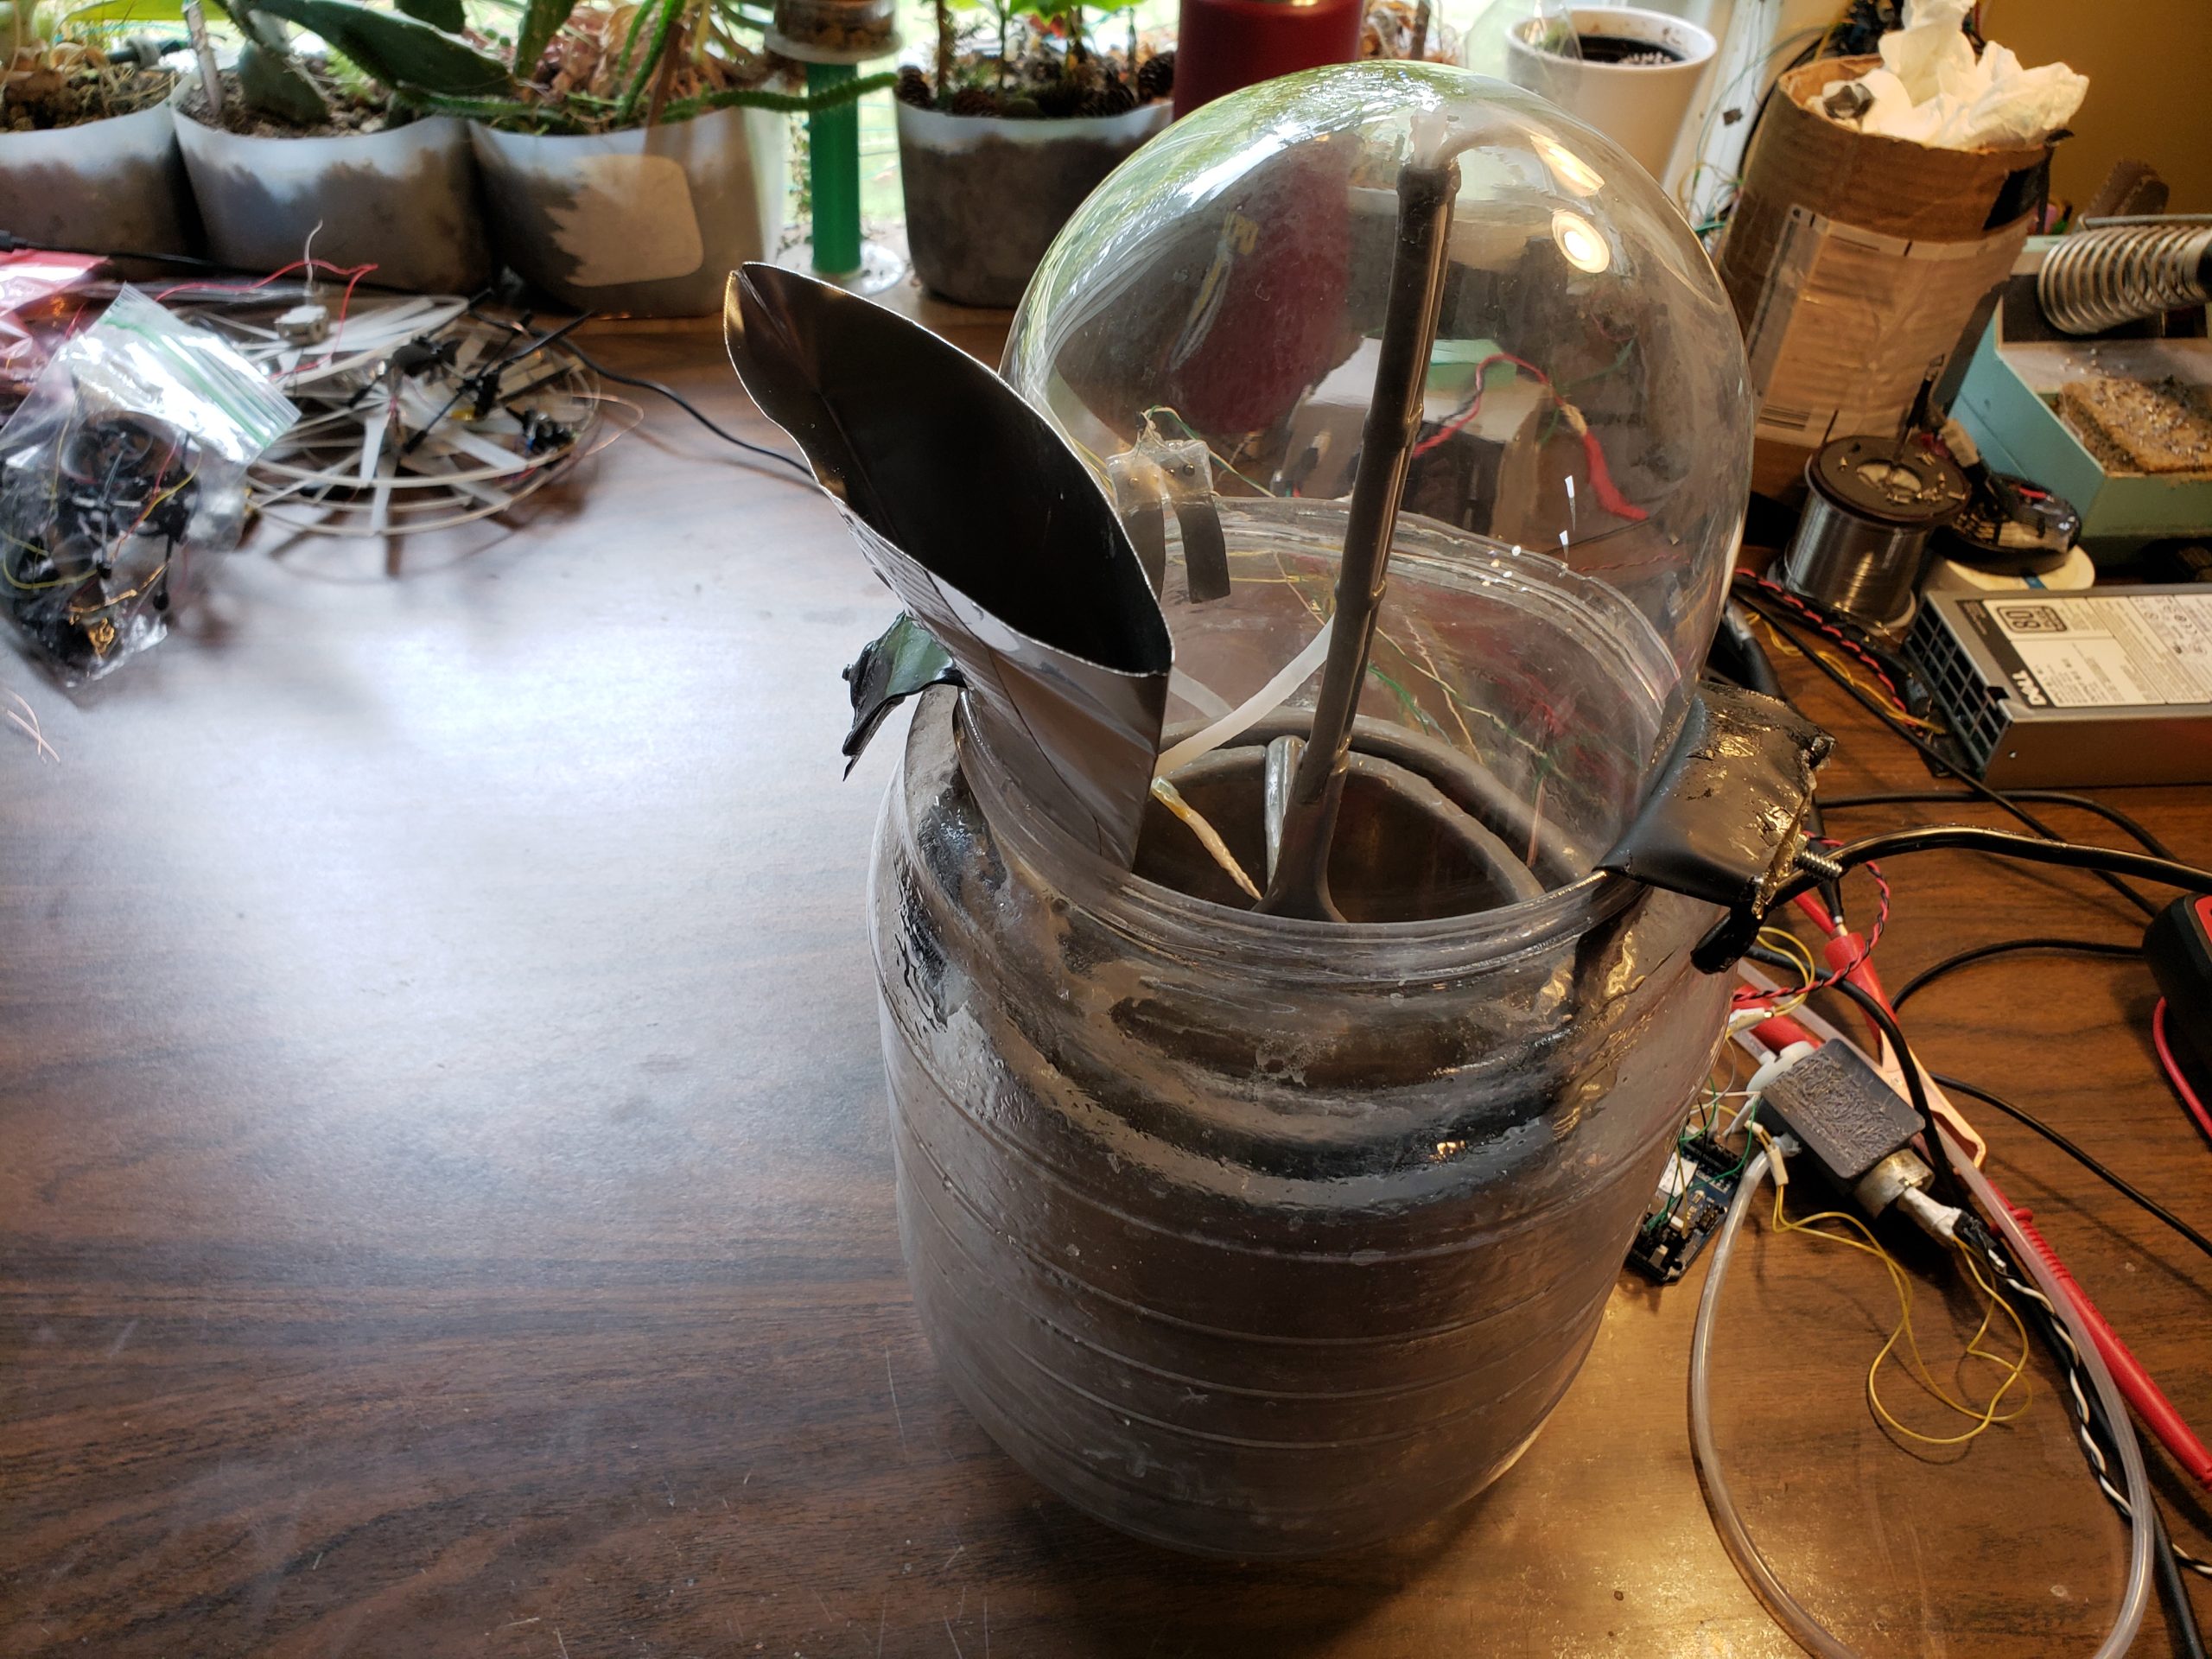
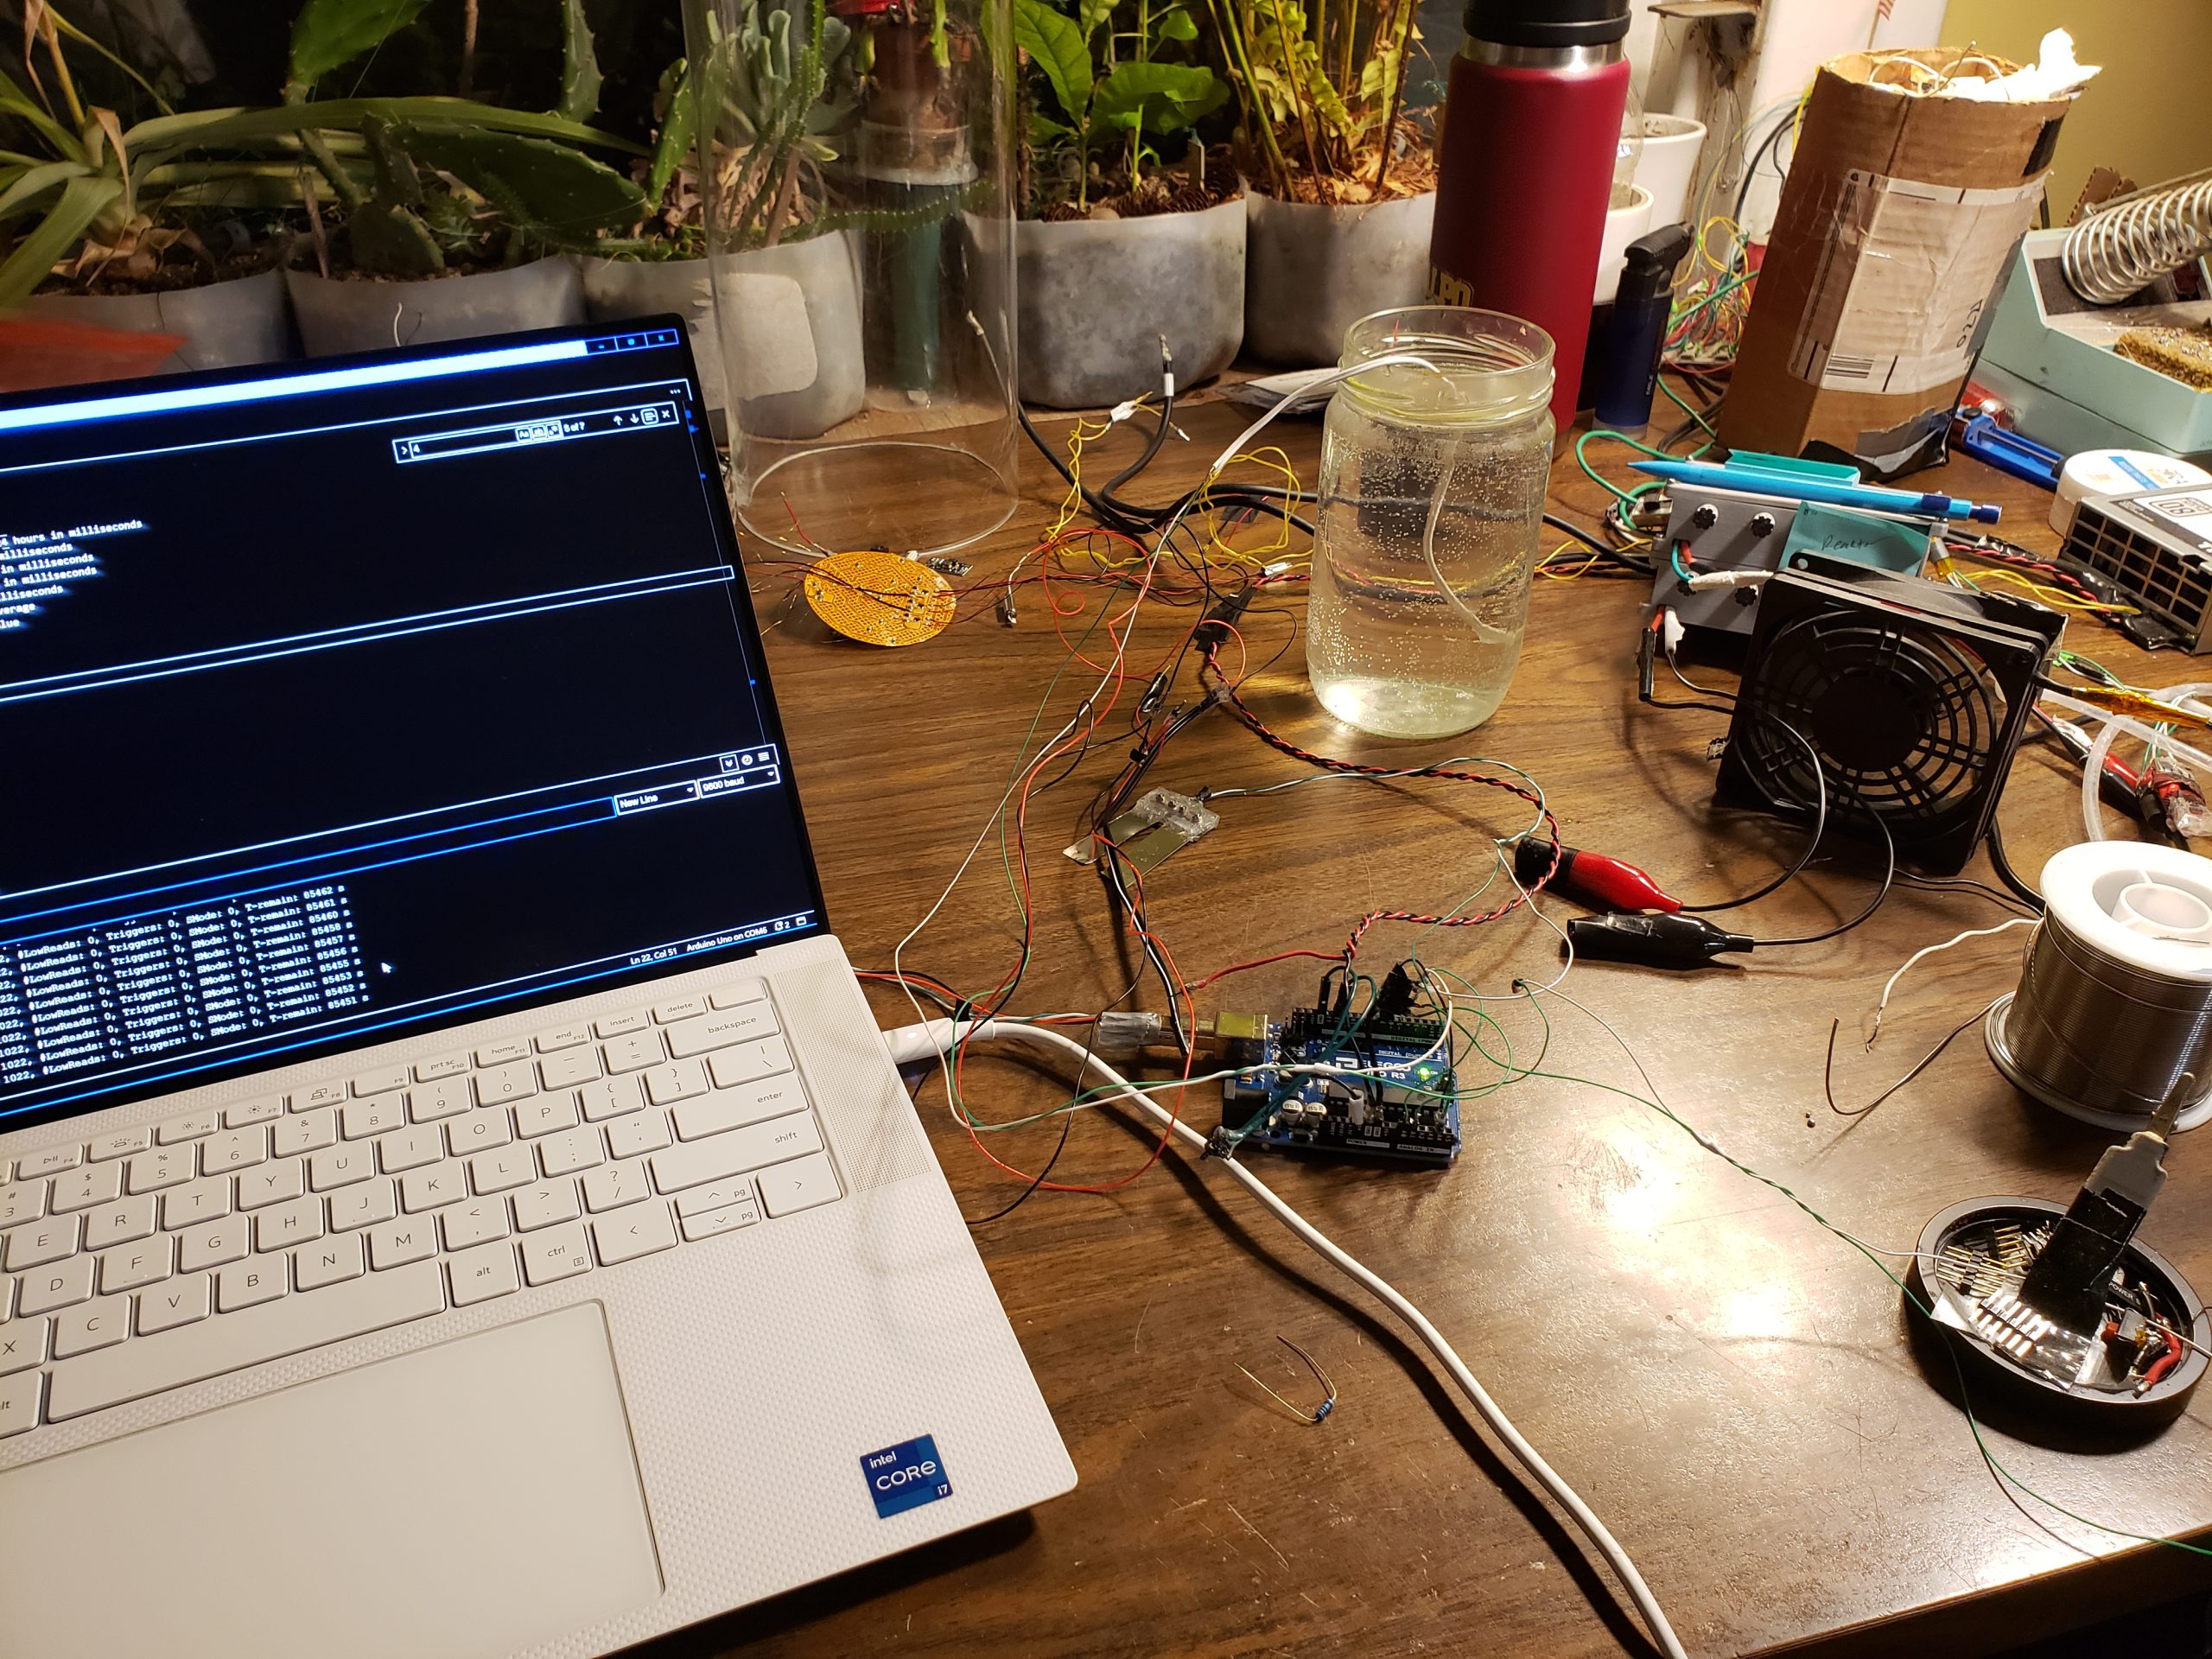
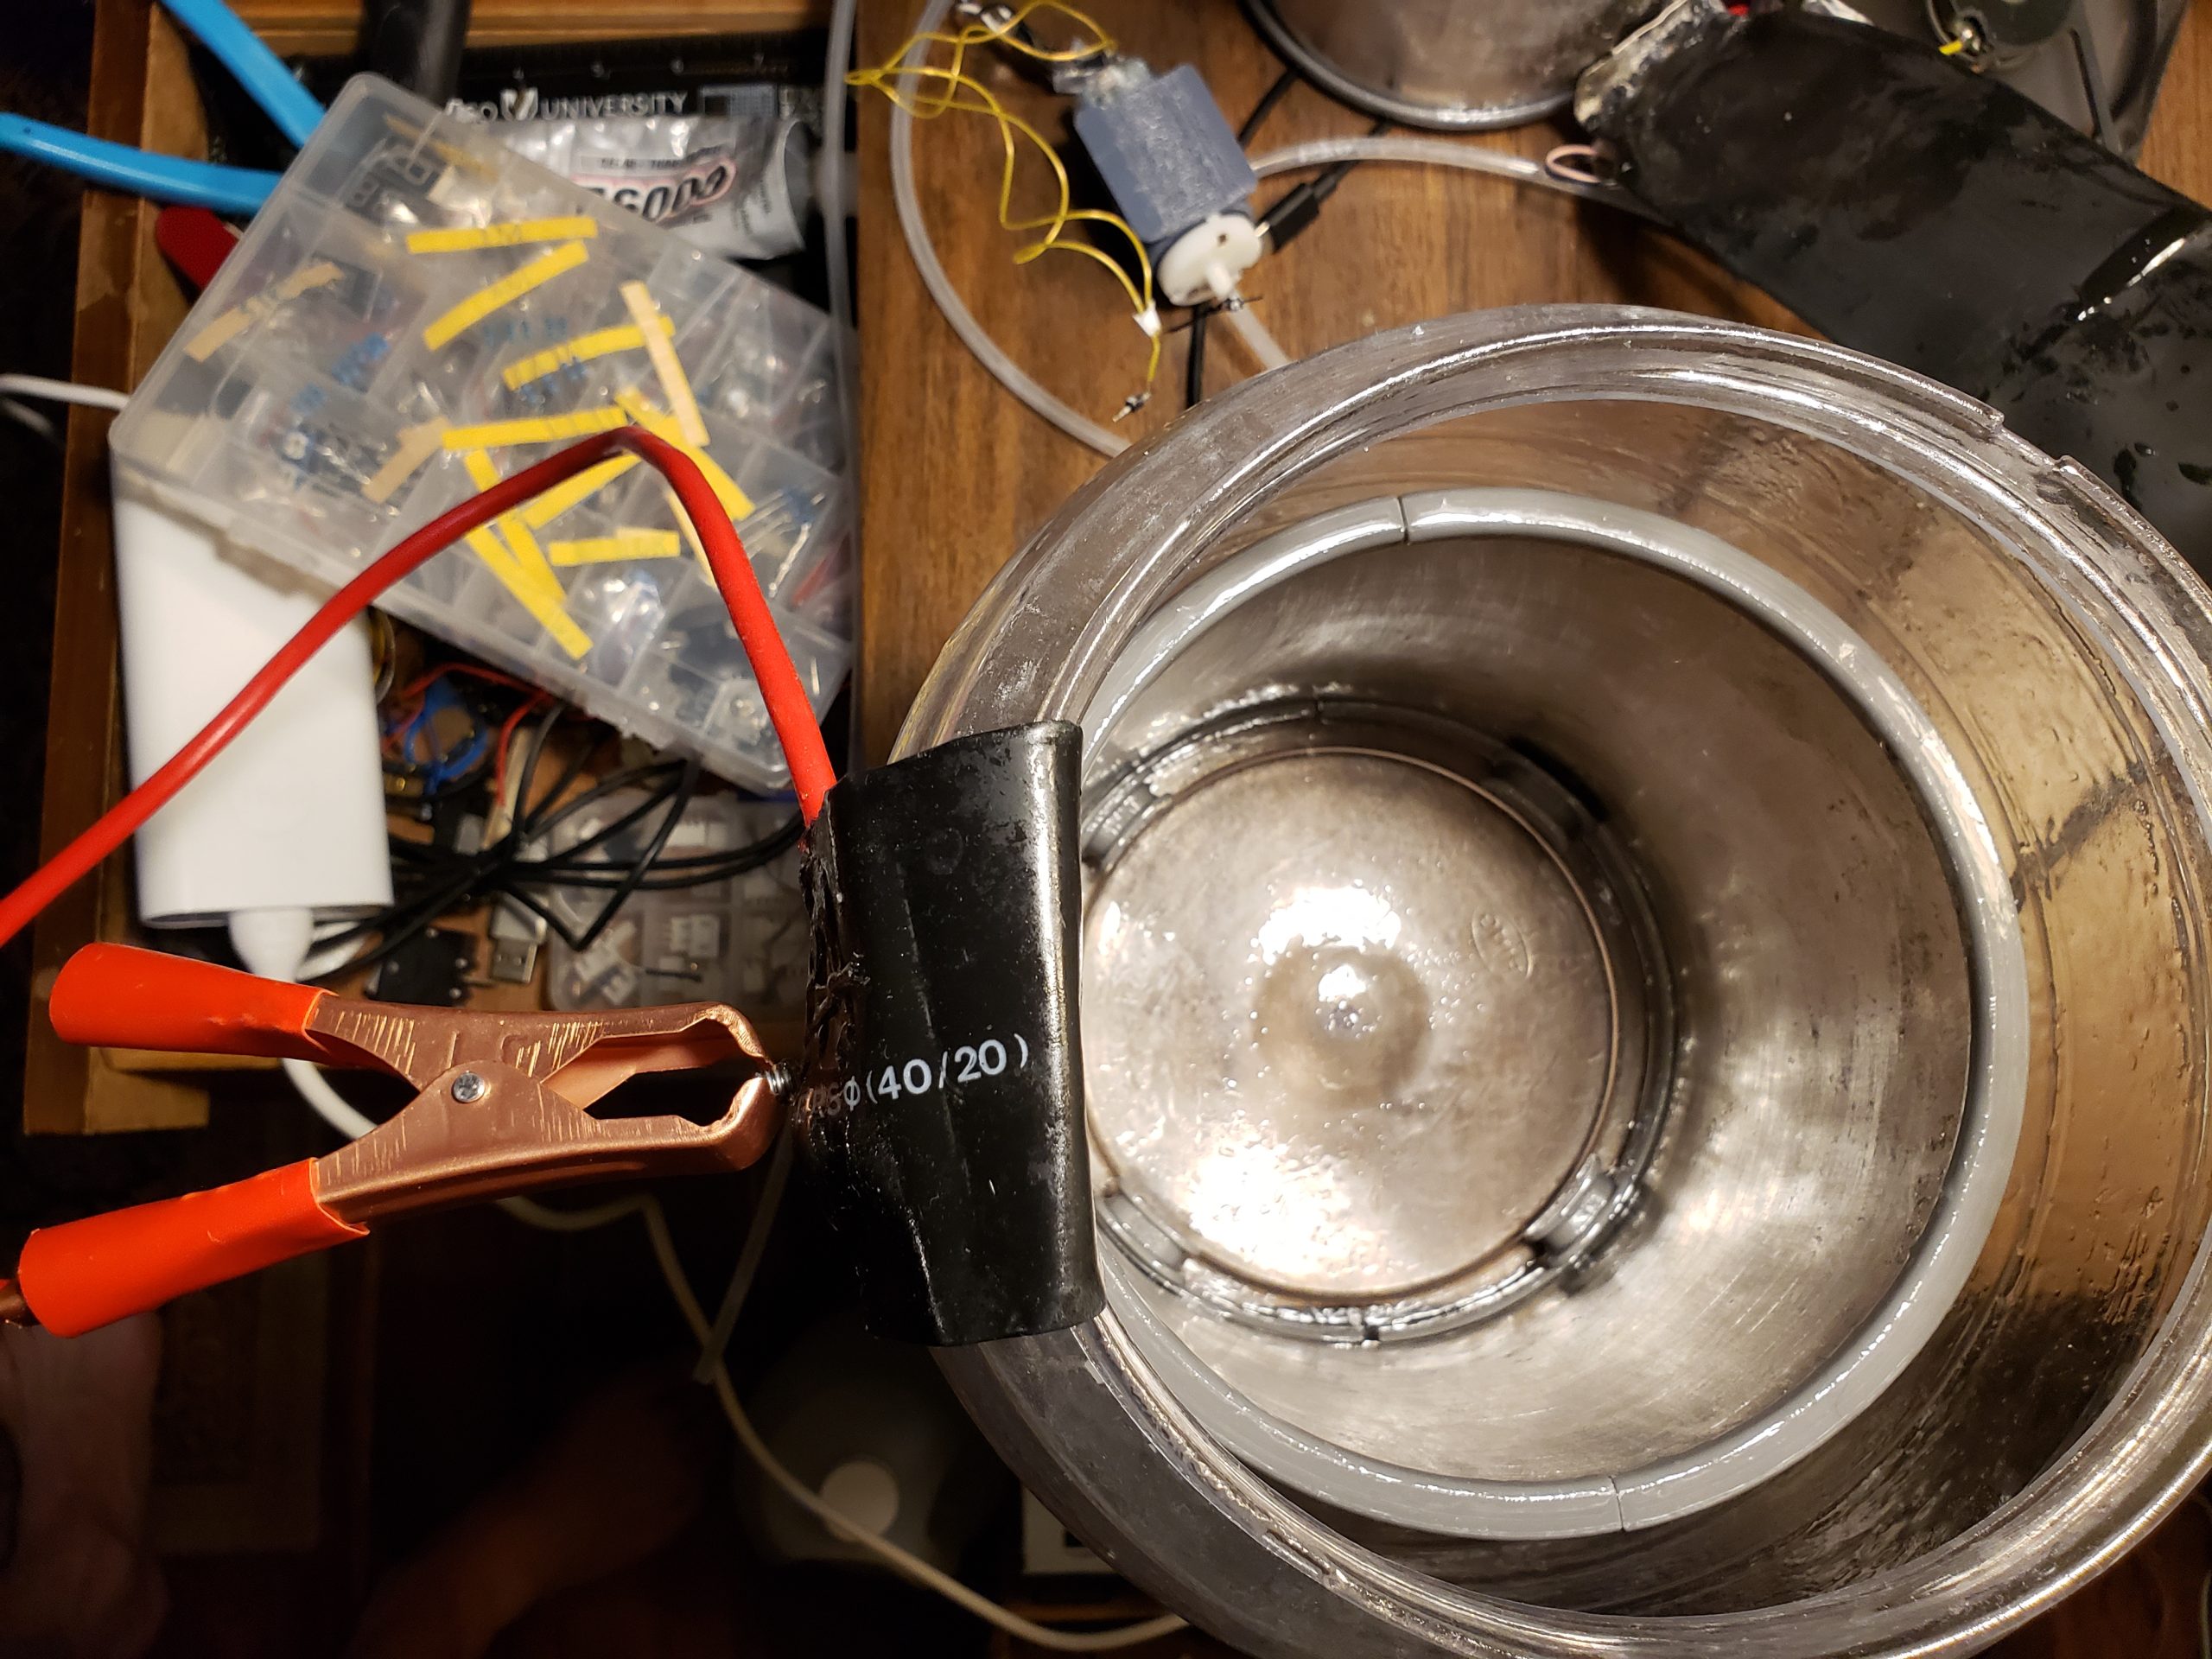
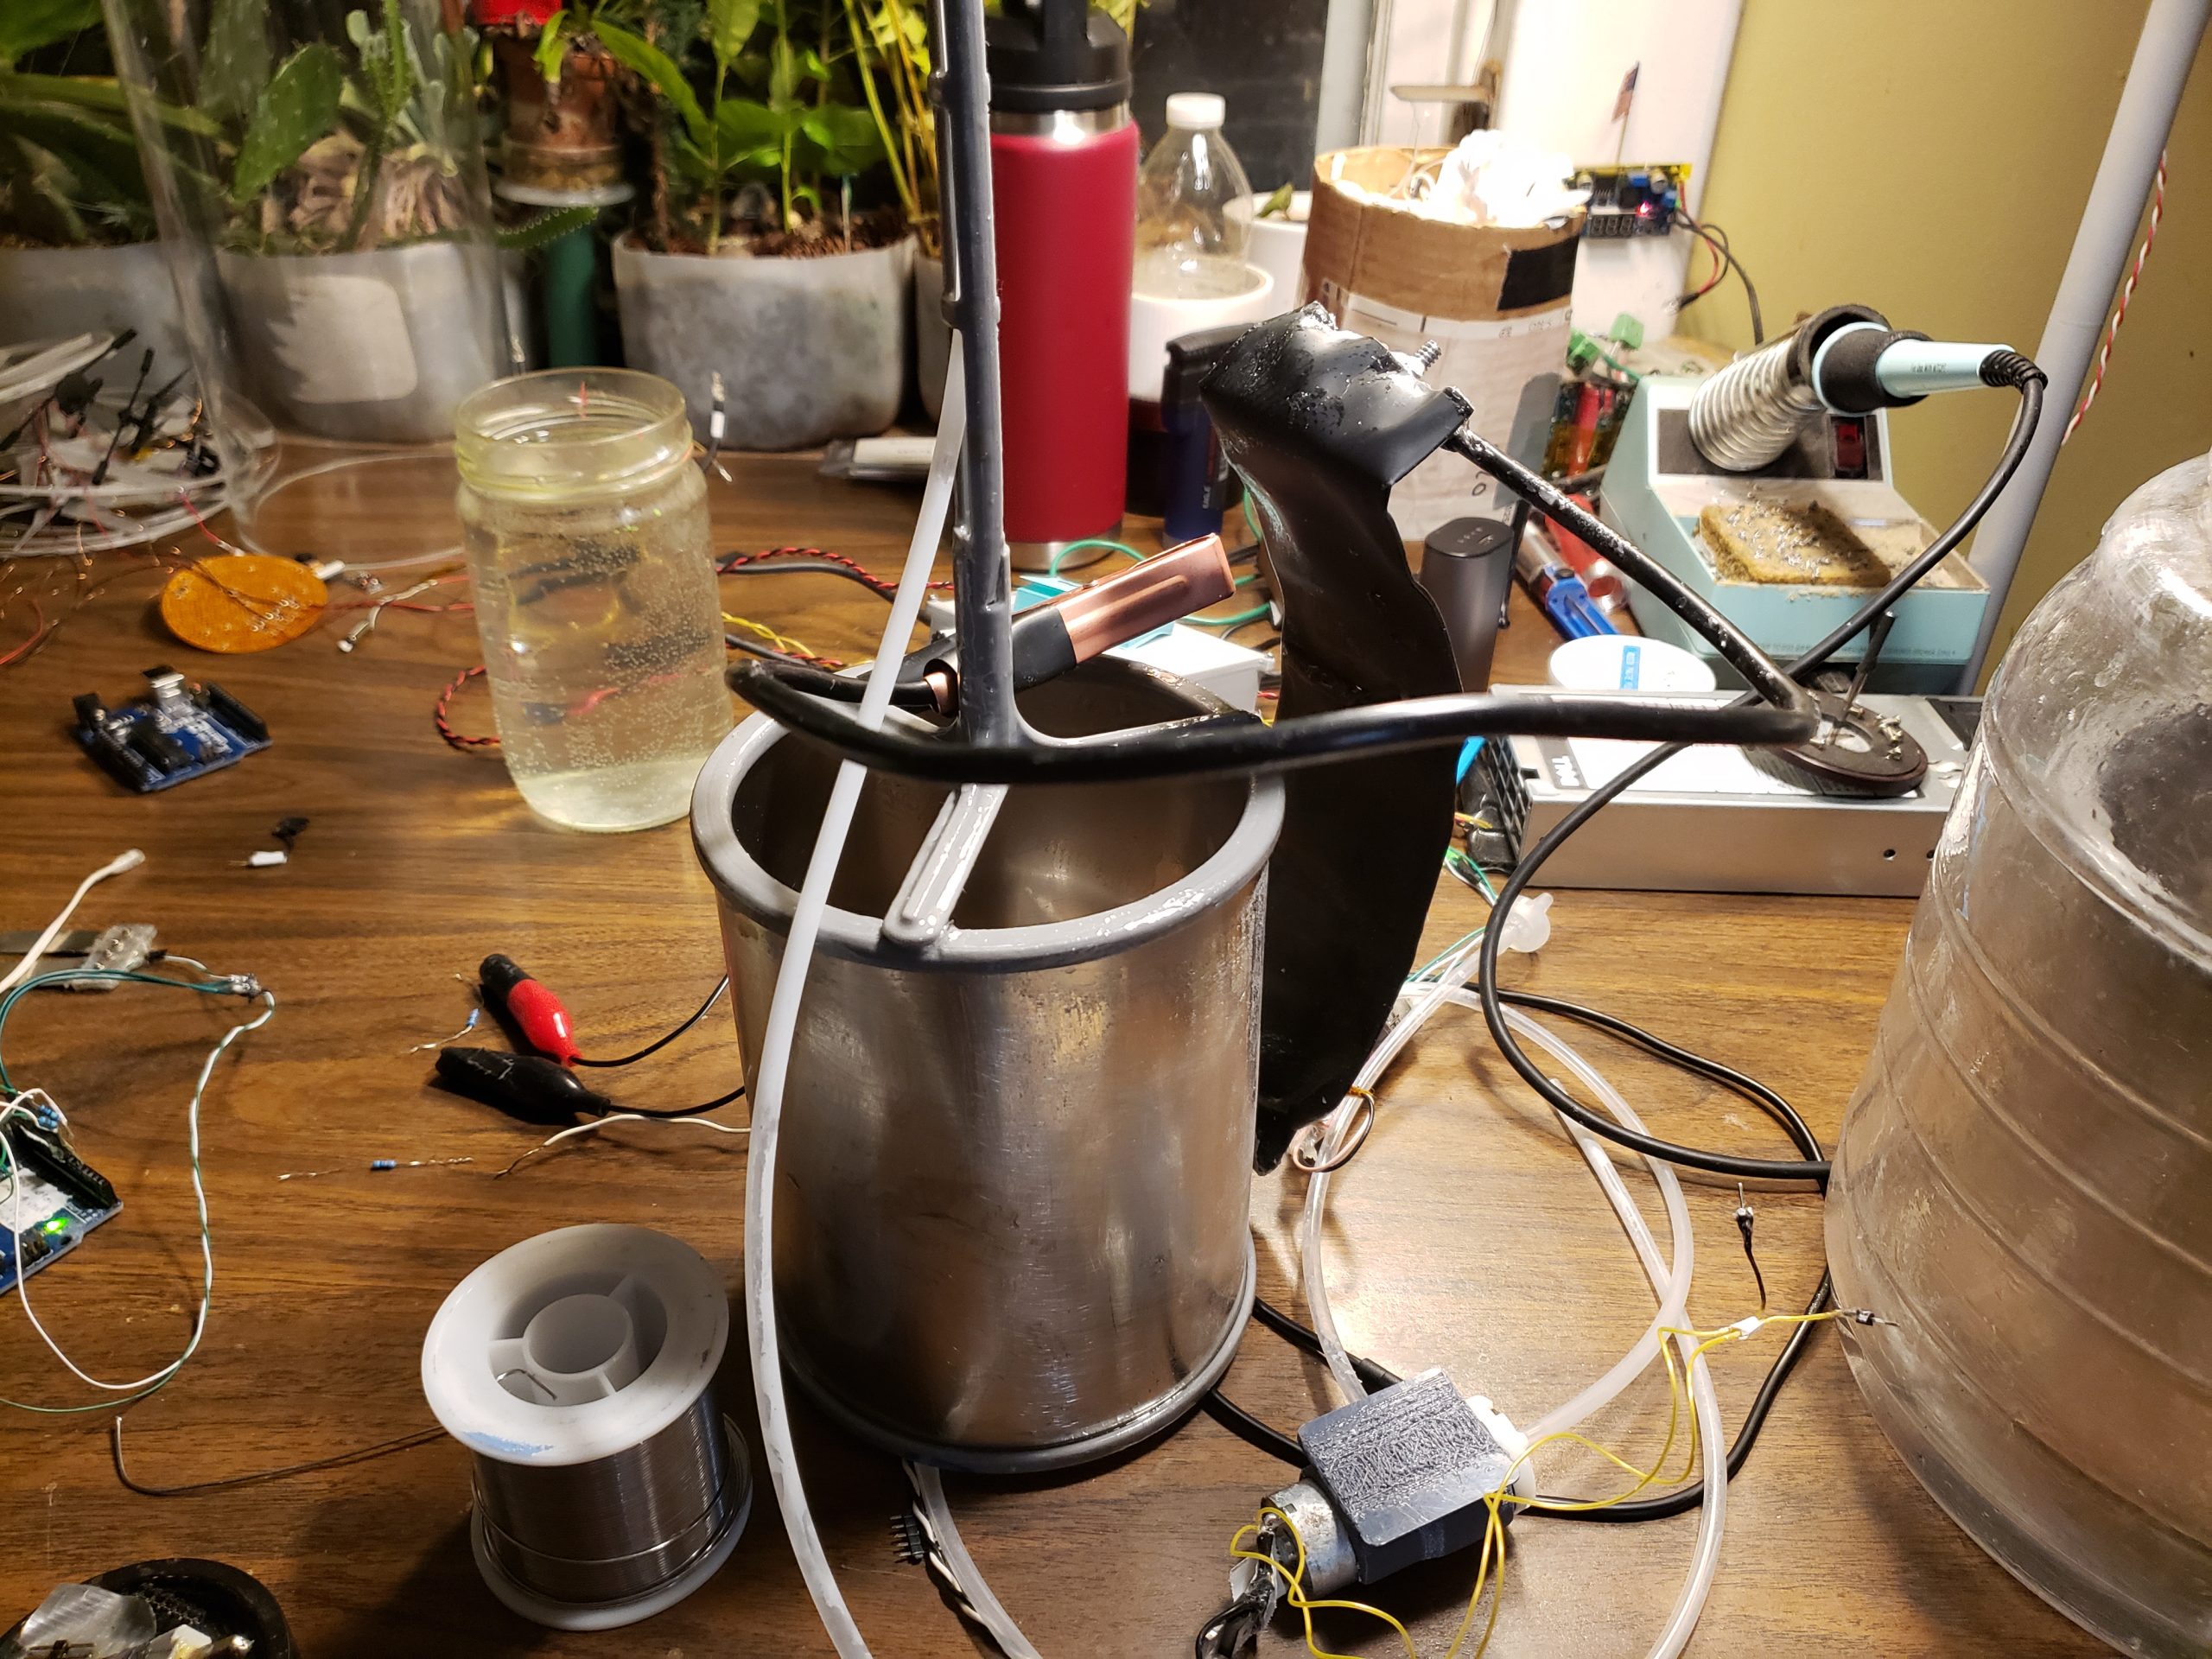
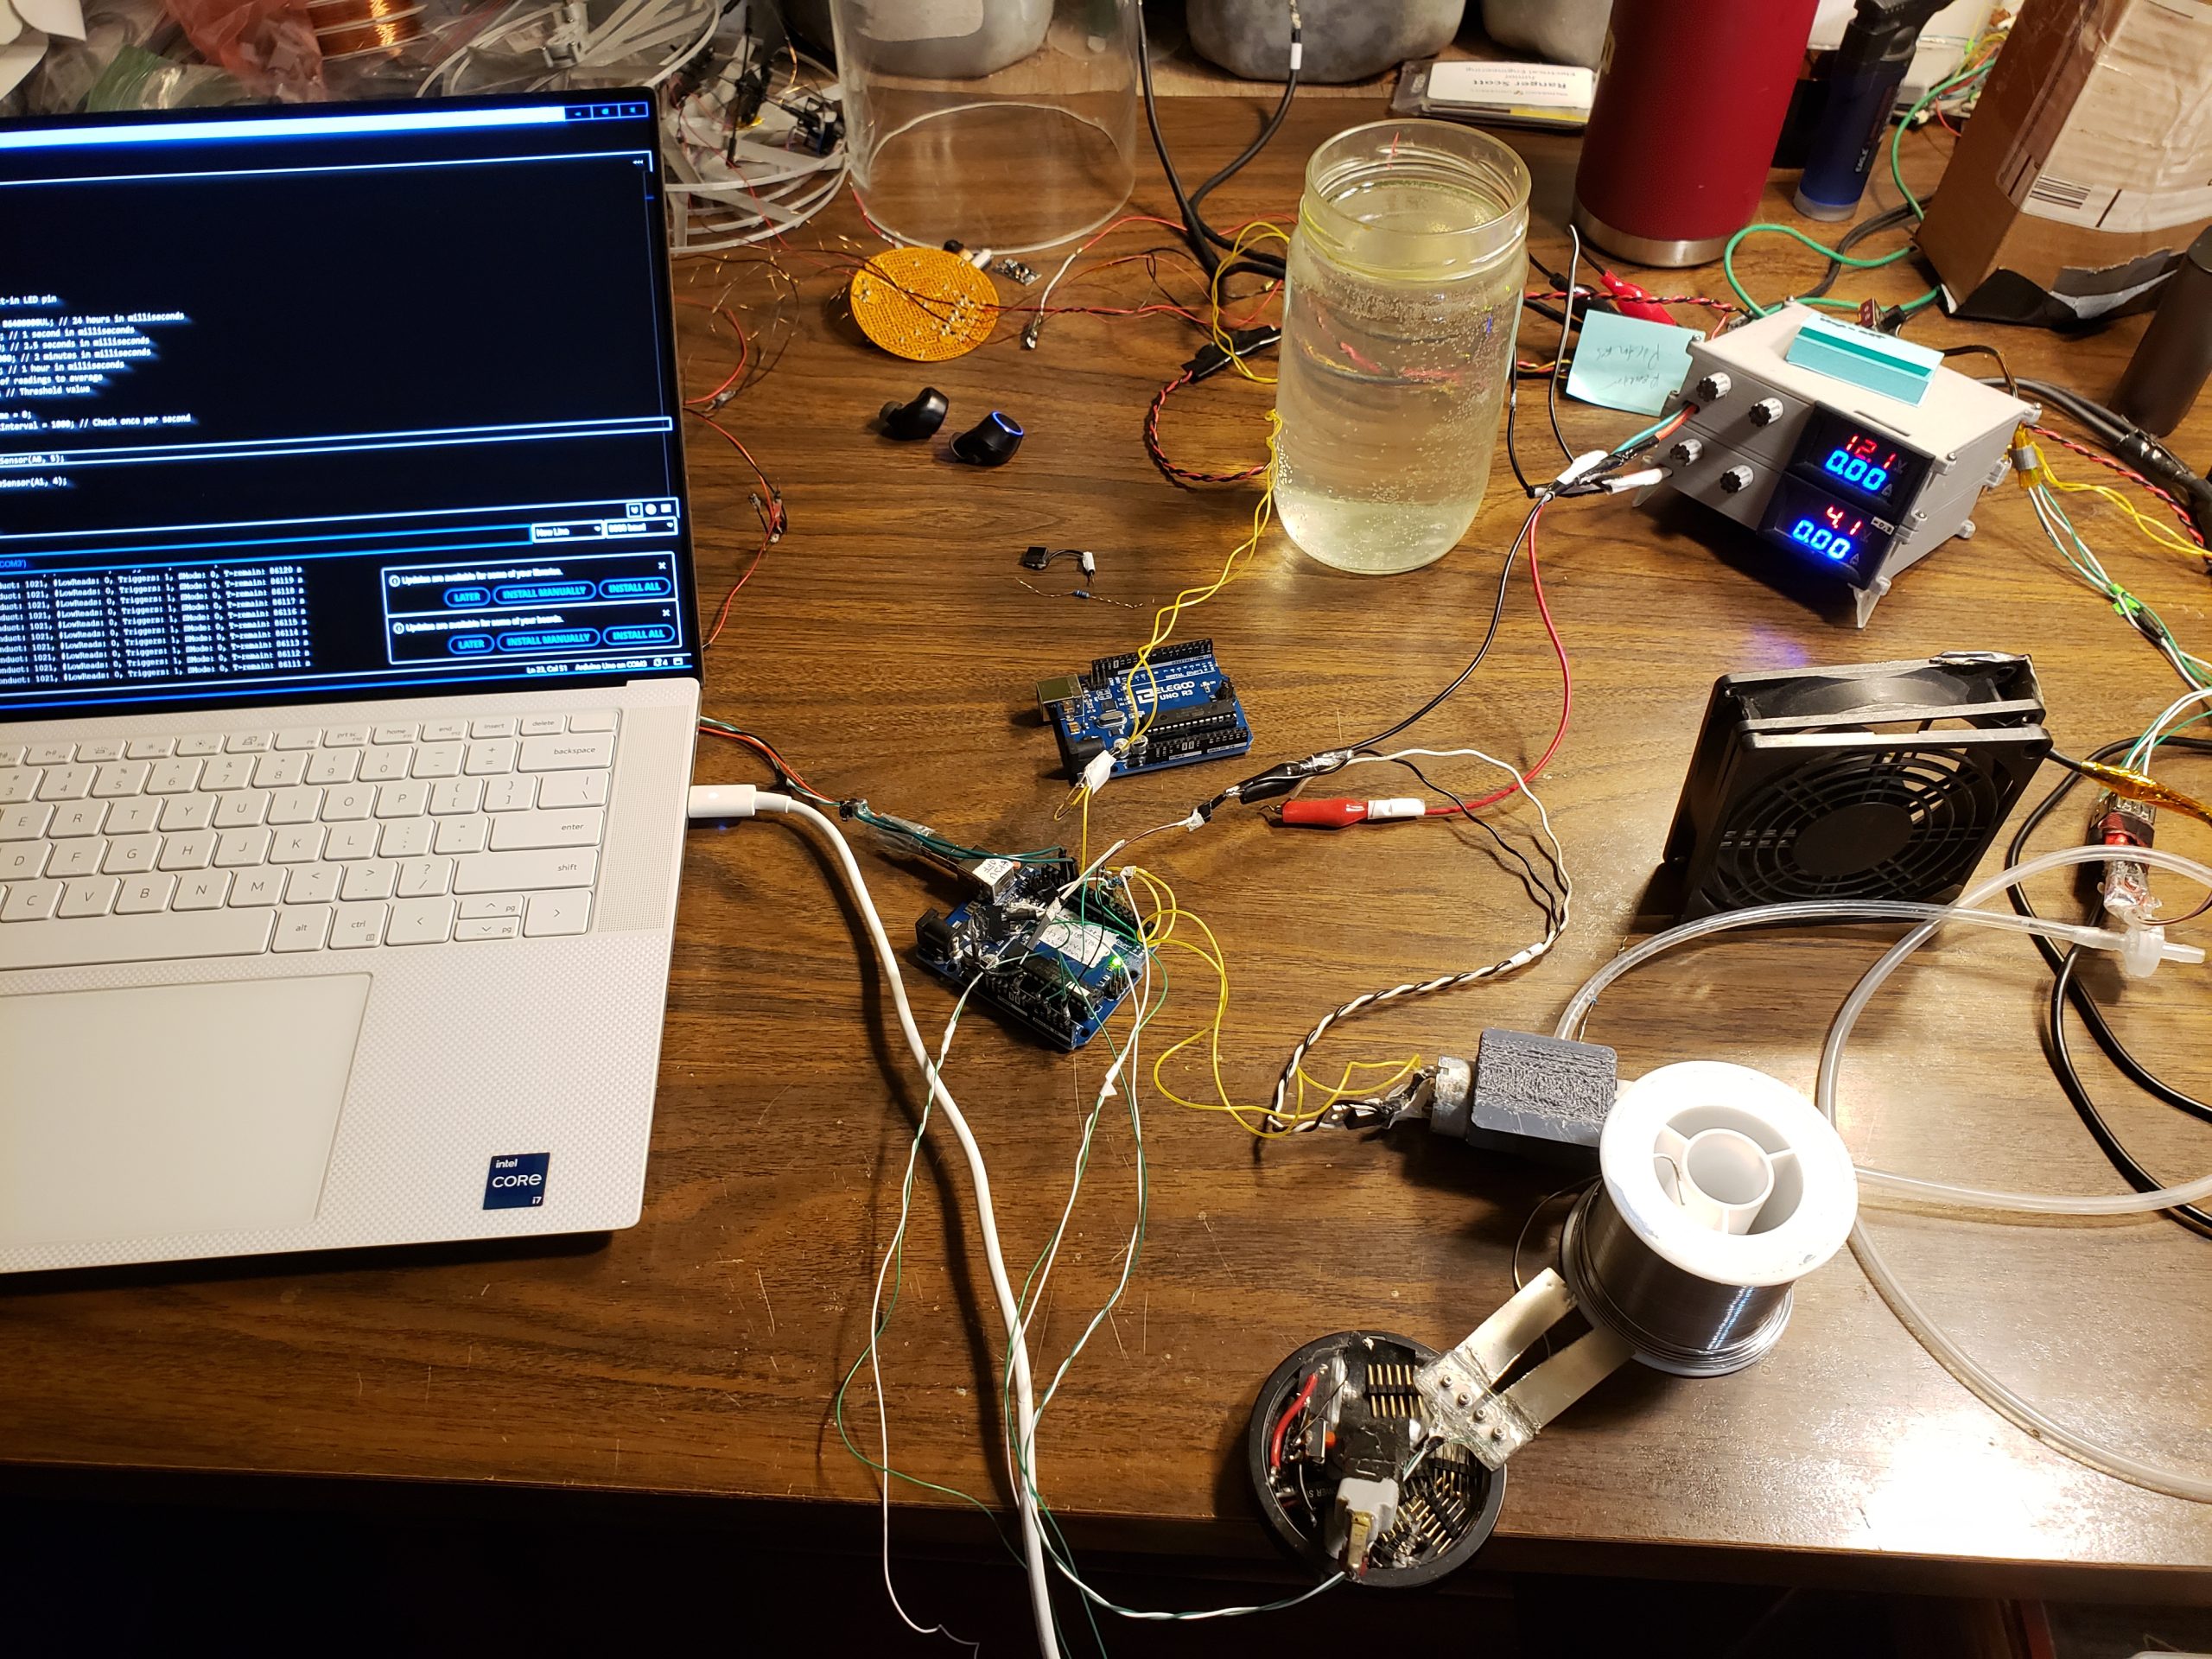
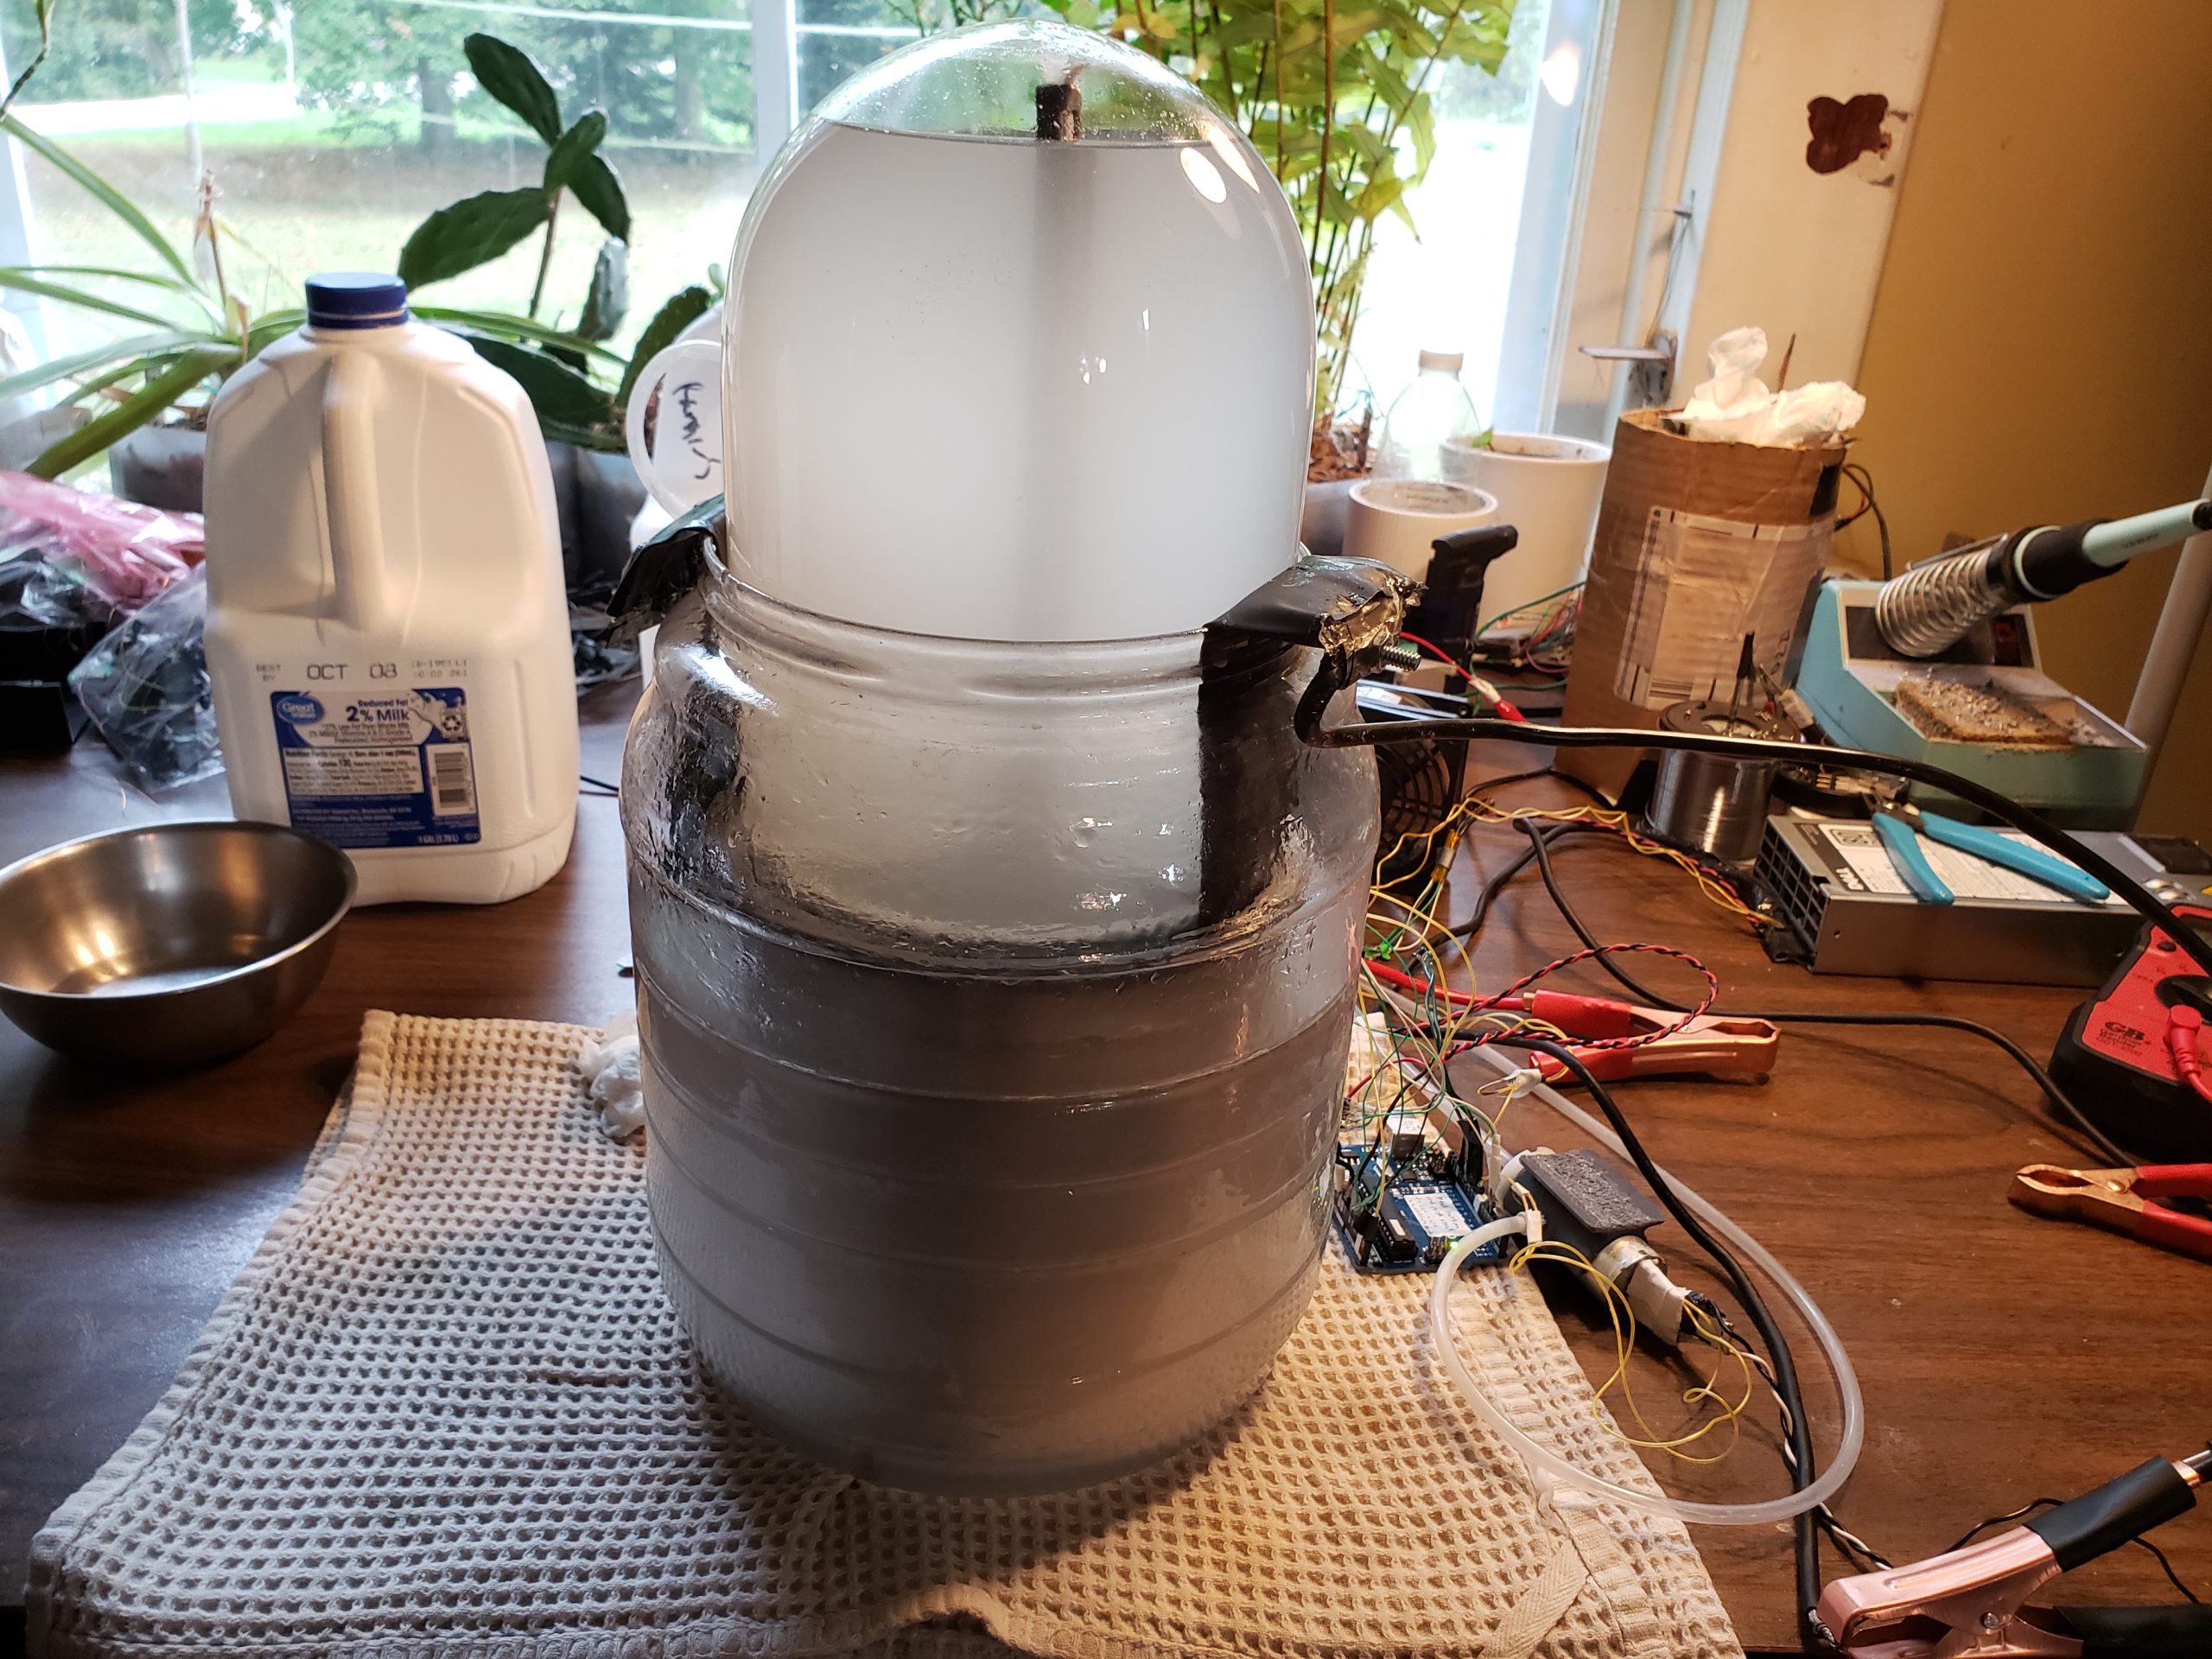
All nickel was the way to go because this thing is fast now. It pulls crazy power and generates enough hydrogen to fill the bell in under a minute. It is way faster then I need and the insane power draw ended up blowing my multimeter fuse. Later my 750W power supply started shutting itself down for protection. At 12V that’s 60A! I can’t verify the current draw because I don’t have a clamp meter but the leads would get hot instantly so the current must’ve really been up there.
An Excited Reactor Demo
The Cinematography is next level here
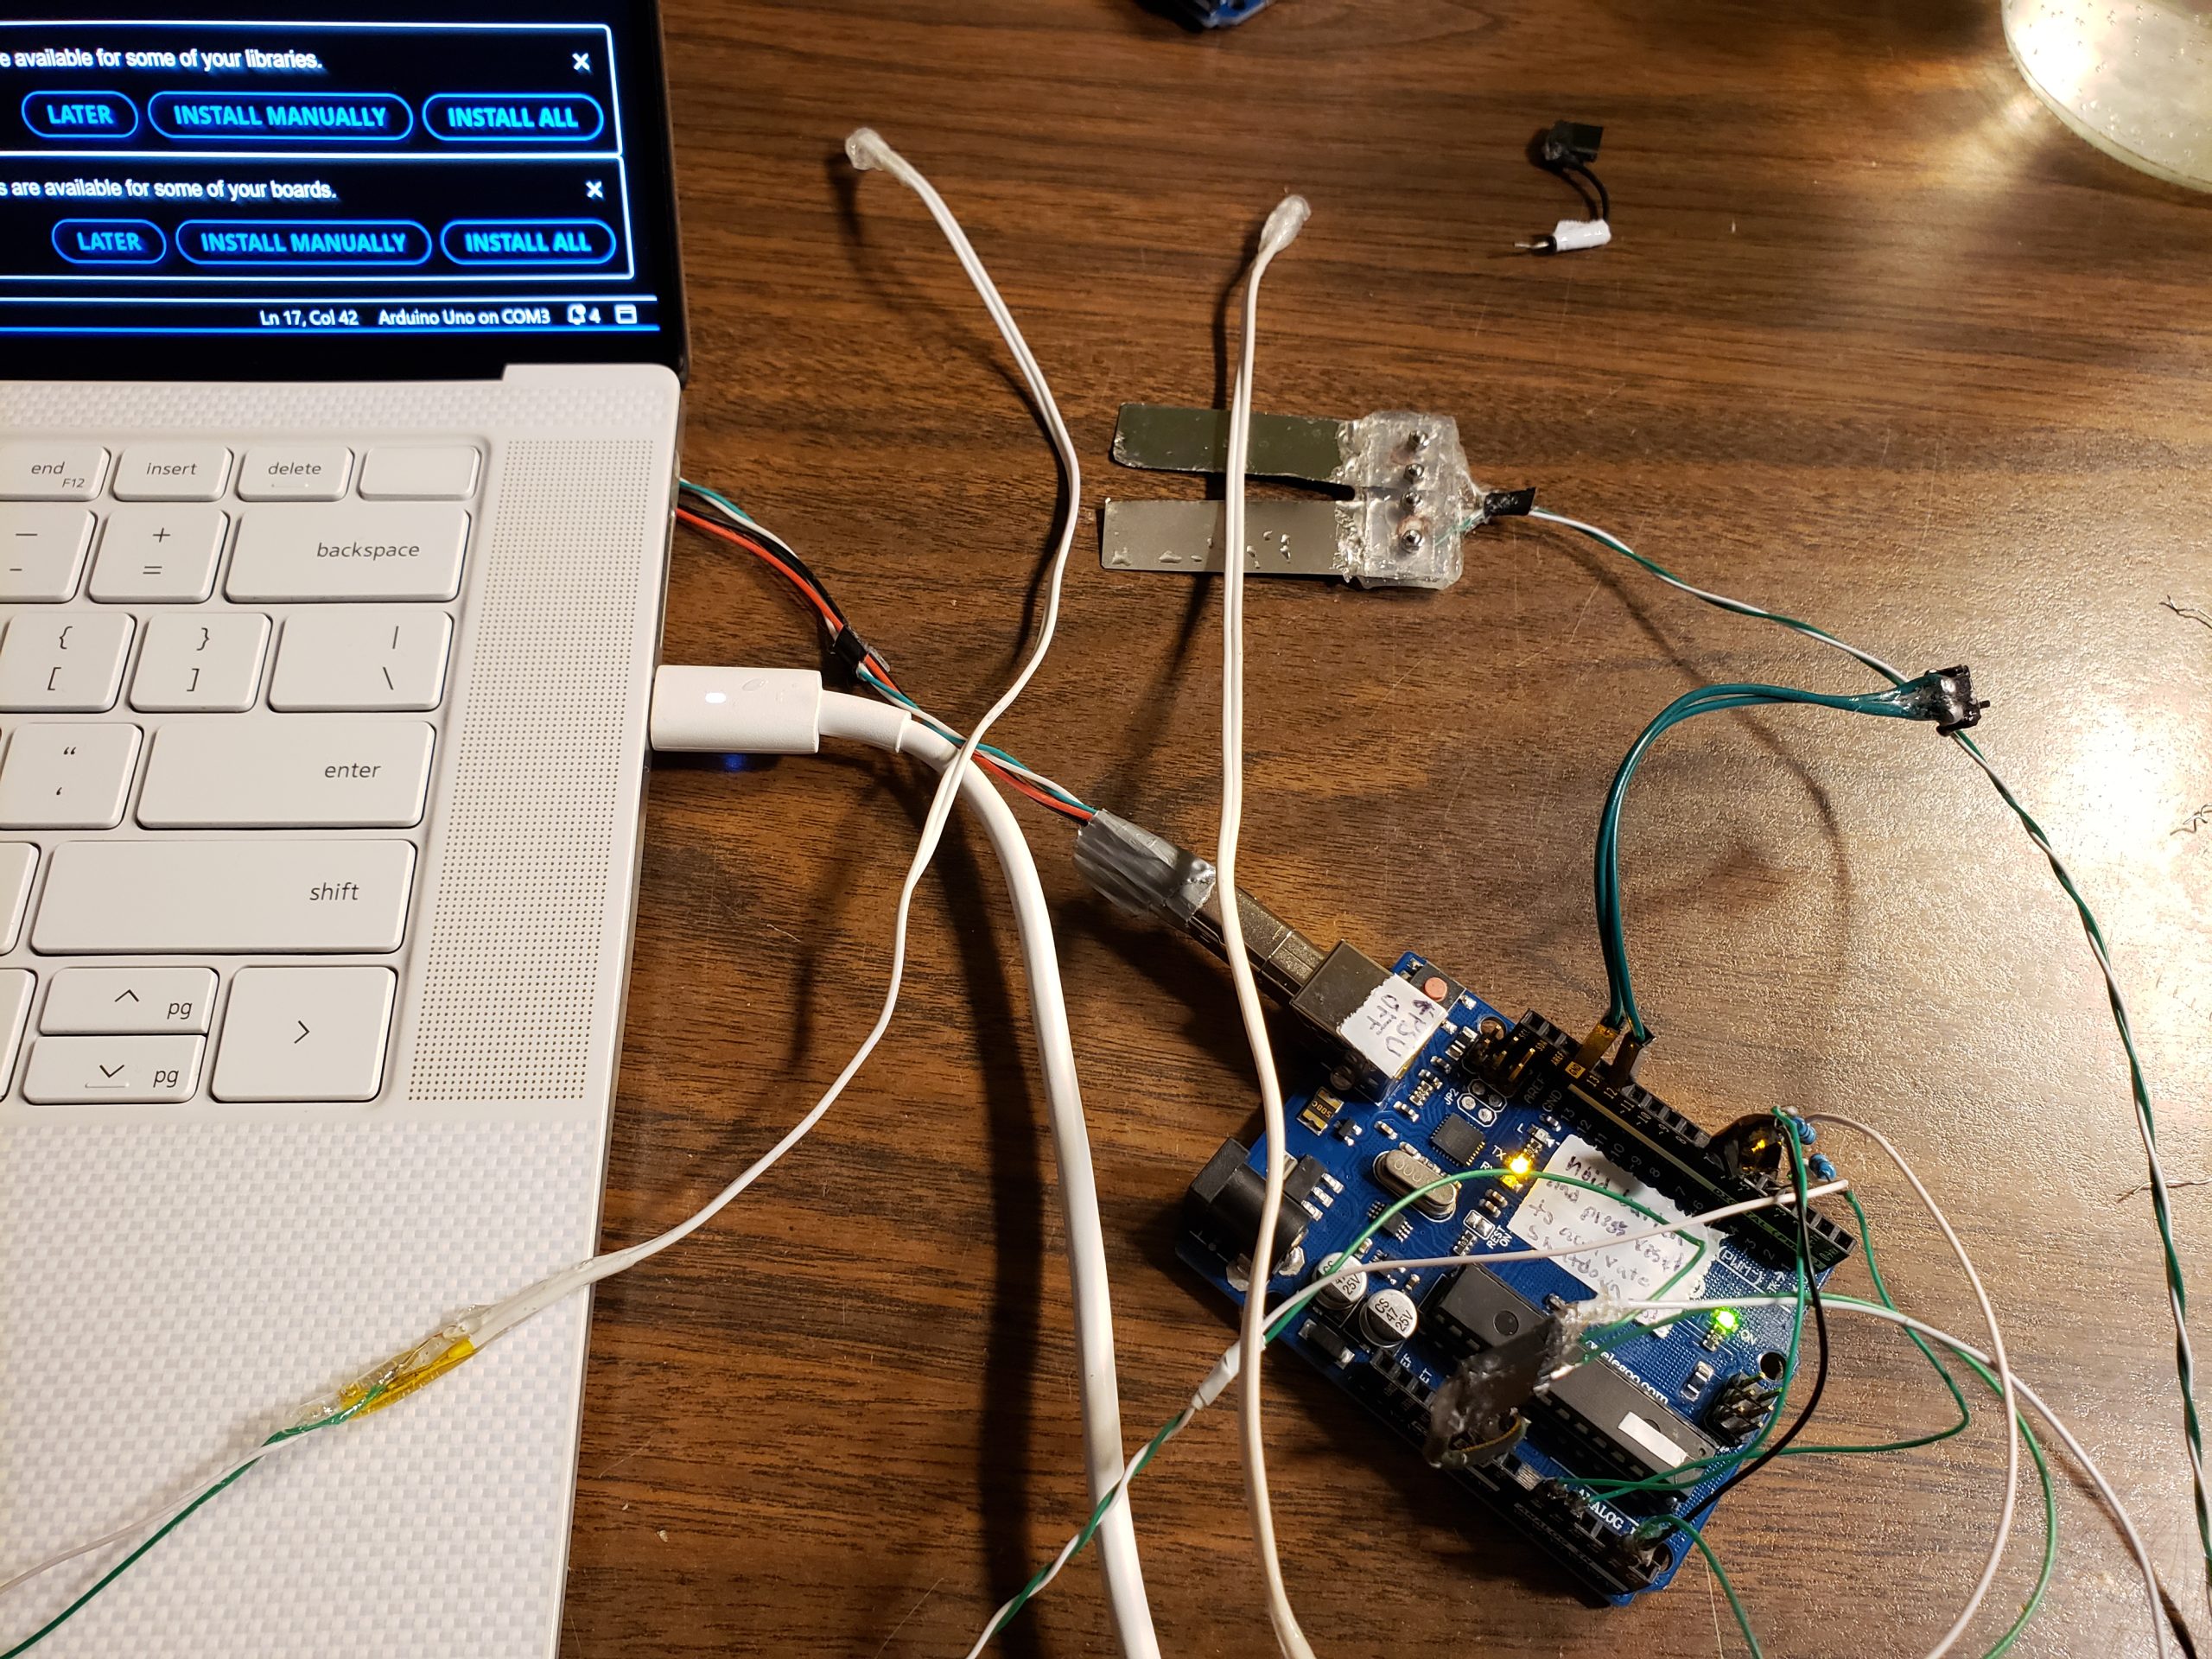
TLDW? The reactor pulls too much power for my trashy cables to handle. I wasn’t expecting this because my last versions would pull 3A max. This one pulled enough current to blow the 11A fuse in my multimeter without me knowing. I later saw that the capacitive sensors were reporting garbage data like they did last time. The temperature sensor and resistive sensor still work thankfully.
I don’t see any degradation yet so hopefully at 3.5V this reactor should last forever. I accidently got epoxy on the metal plates when I was struggling to assemble it (it took 2 hours to get the plates in properly). The current actually went up as some of that epoxy came off.
I Keep Talking About the Solar
I need a use case for this solar system other then charging my phone
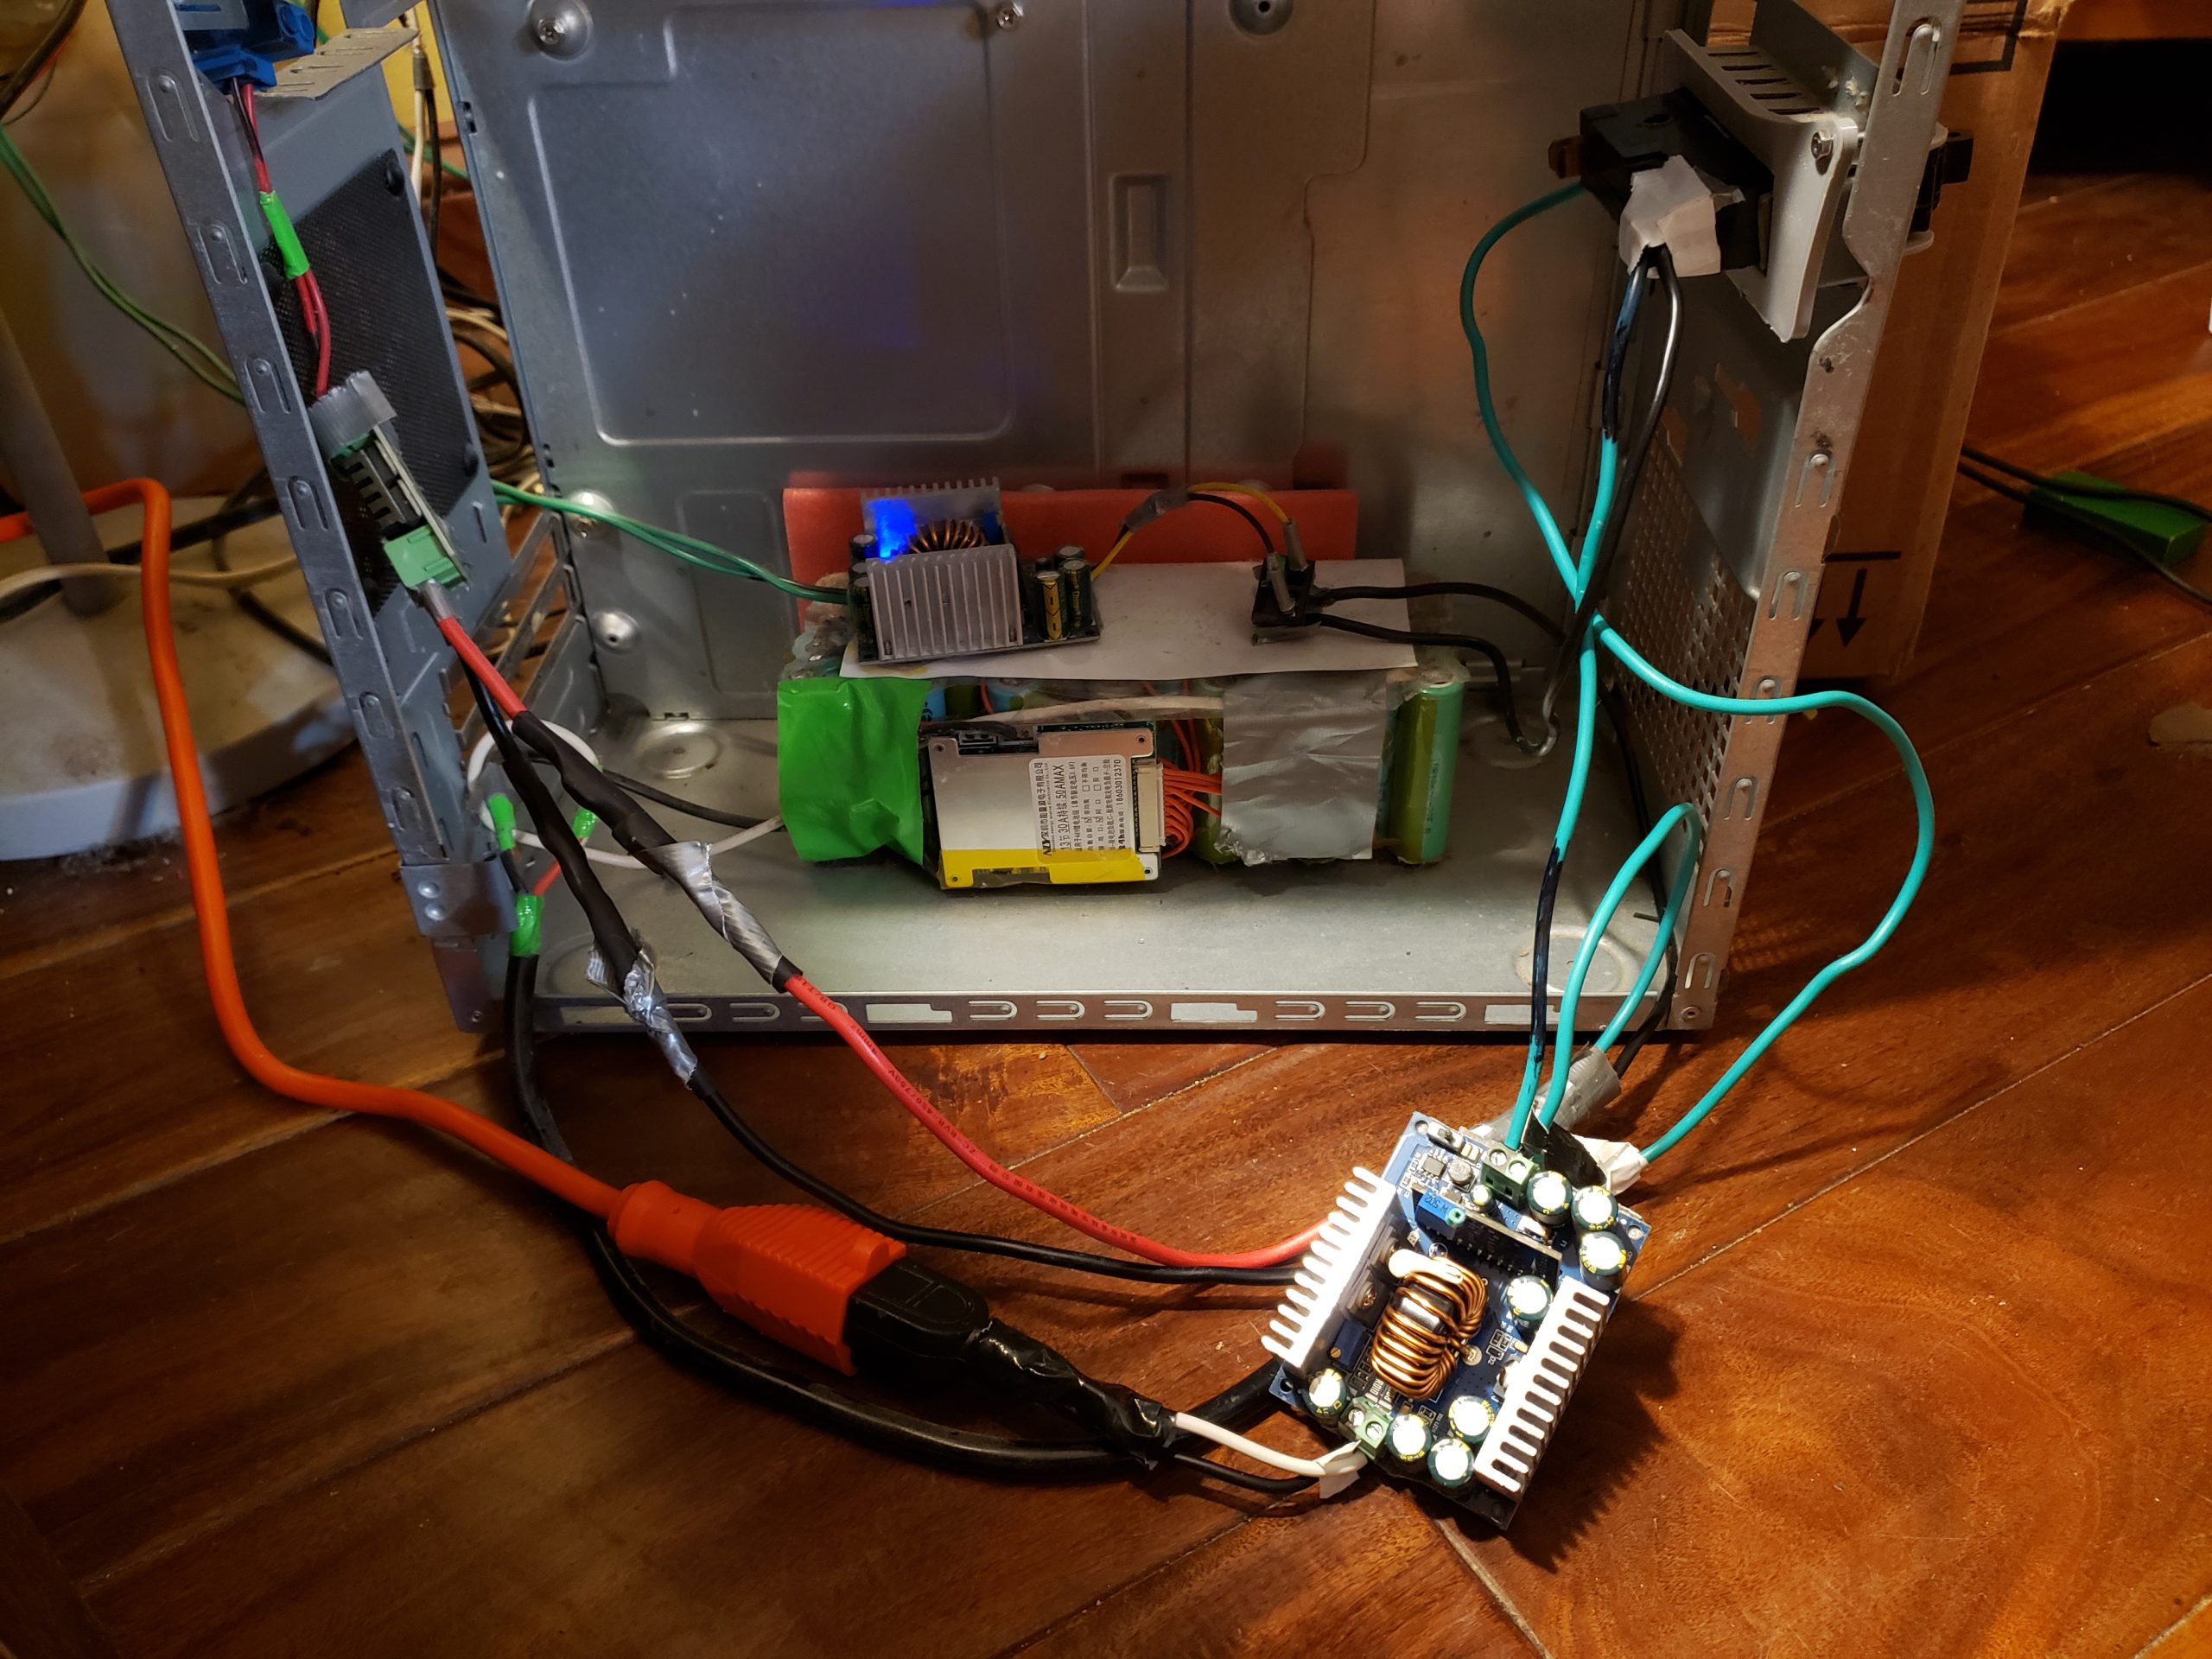
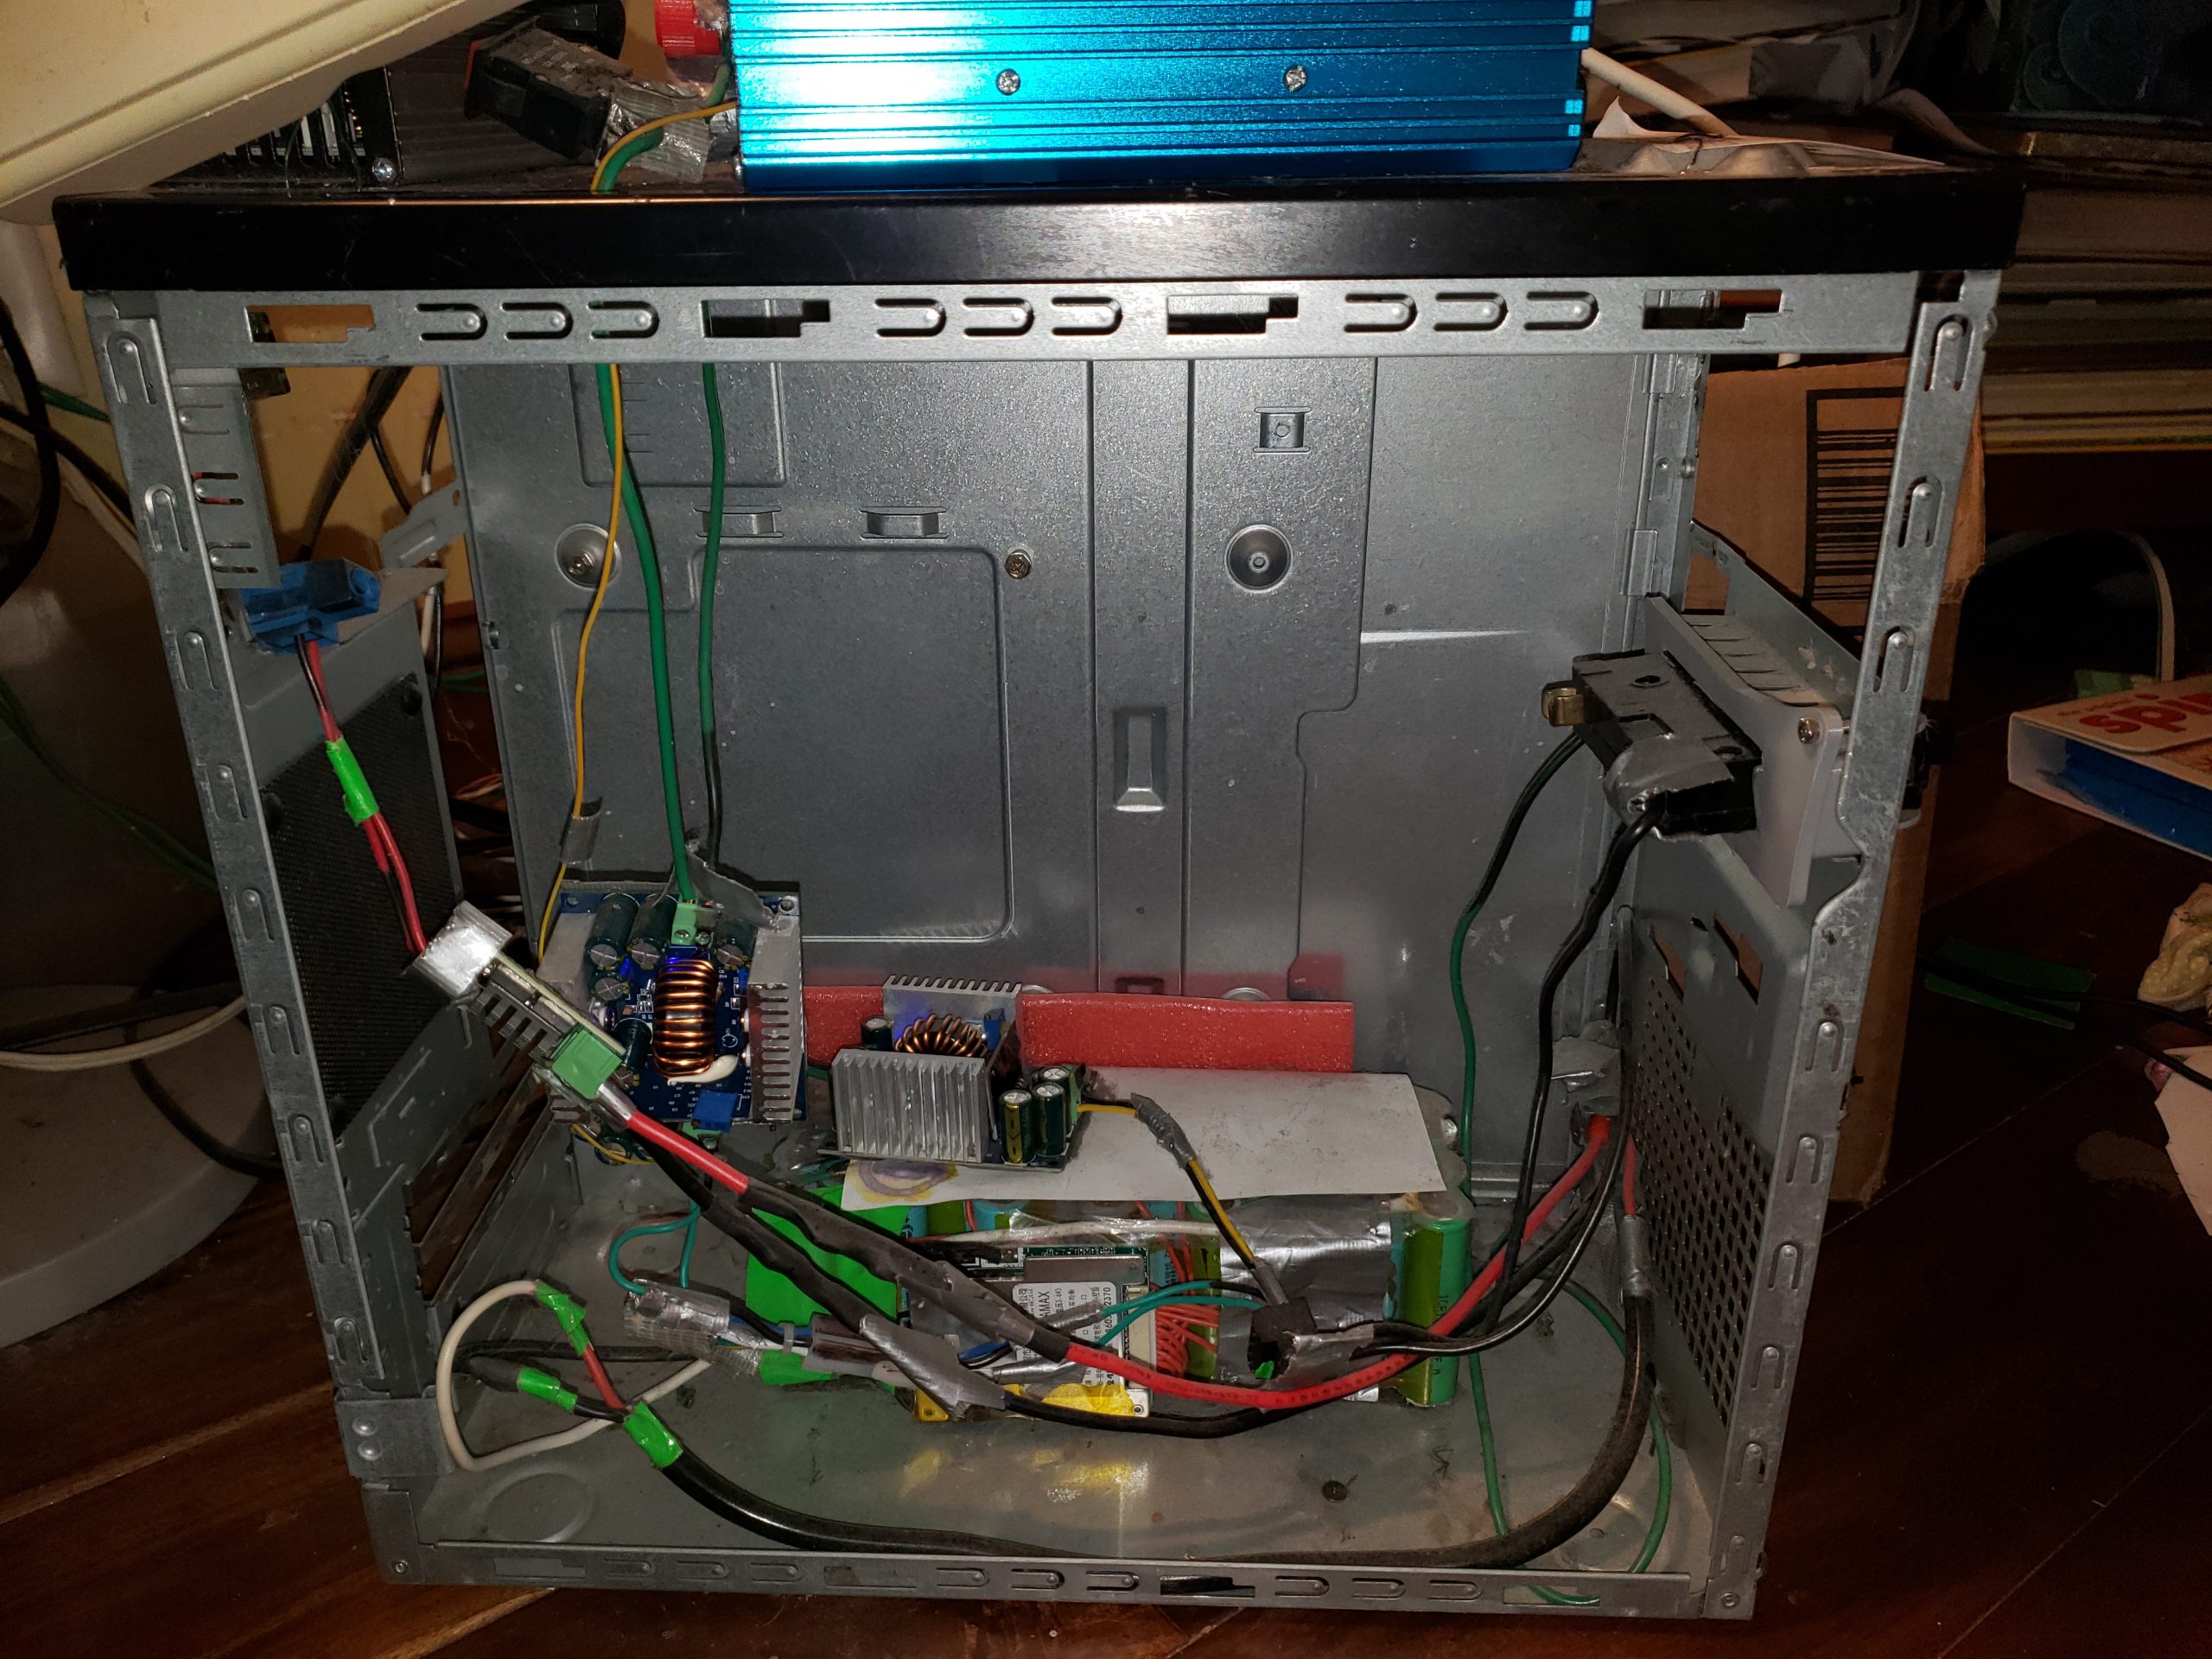
I built this solar system a long time ago back when I built my custom solar panel. I then adapted it for my 24V solar setup. The voltages are all over the place because of this. I get 24V from the panels, convert it to 54V for the 13S battery, then I convert that to various voltages for my other systems. The battery should have a nominal voltage of 48.1V but in reality it is basically flat at 49V because it is a amalgamation of a bunch of old modem batteries. I really need to get rid of it and setup a proper 24V system. Maybe after the tile project I’ll work on that.
I have the reactor wired through a buck converter to the battery (because at 54V it would pull 999A and explode). I’m running 3.5V across the cell and this seems to be plenty. At 5V the converter starts to heat up more then I want and 3.5V is fast enough anyway. Right now I manually switch the reactor but eventually I’ll have the Arduino start it when the solar panels are generating power.
The Circuit Board Should Have the Spotlight
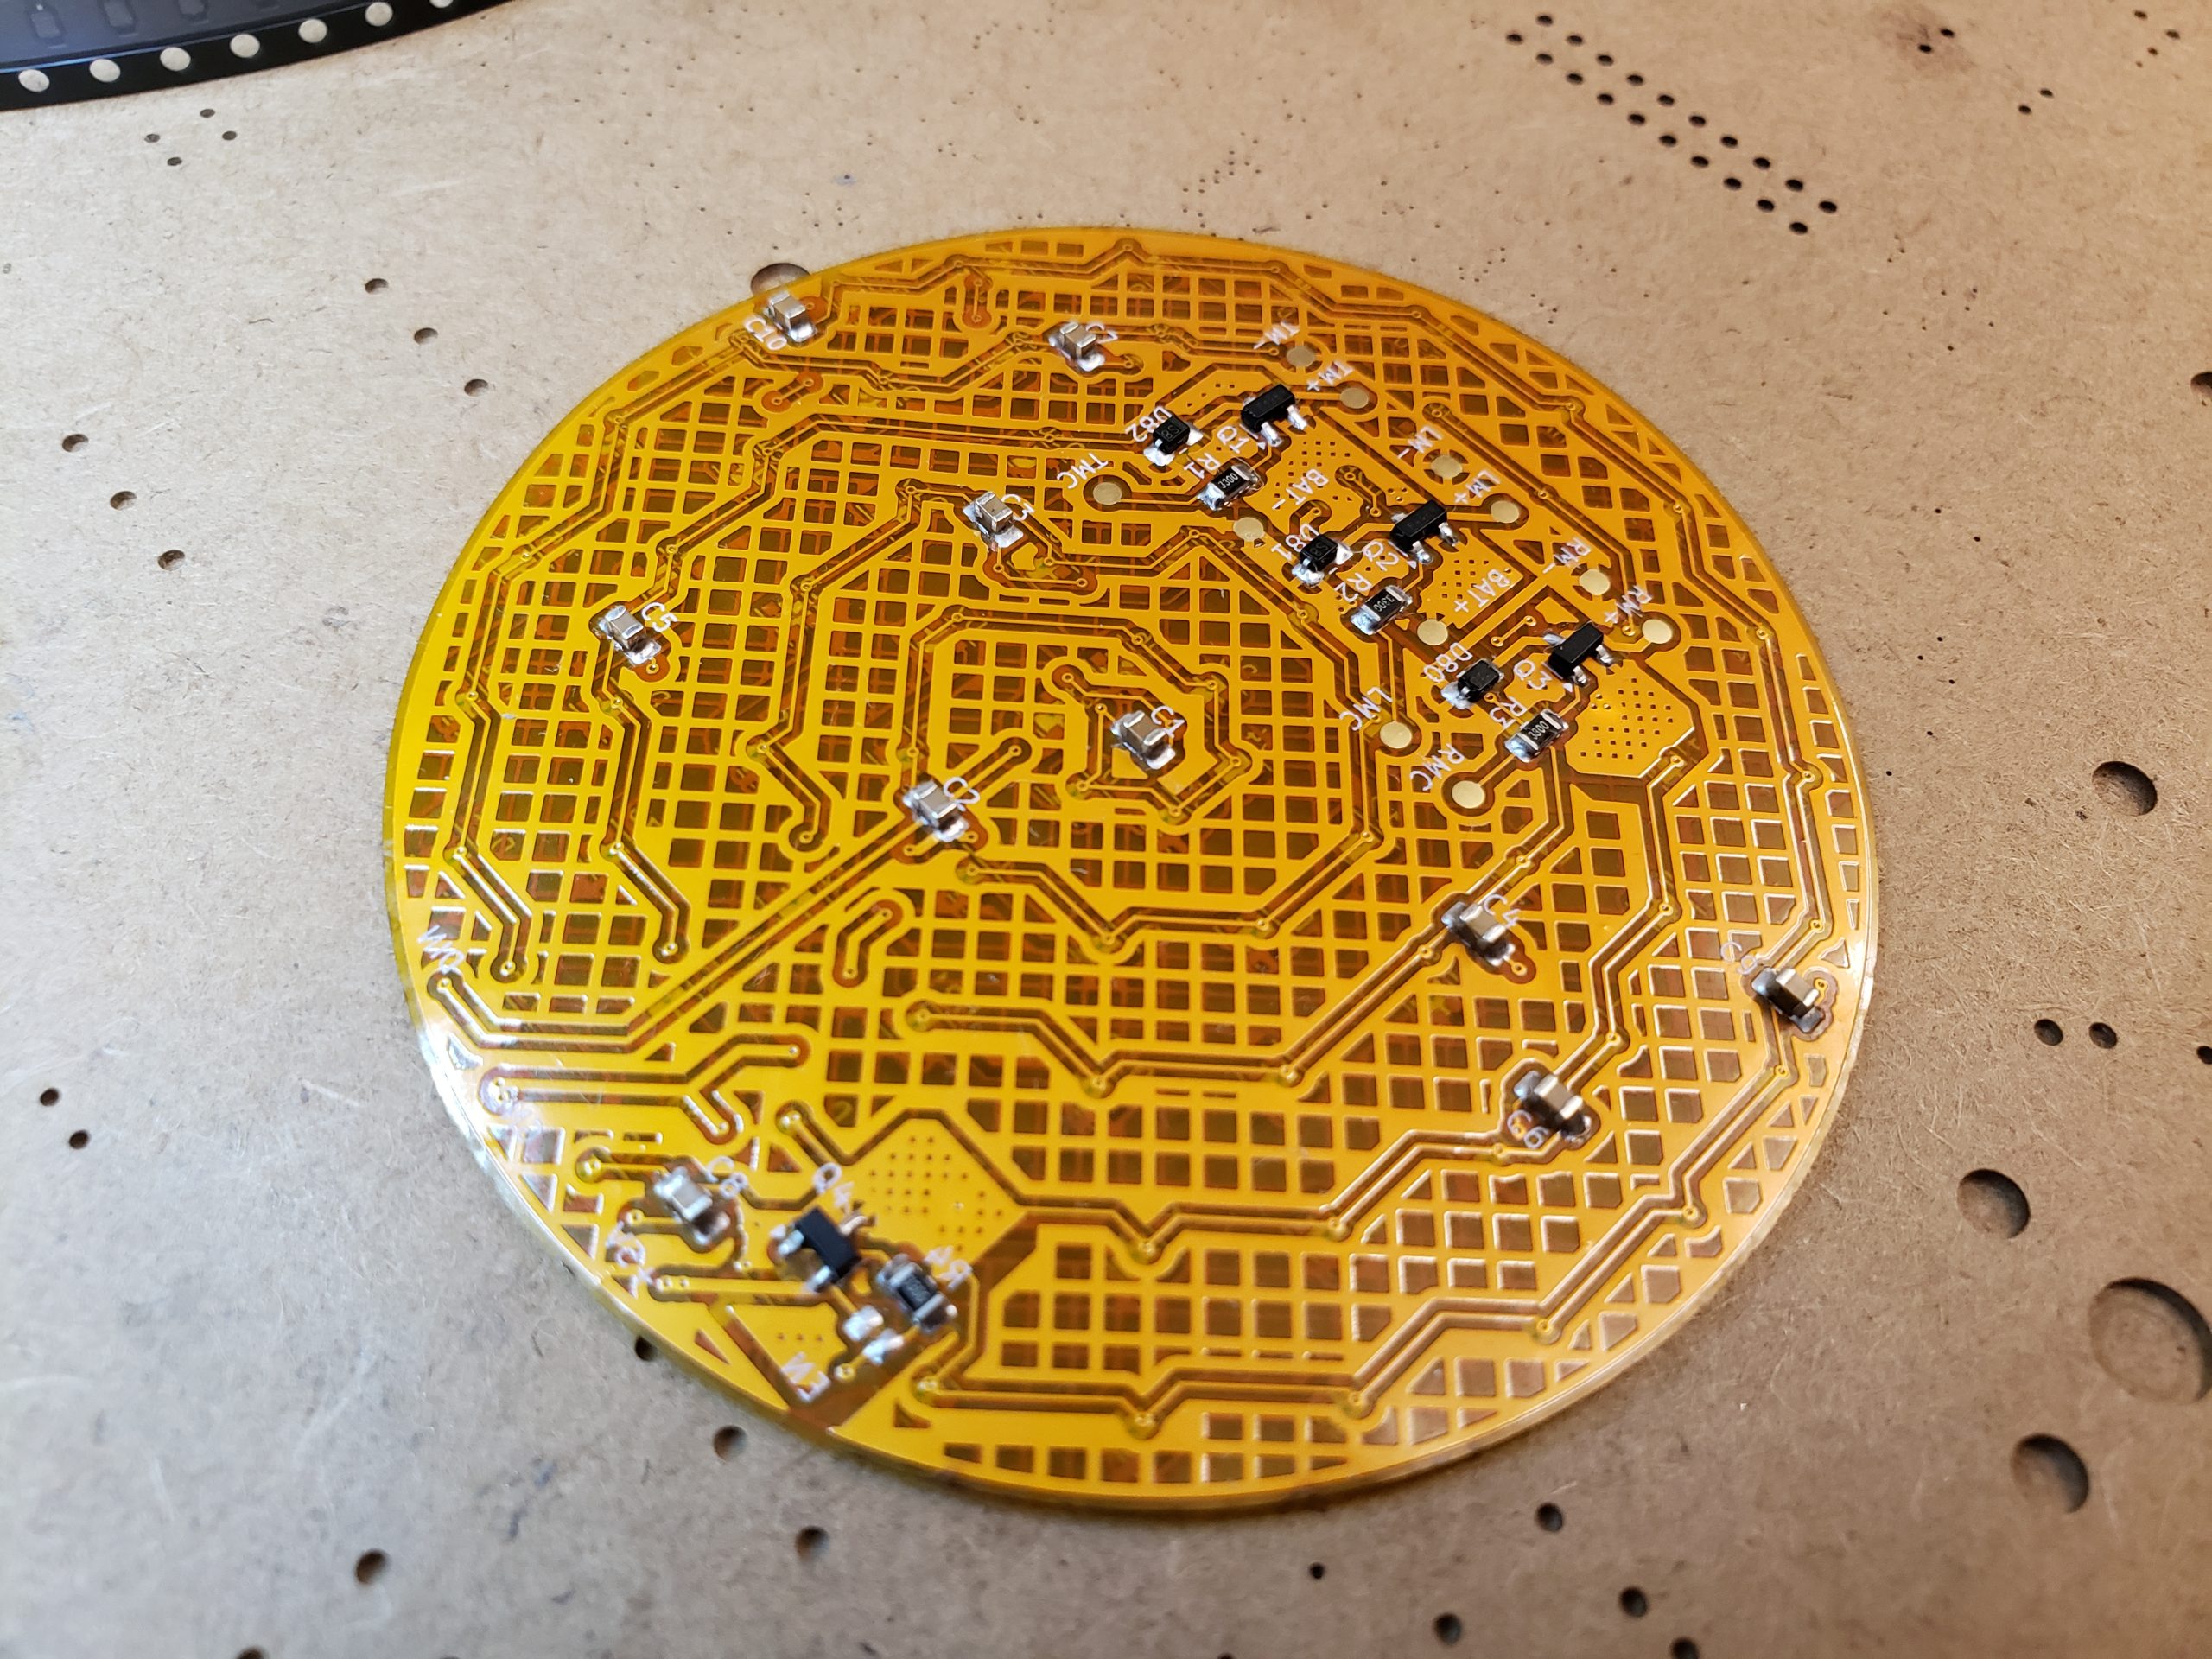
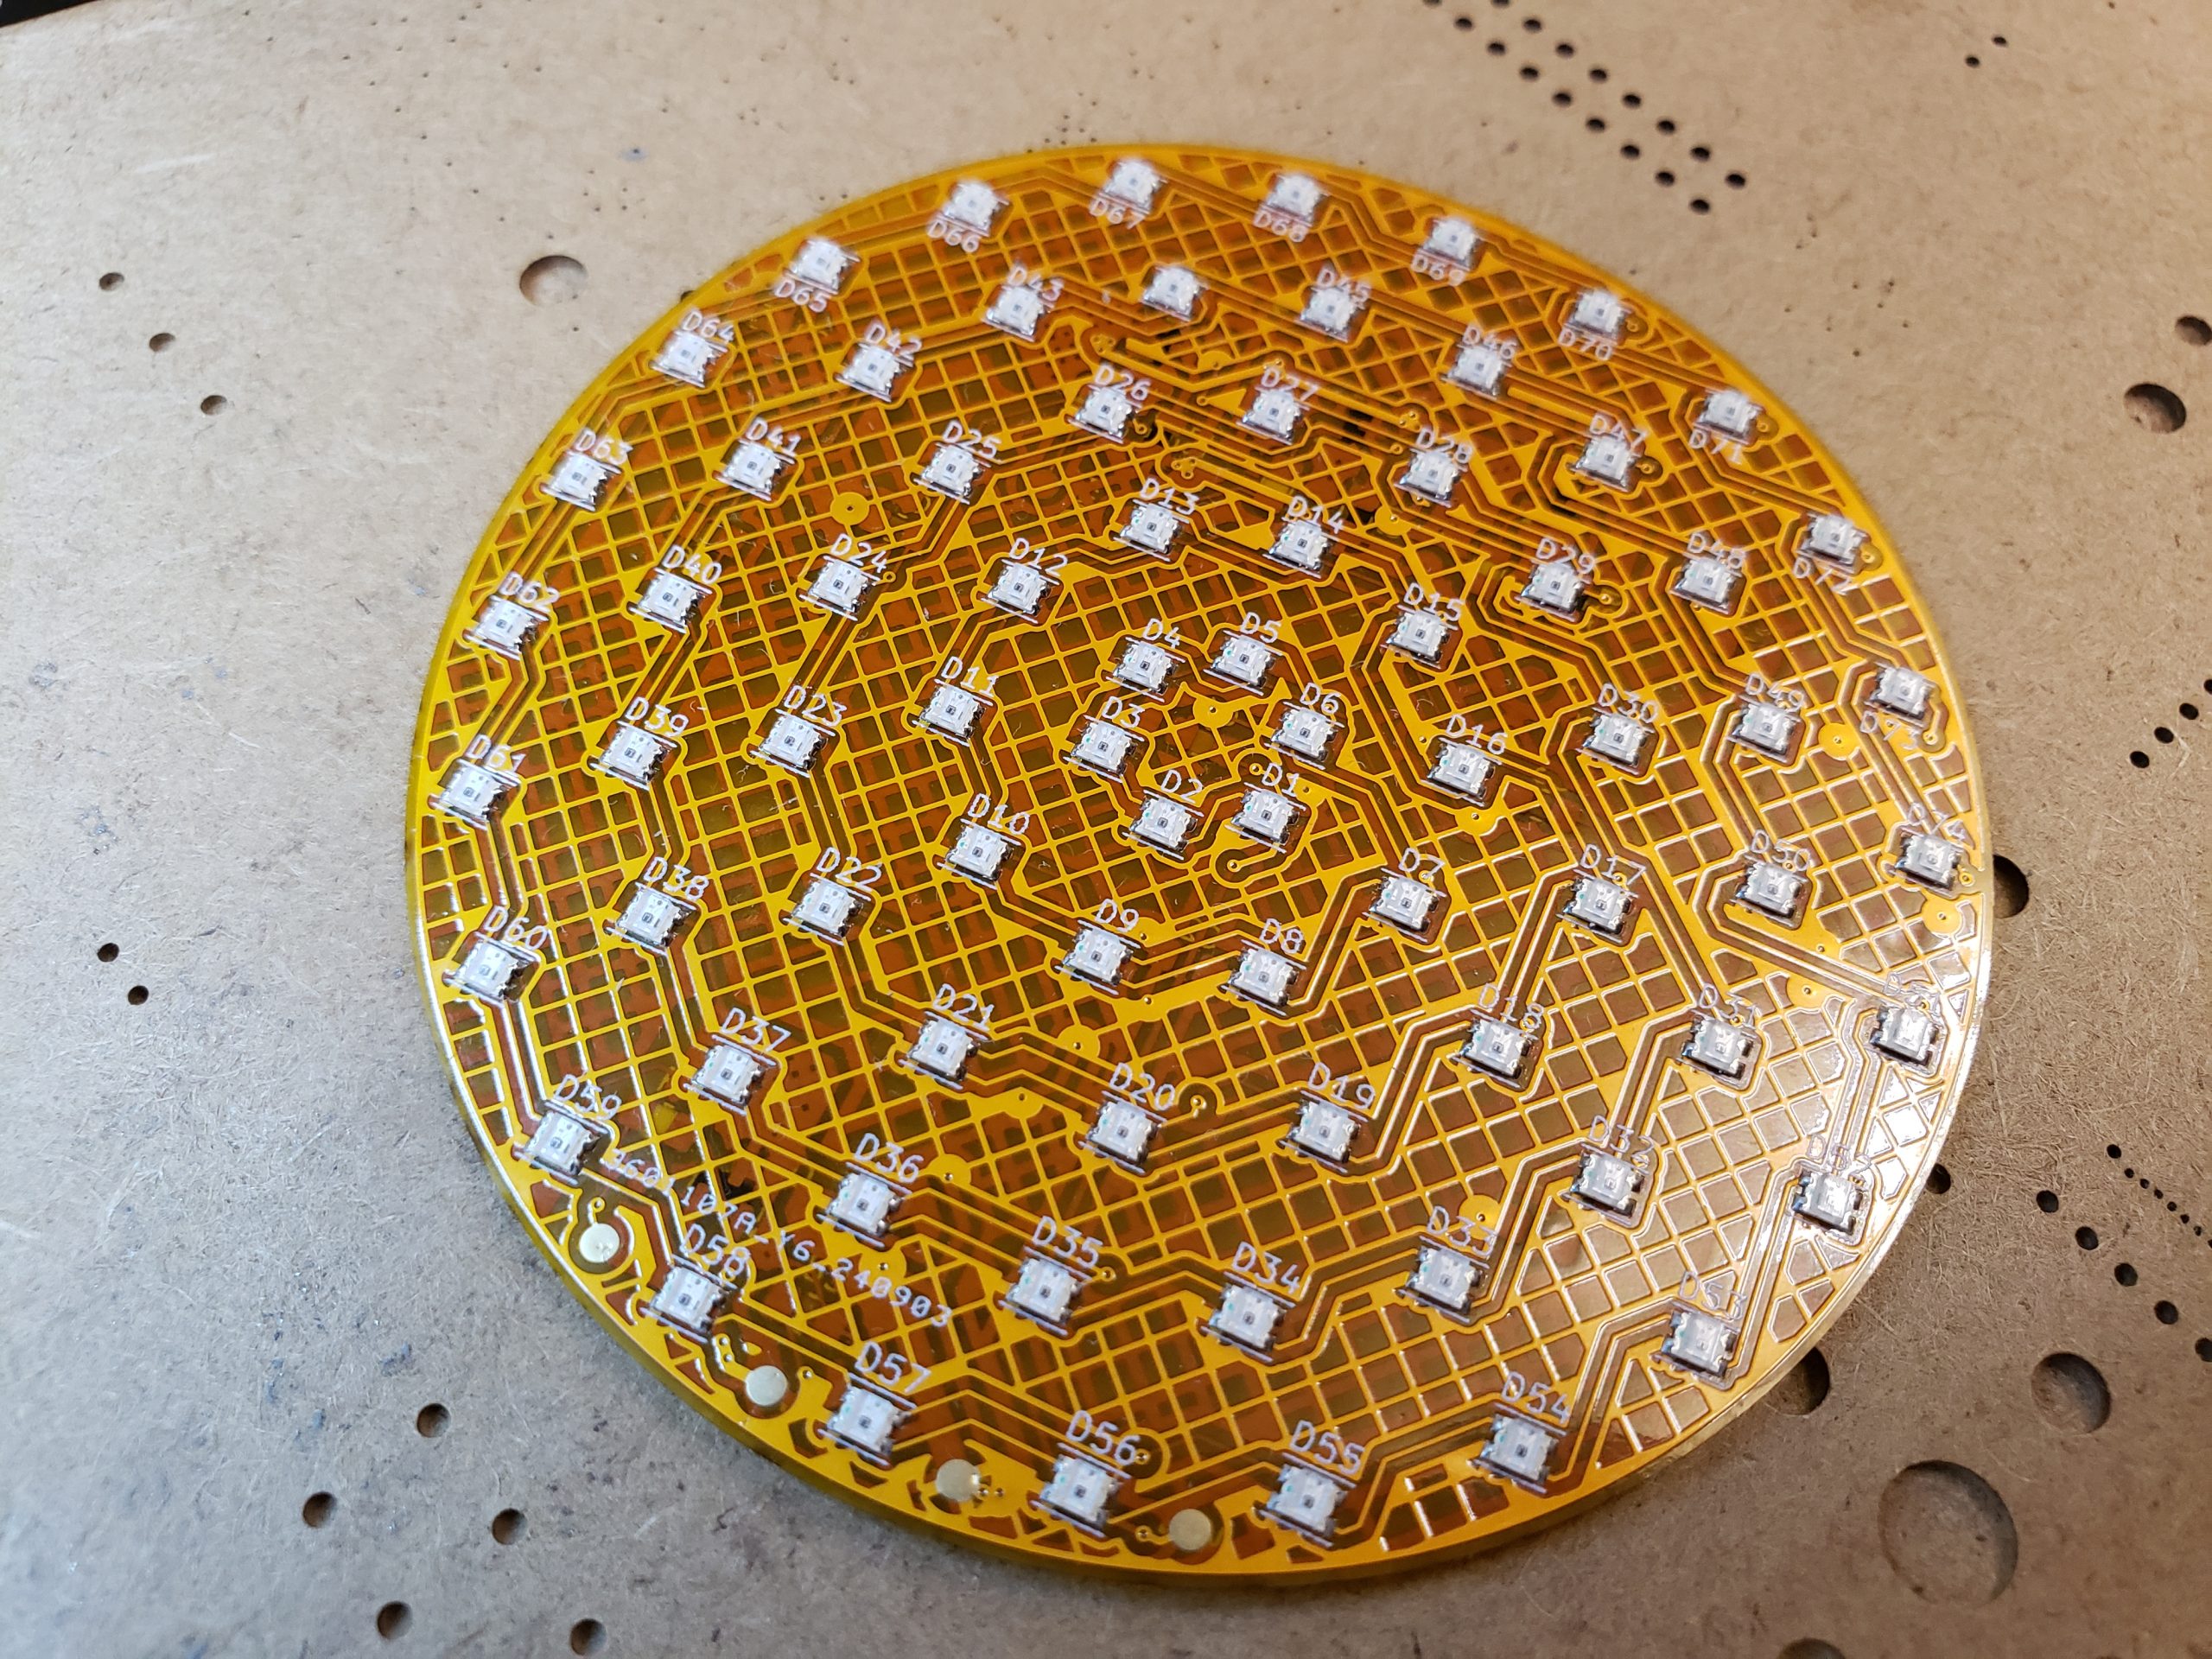
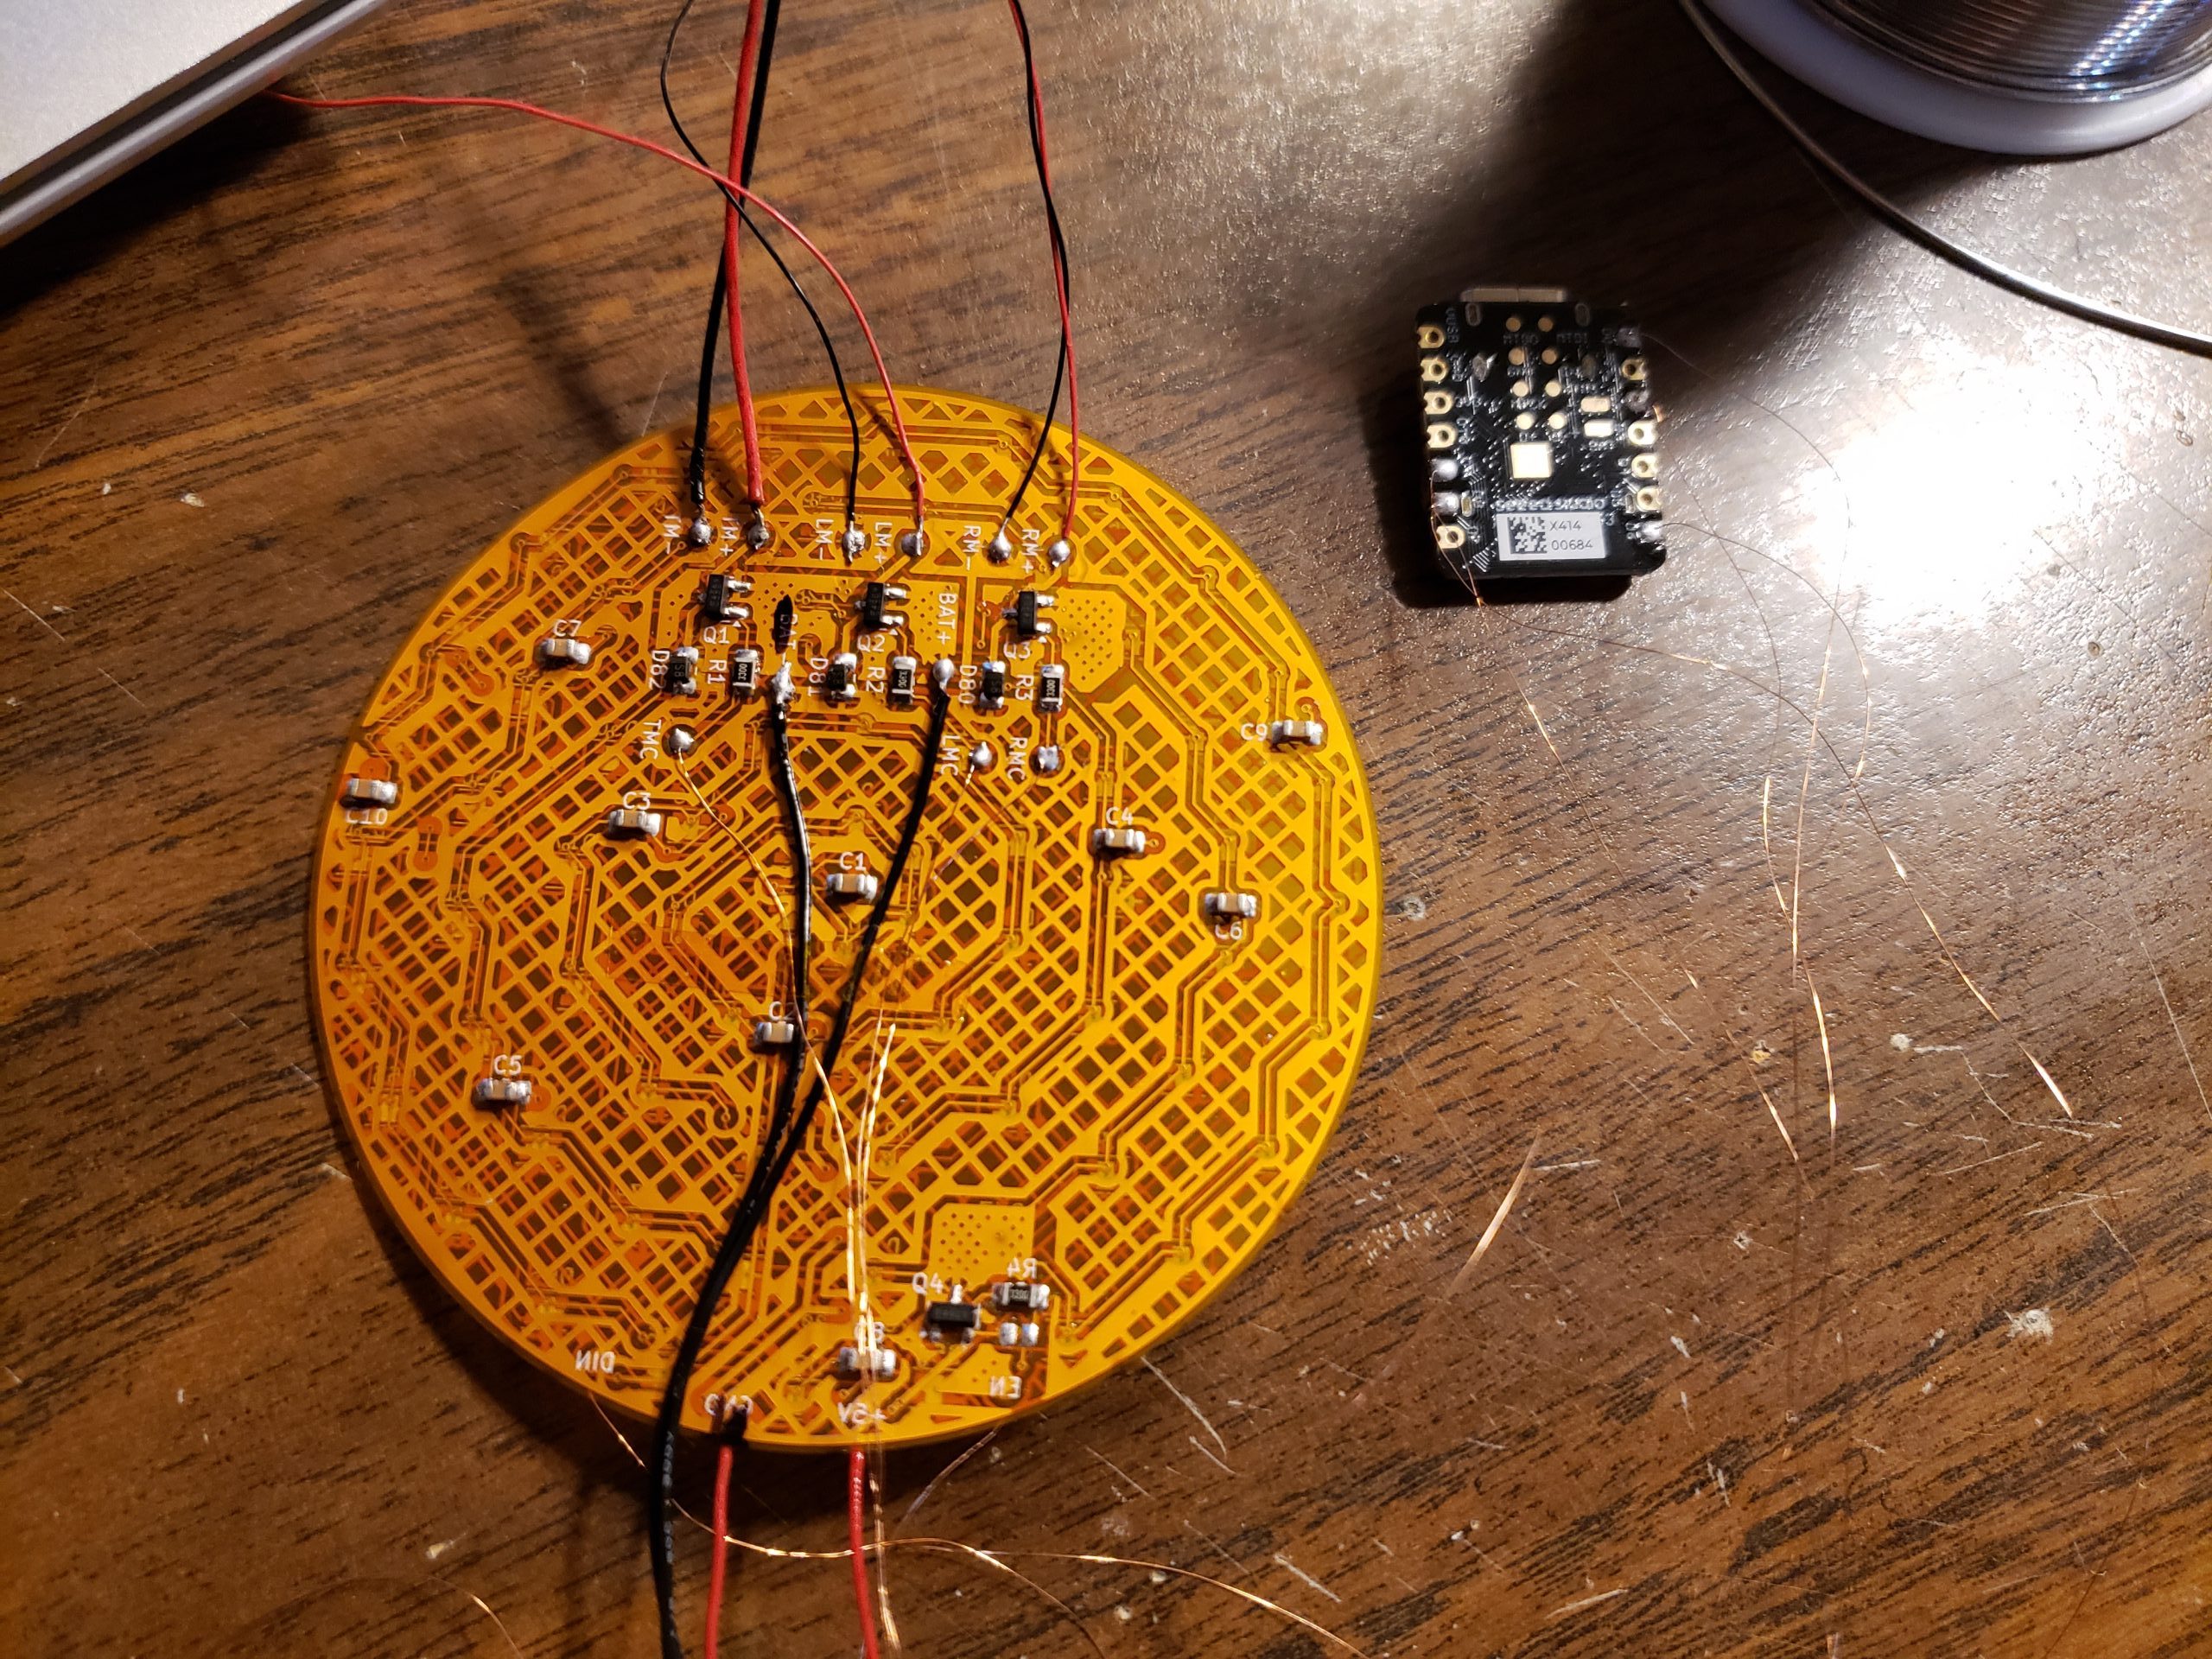
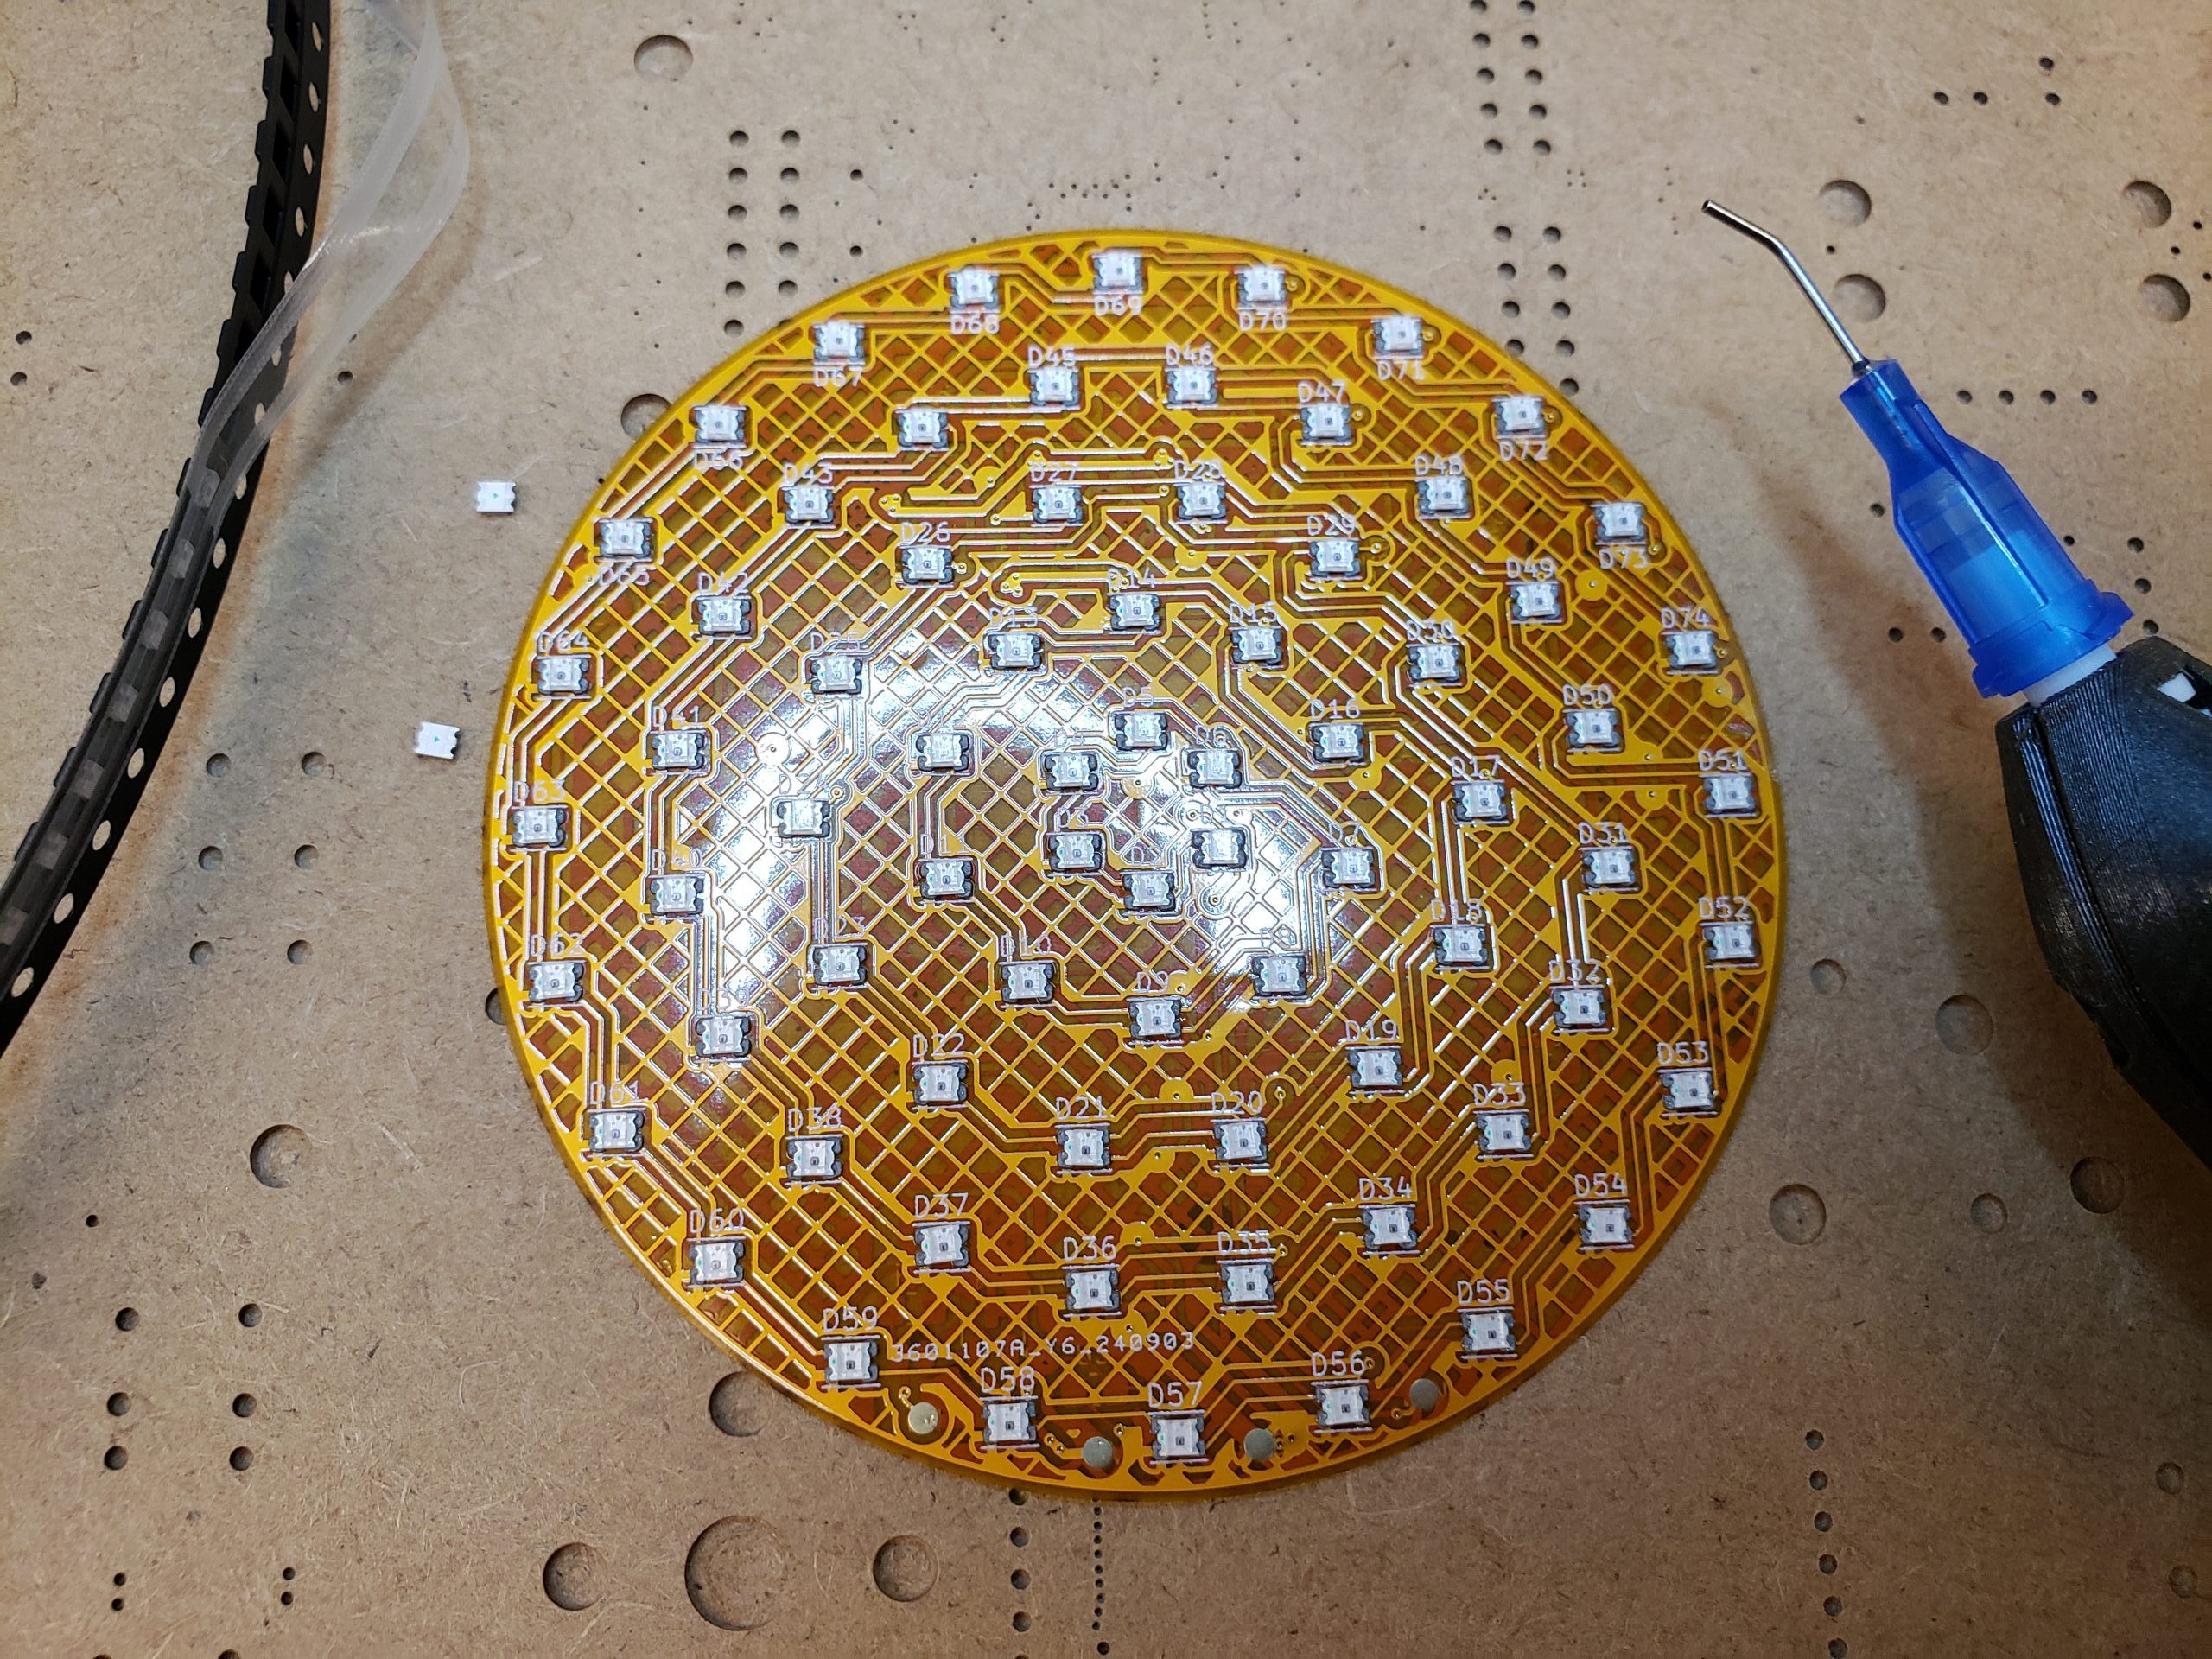
VU had the equipment I needed to get this board assembled in no time
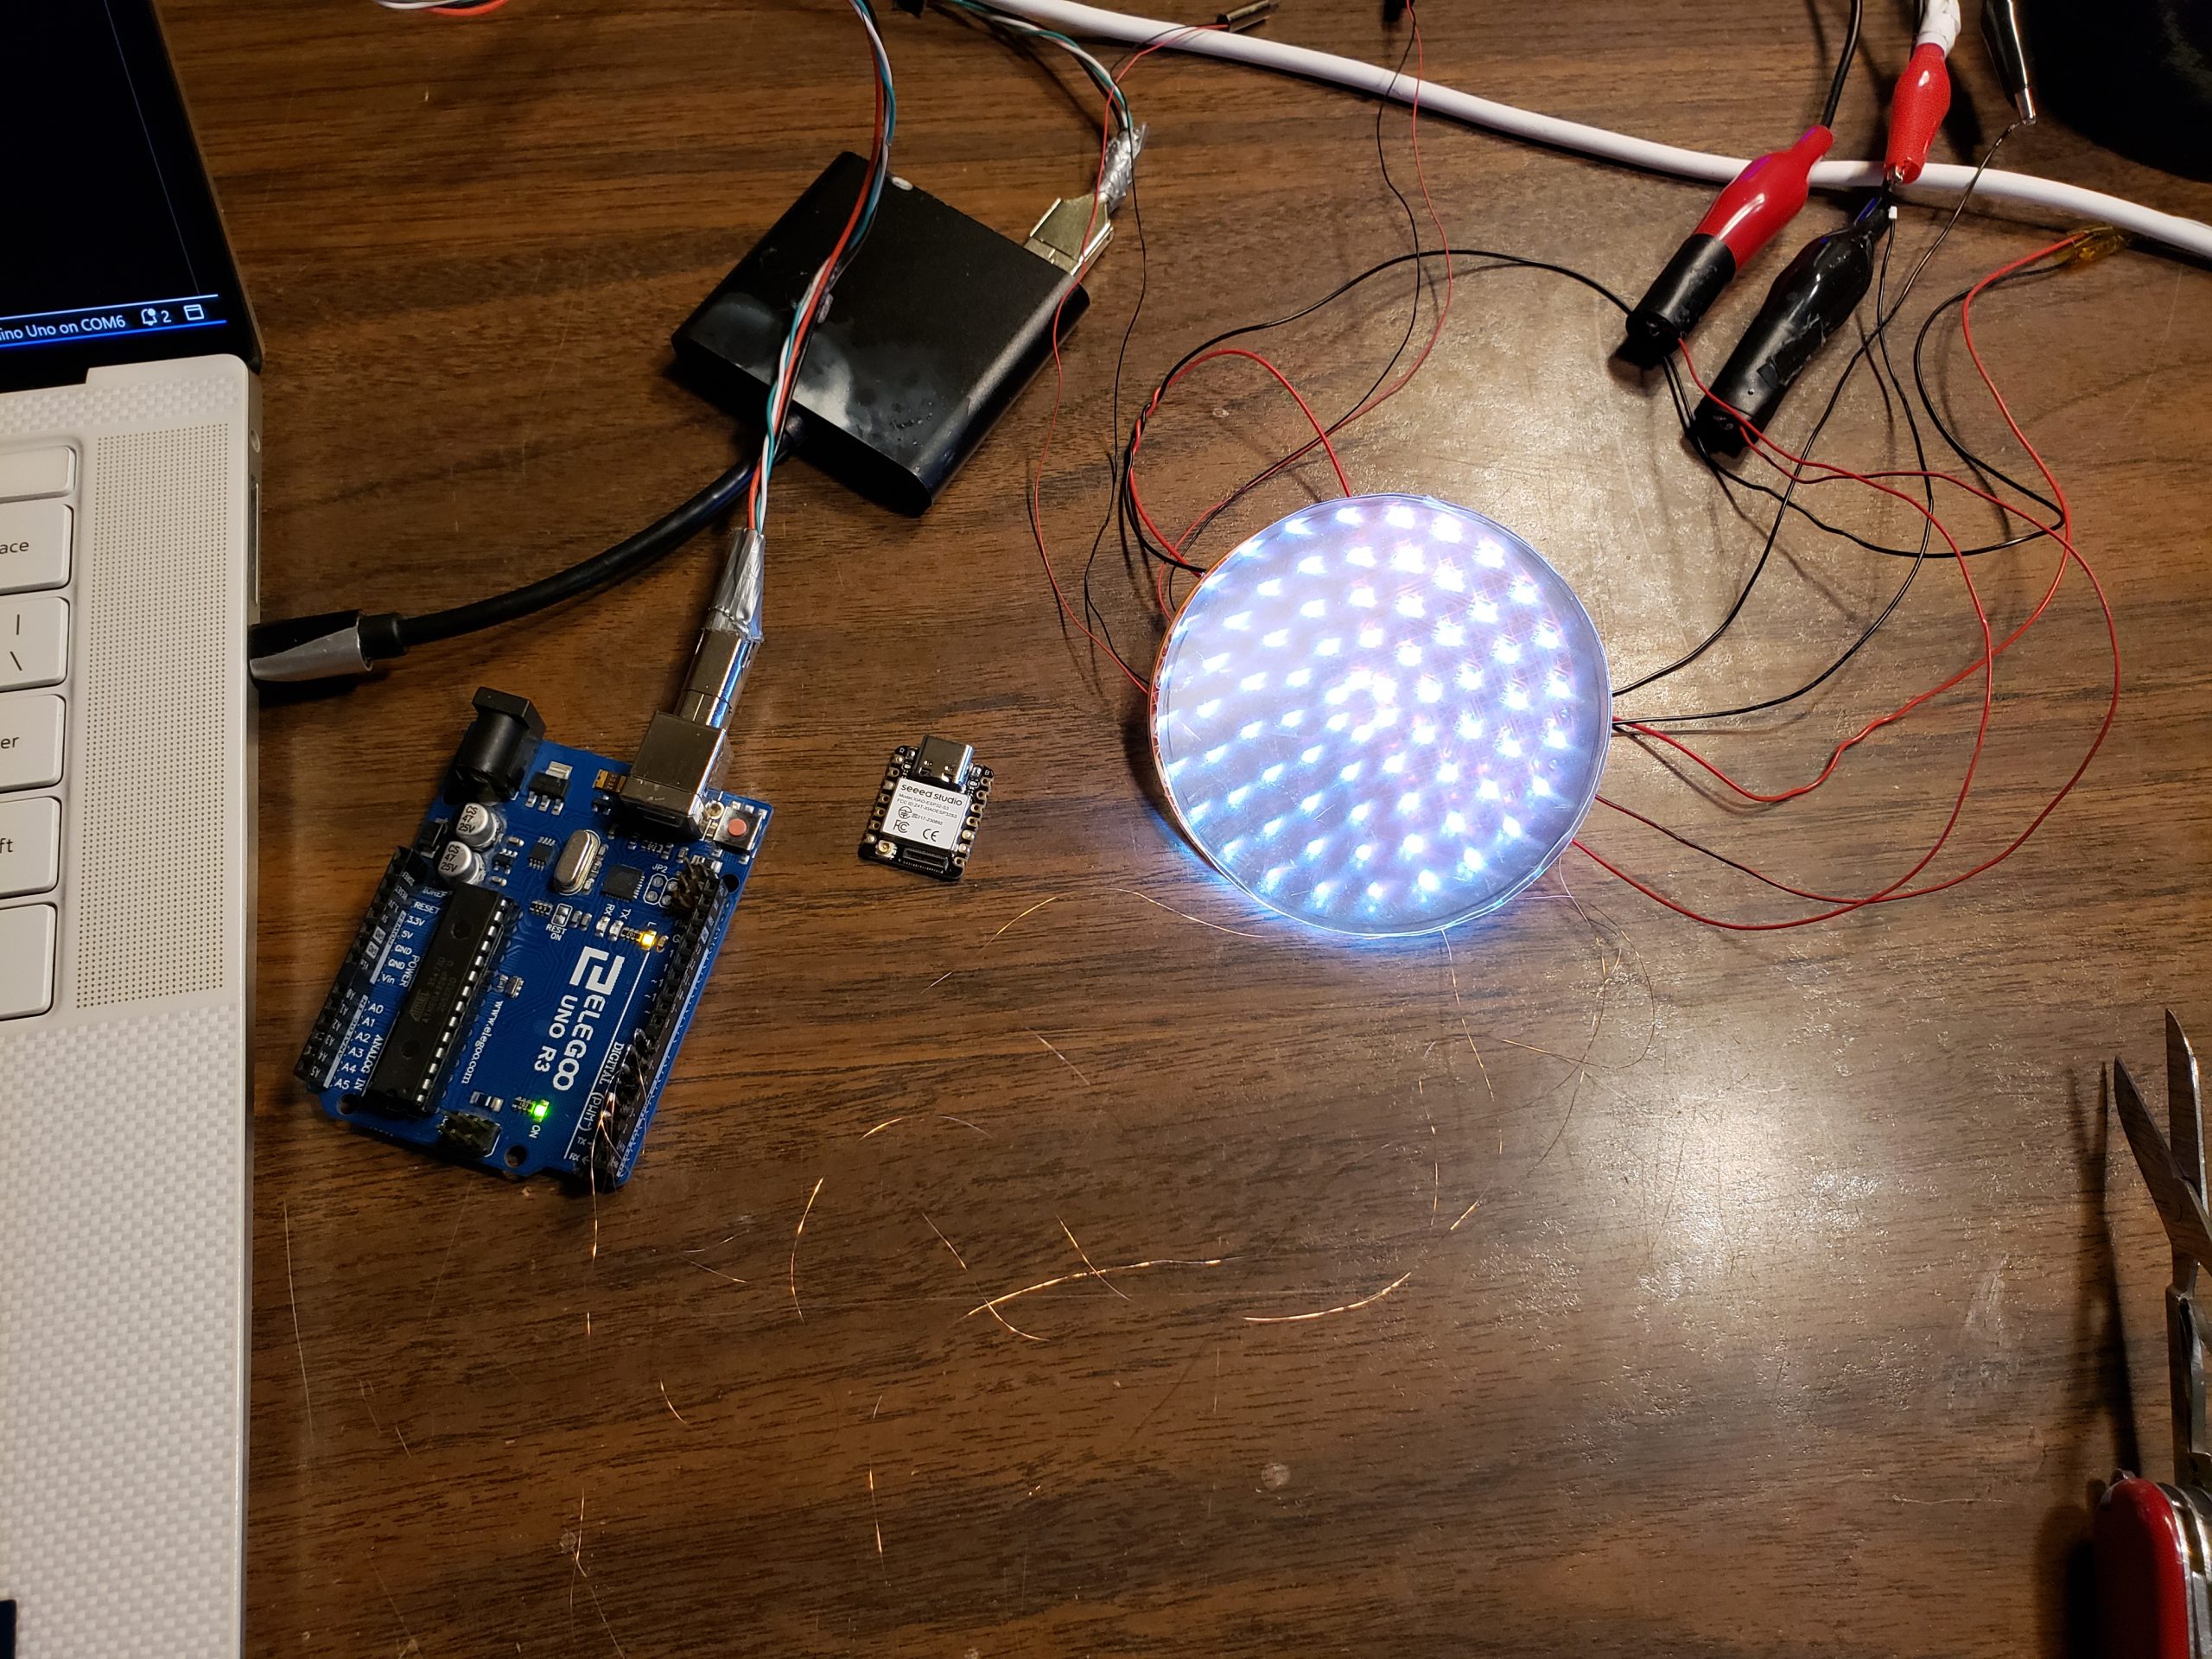
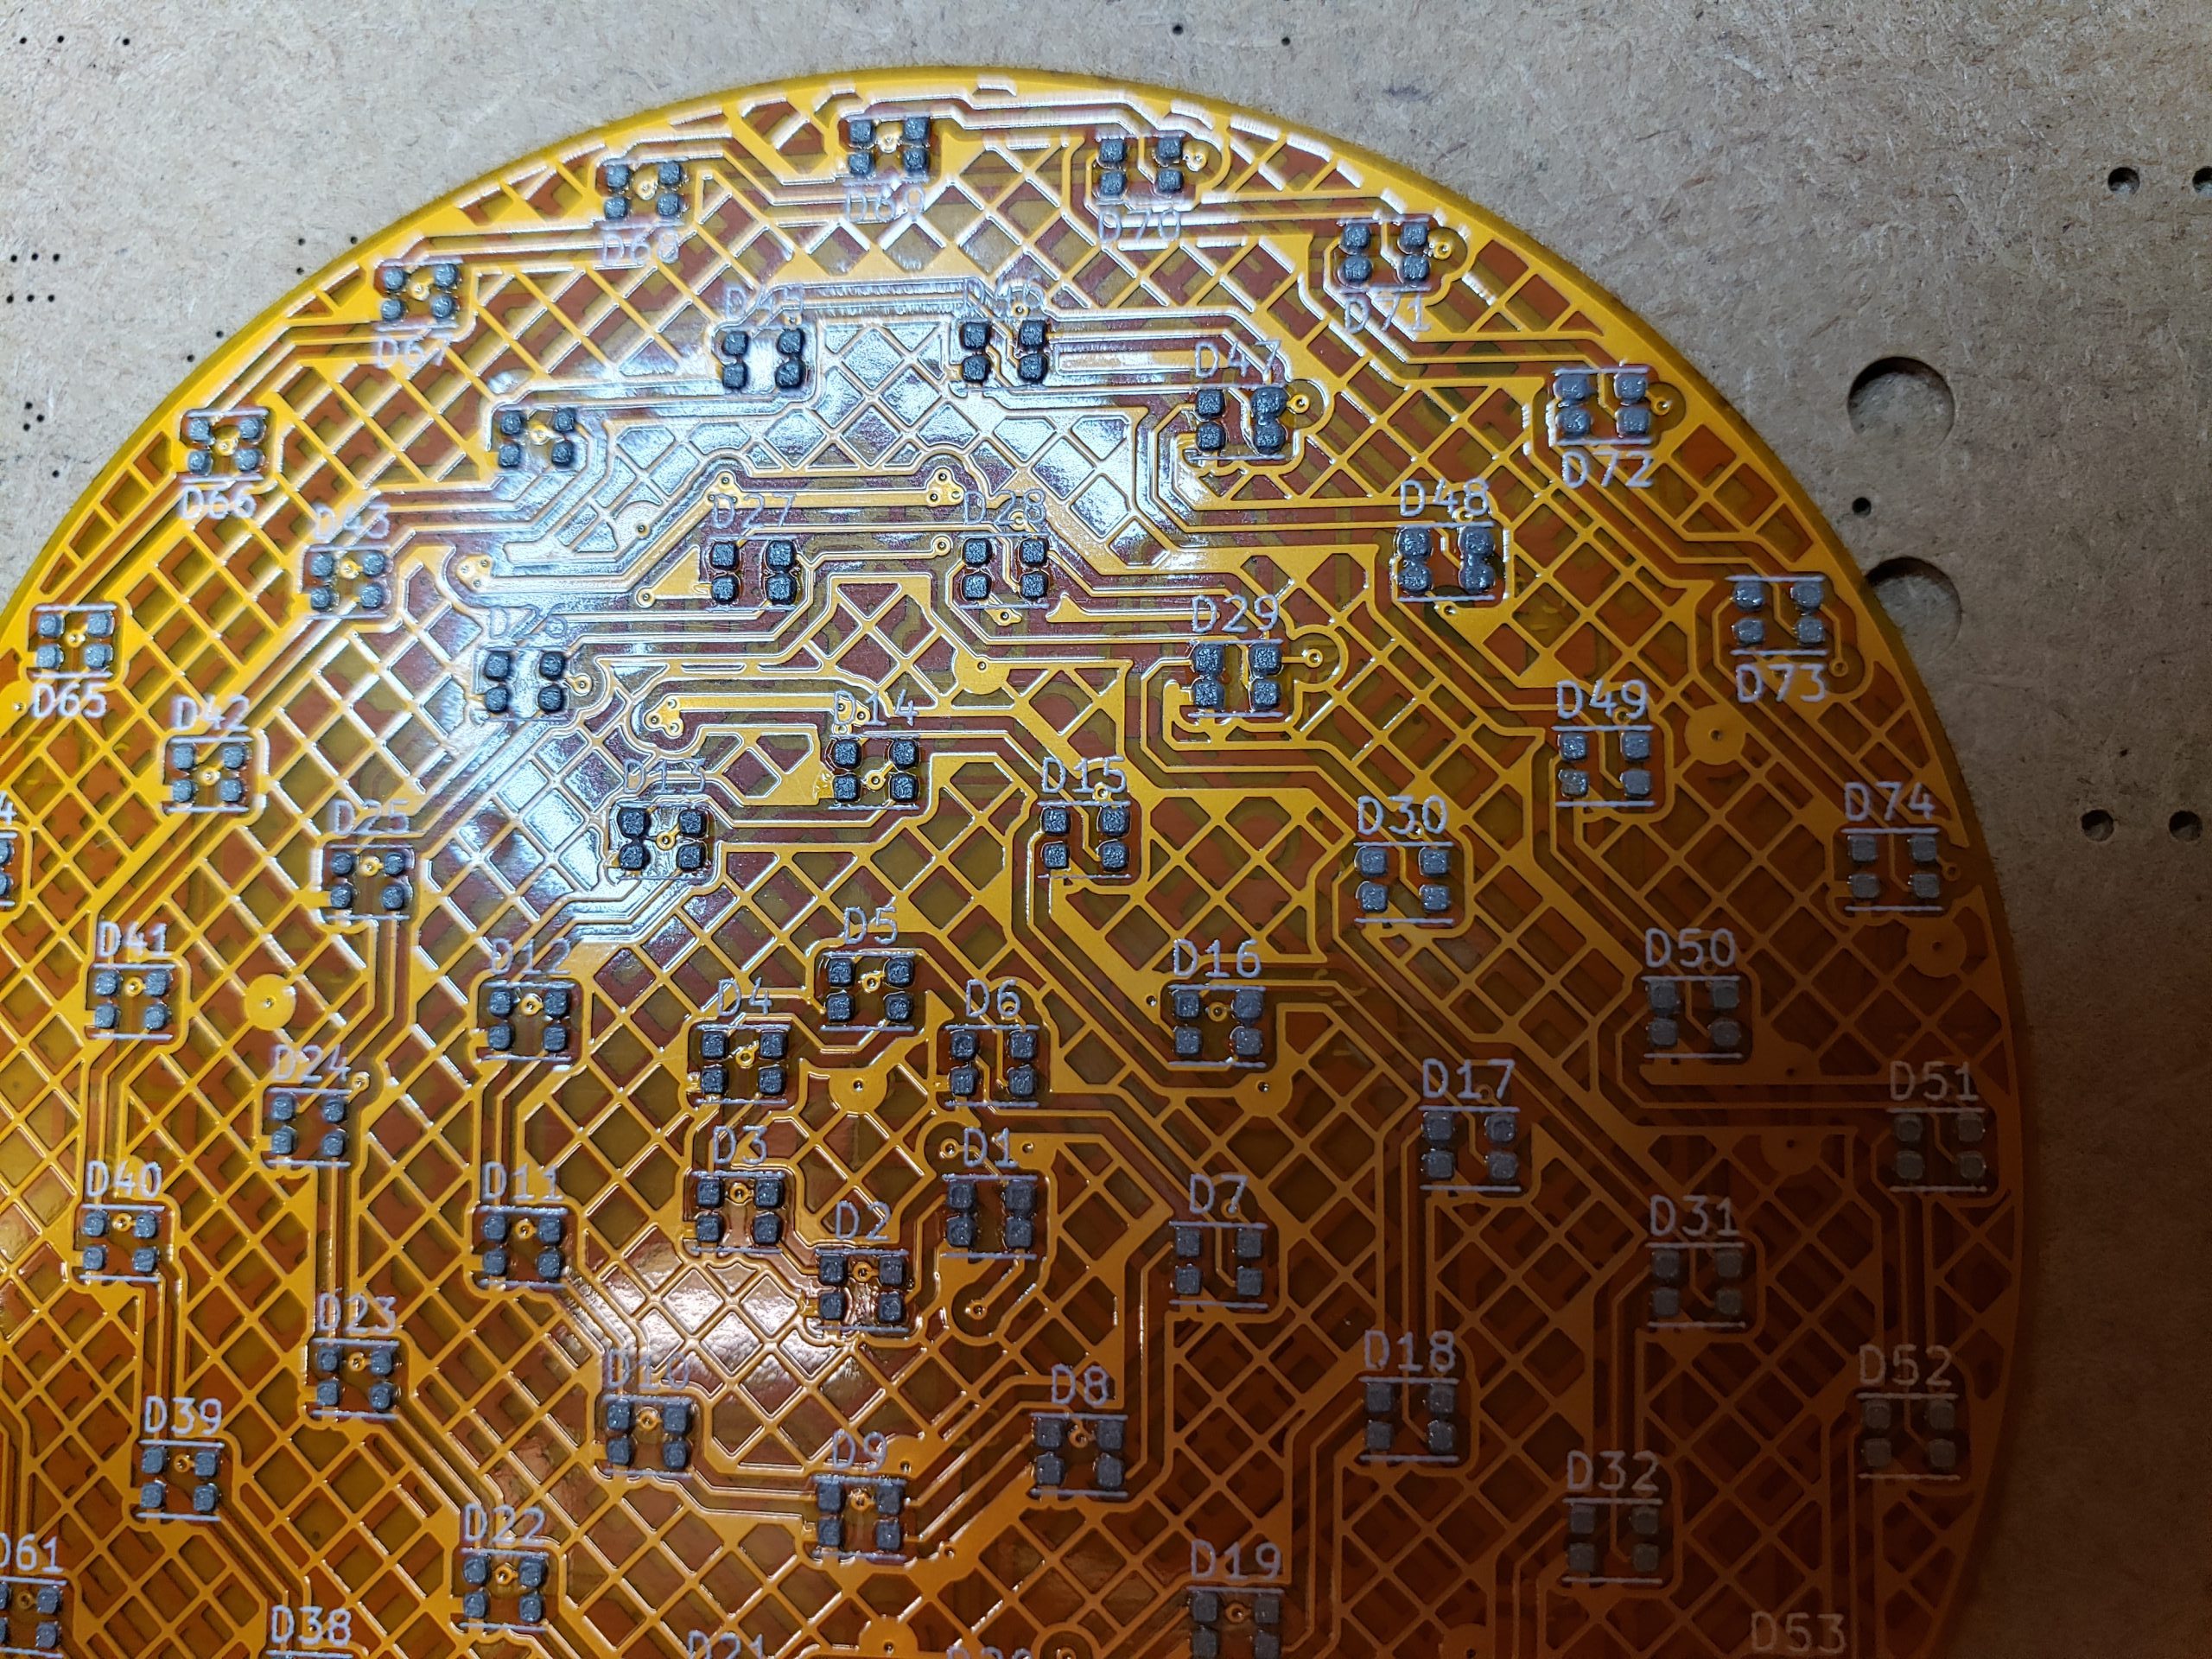
There are more pictures in the gallery because the reactor stole the spotlight in this post. The board isn’t very complicated but I’m surprised that all the LEDs and transistors worked first try. Well, they didn’t work with the esp32 first try. The 3.3V pins can’t control the gates or the LEDs so I might need to play around with the voltages a little bit. I ordered some 5V level shifters with the rest of the parts so there is an easy fix if all else fails.
This Week's Gallery:
Danger! NaOH
Flexible matrix completed and wired up
H2V3 (fastest one yet)
Plans For Next Week:
I have some issues to work out for sure
I want to automate the reactor but I probably need a 20A relay to do it safely. The output from the reactor still seems to have oxygen and other contaminants in it so I need to look into that more. I also want to get the V2 circuit working properly with the esp32. I also want to get back into some AI testing because there have been a lot of advancements recently (particularly in the image recognition area). I think I’ll get the heatsink for the V100 this week so I might generate some images and/or fire up V1 to test some new AI models!