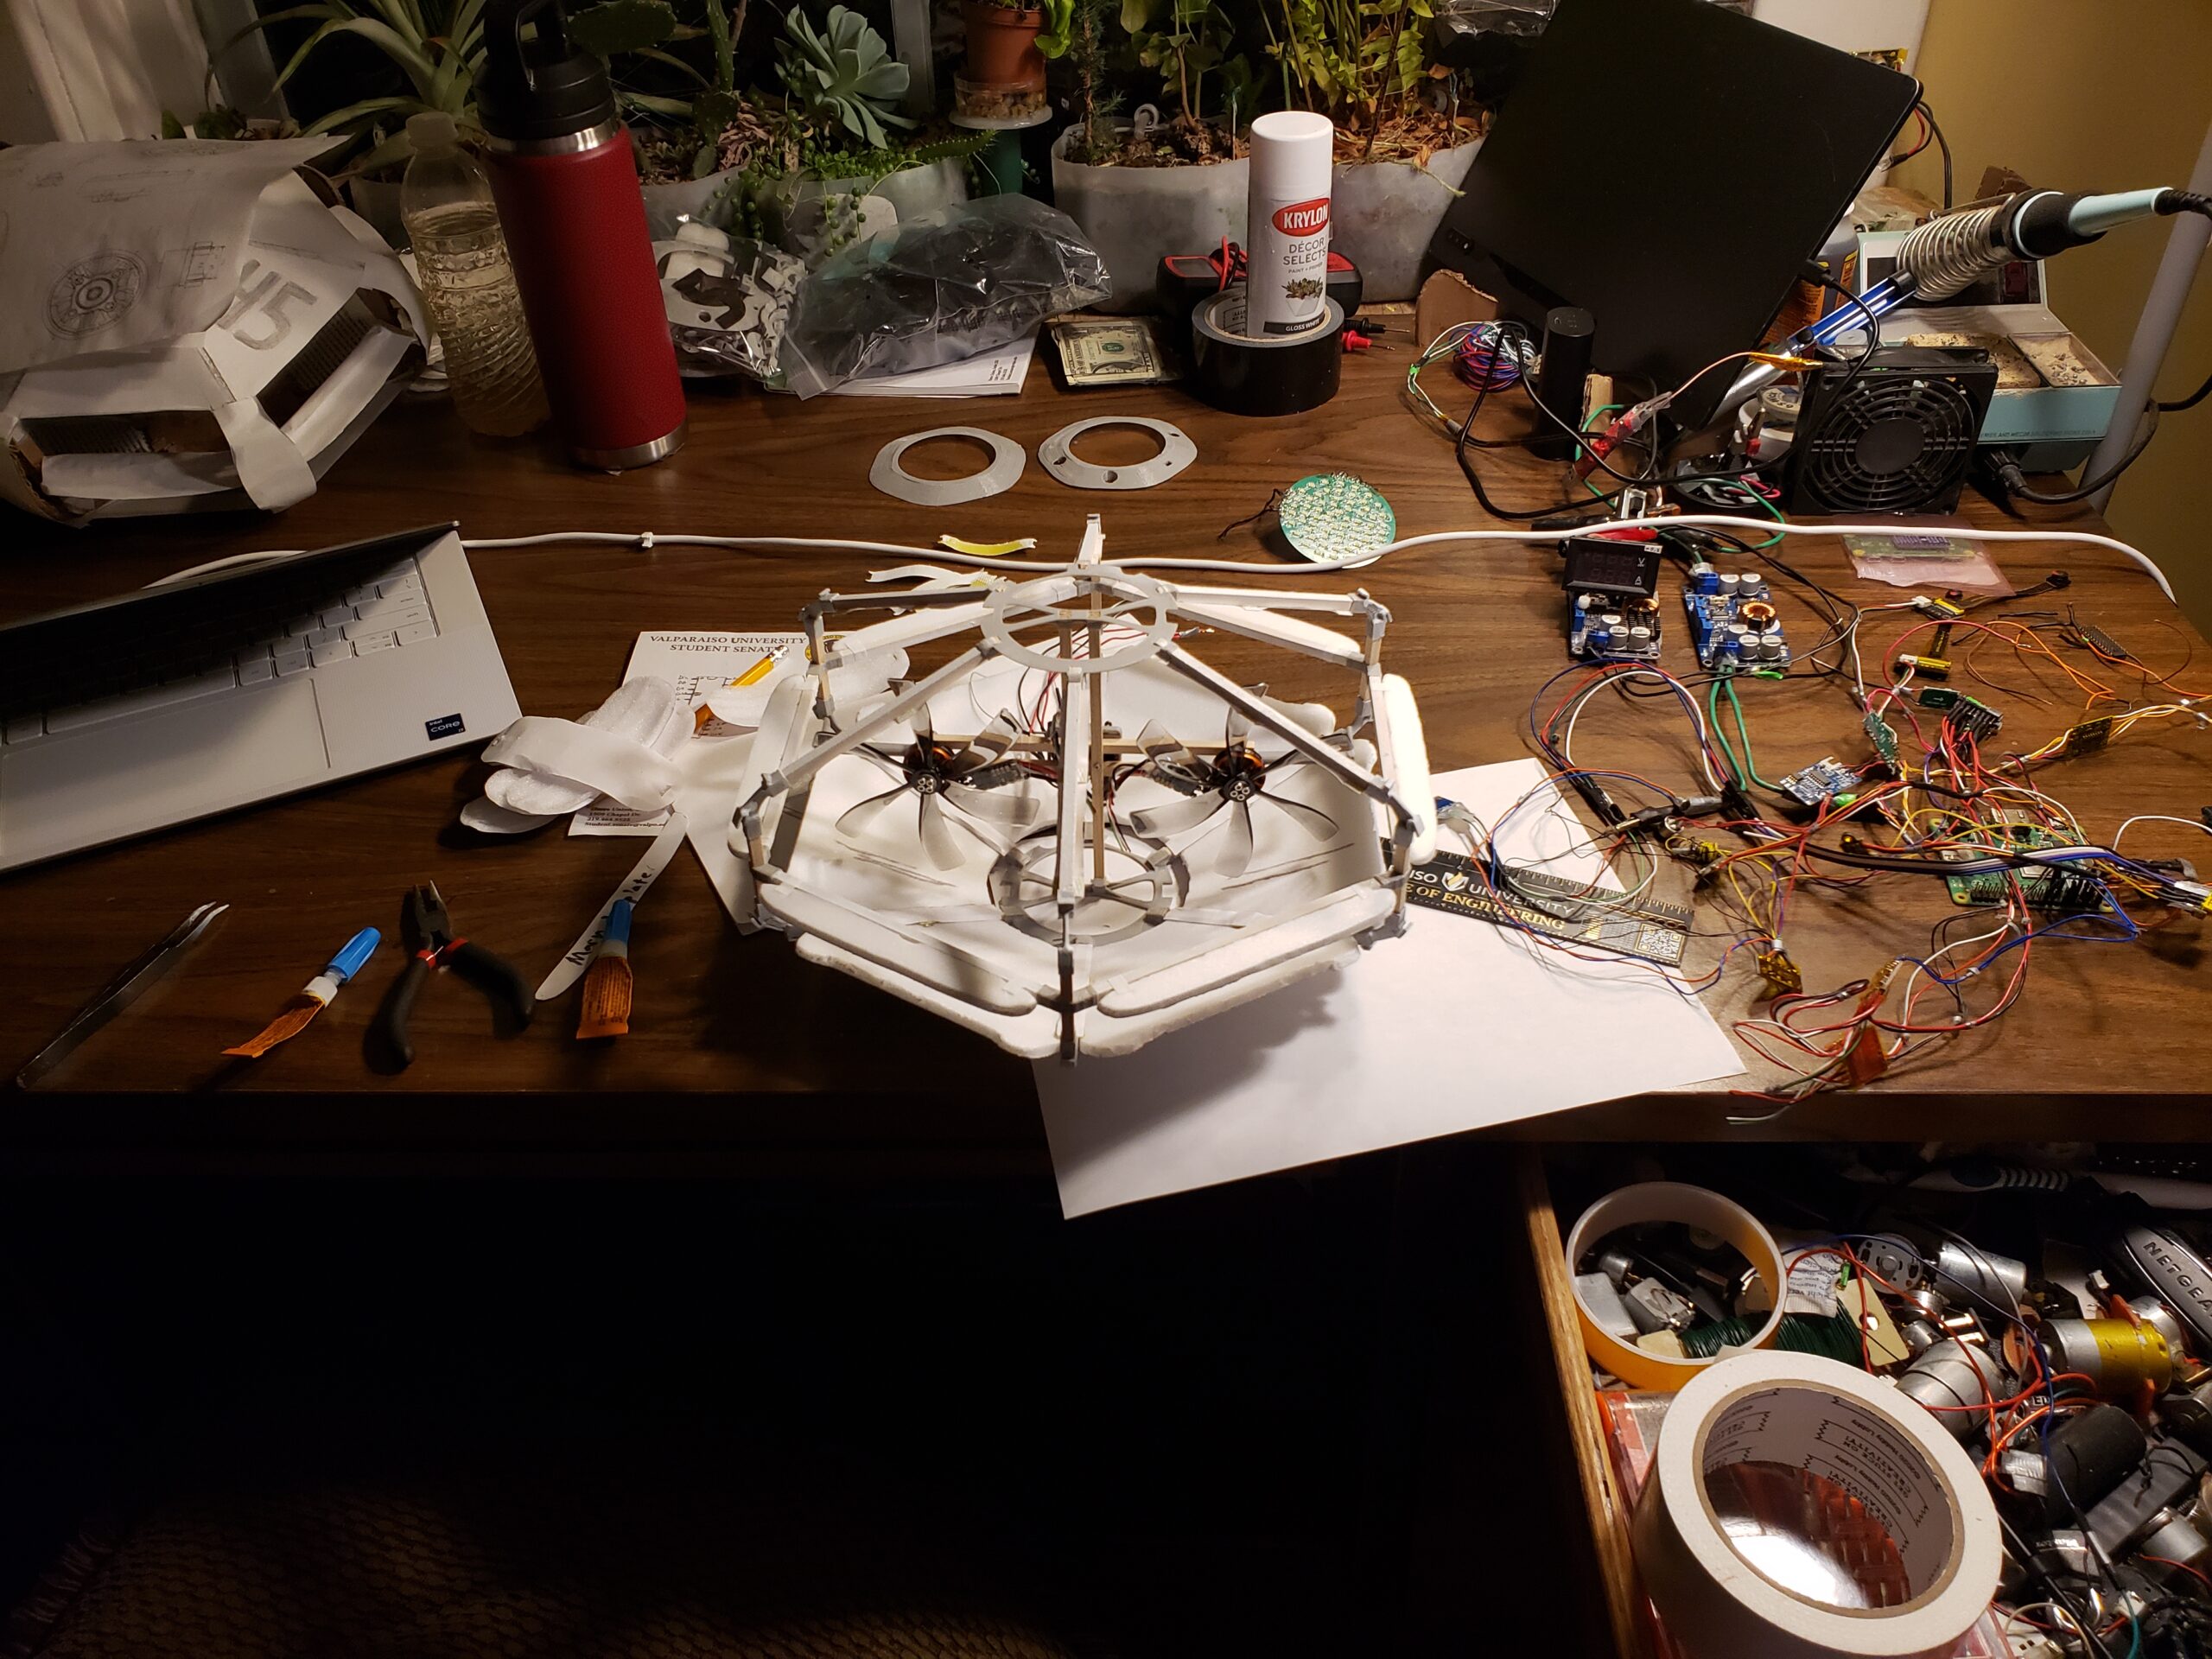
I’ll be the first to say this design isn’t practical
When I initially envisioned 45 in my first post I though that it would just be a small project that only I would use. I realize that this design has issues that make it only a novelty or a party tick. There will always be a tradeoff between noise output and battery life. The downdraft is also impossible to avoid. I looked over my options in the second post and decided that a lighter-then-air design is the only option for avoiding the above issues. At the bottom of post 6 I go over the plan to build the second prototype based around a hydrogen balloon. I haven’t though out every detail yet but you can see that post for the theory.
I continued this design because it is what I initially pitched for the project. It is biased on tried and true technology and uses off the shelf components. I was confident that I could get this design built in the two months I have. It might be loud and will have a short battery life but I knew it was possible. I’m building this model so I can gain the skills and infrastructure needed to build the v2 model. Hopefully this design works well enough that I can get others onboard with the project.
Some Guess and Check
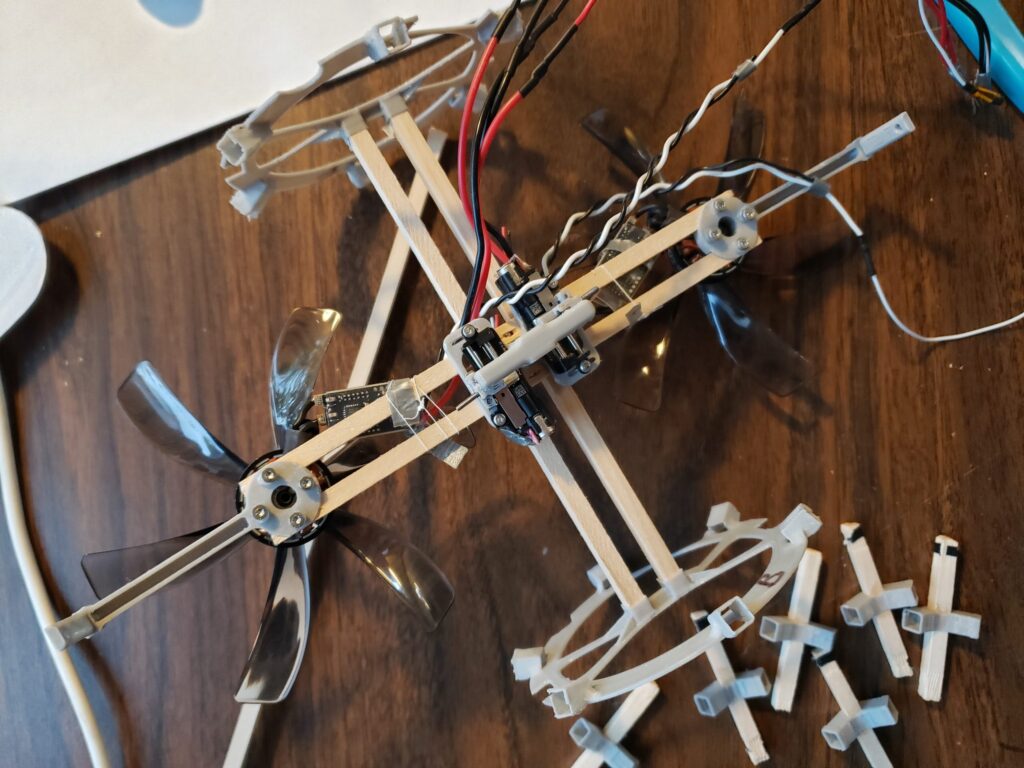
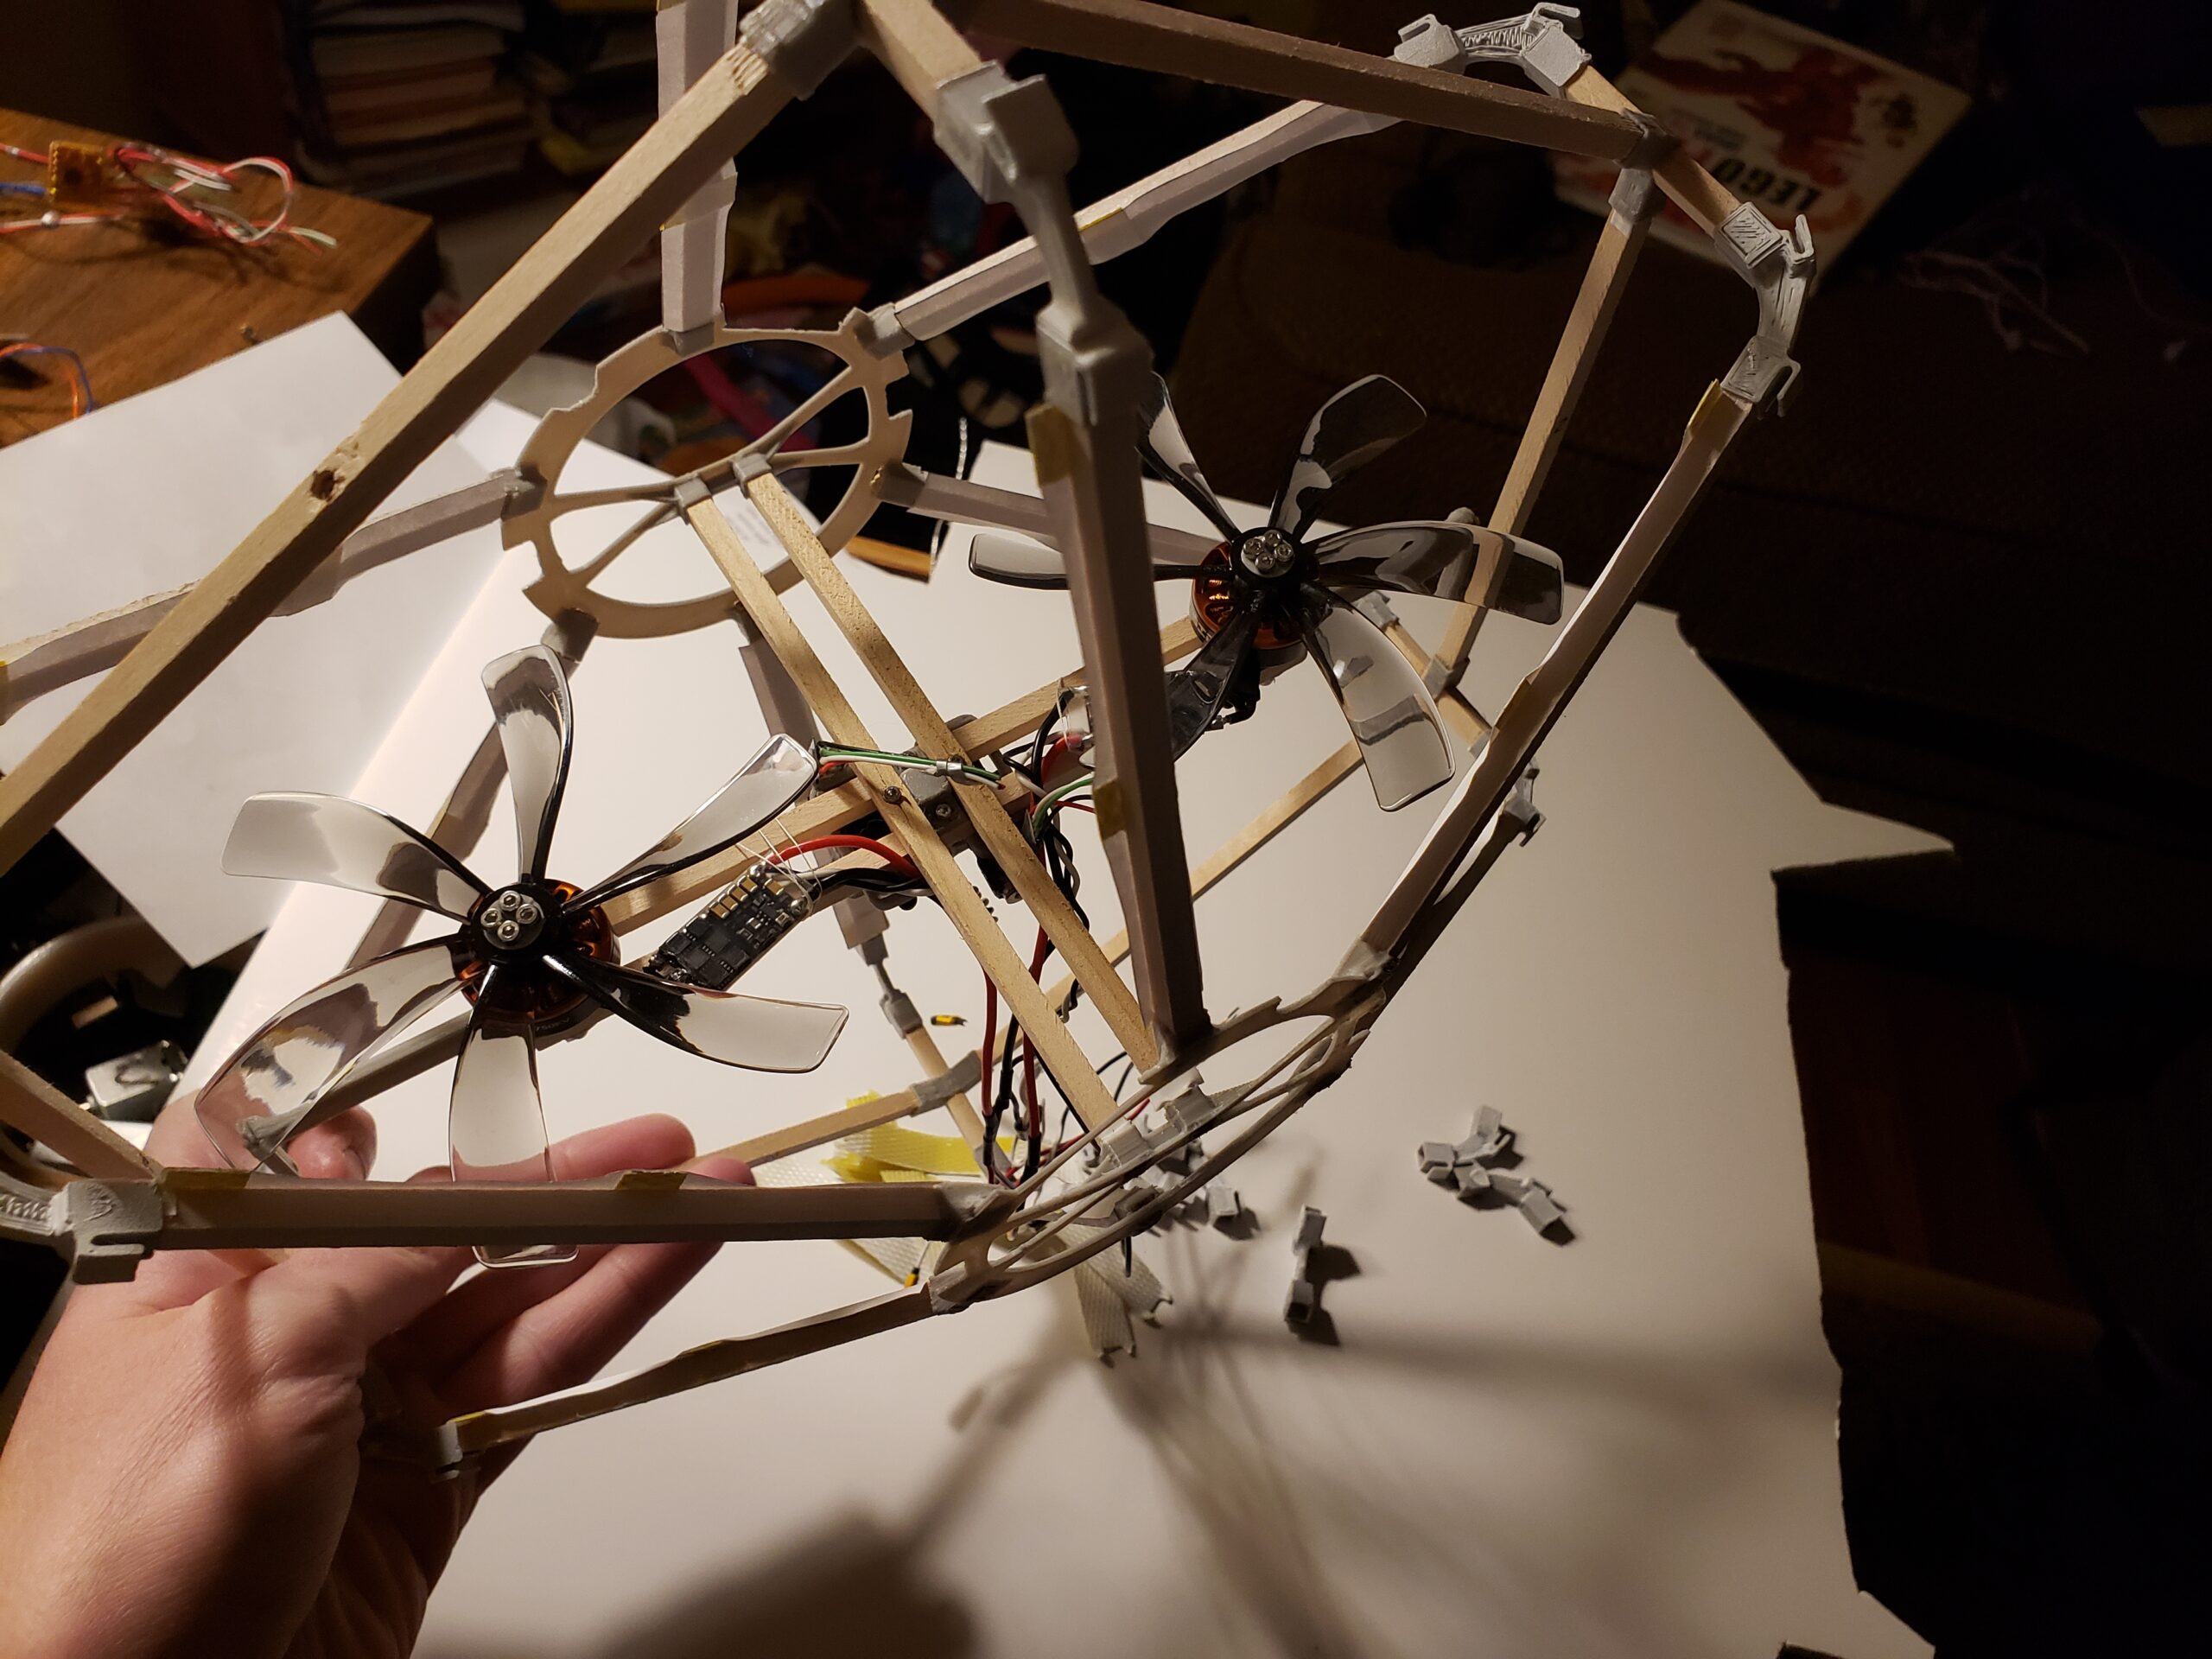
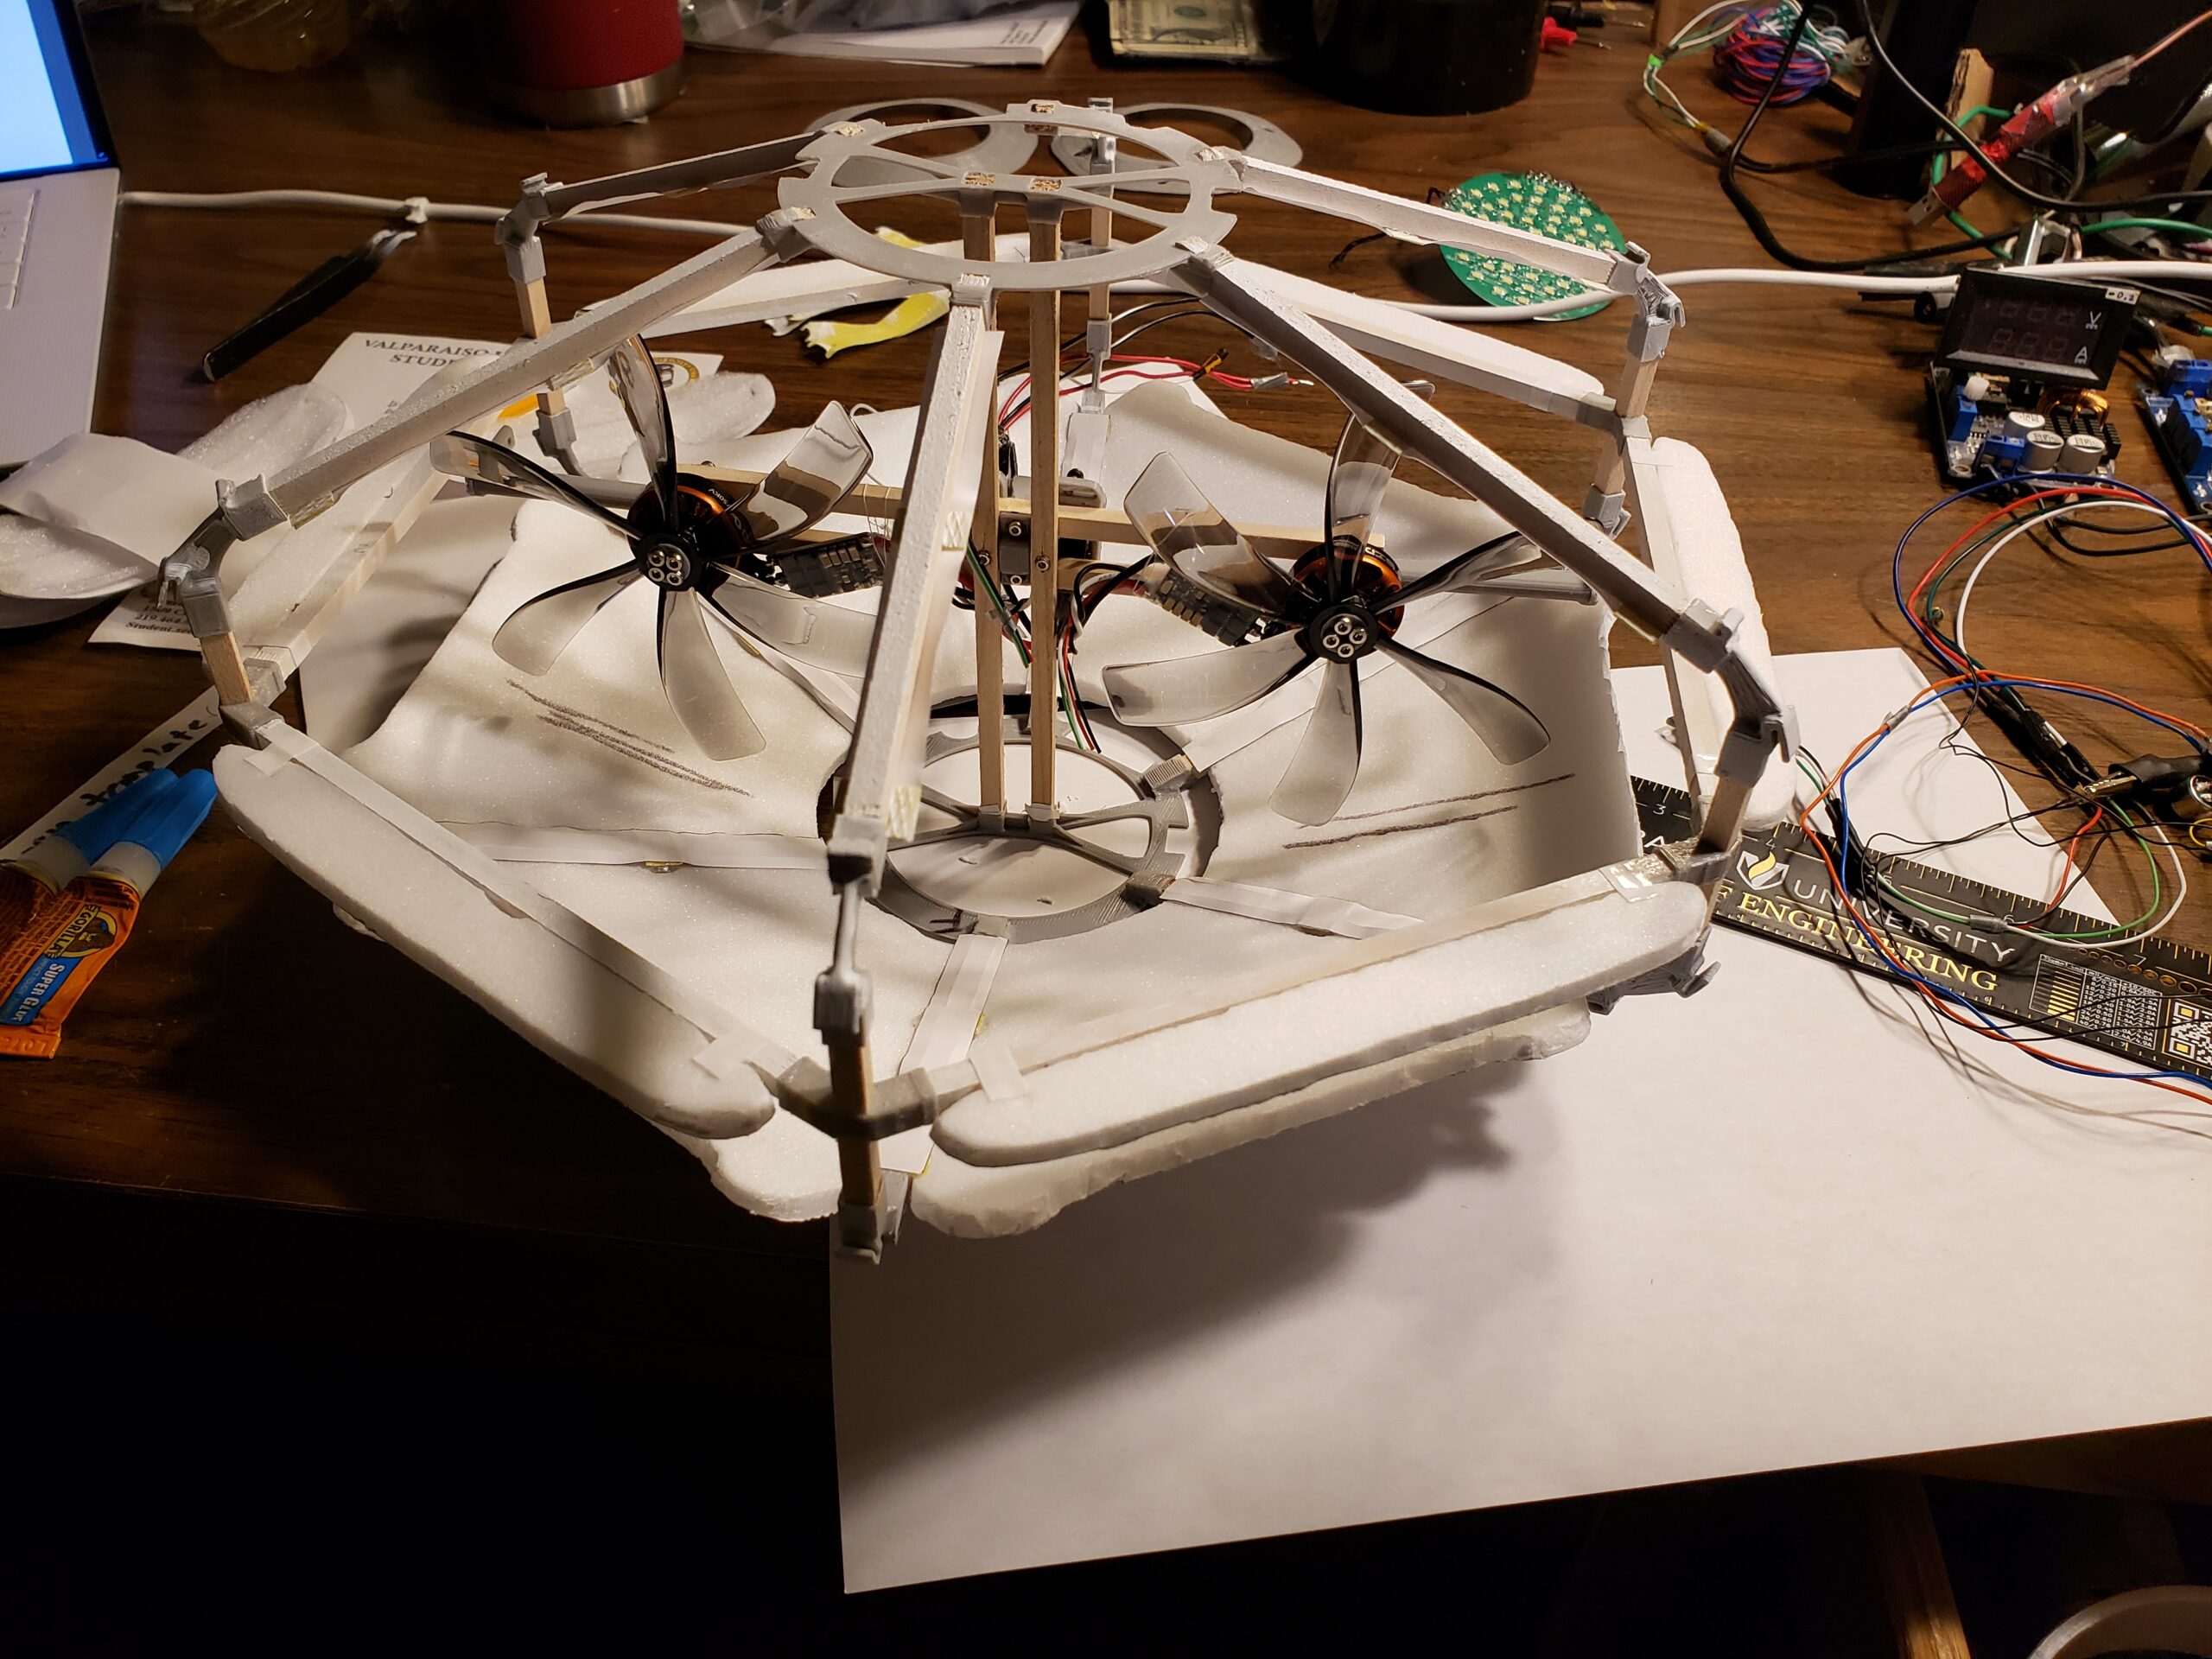
I had to space the motors out more then I planned
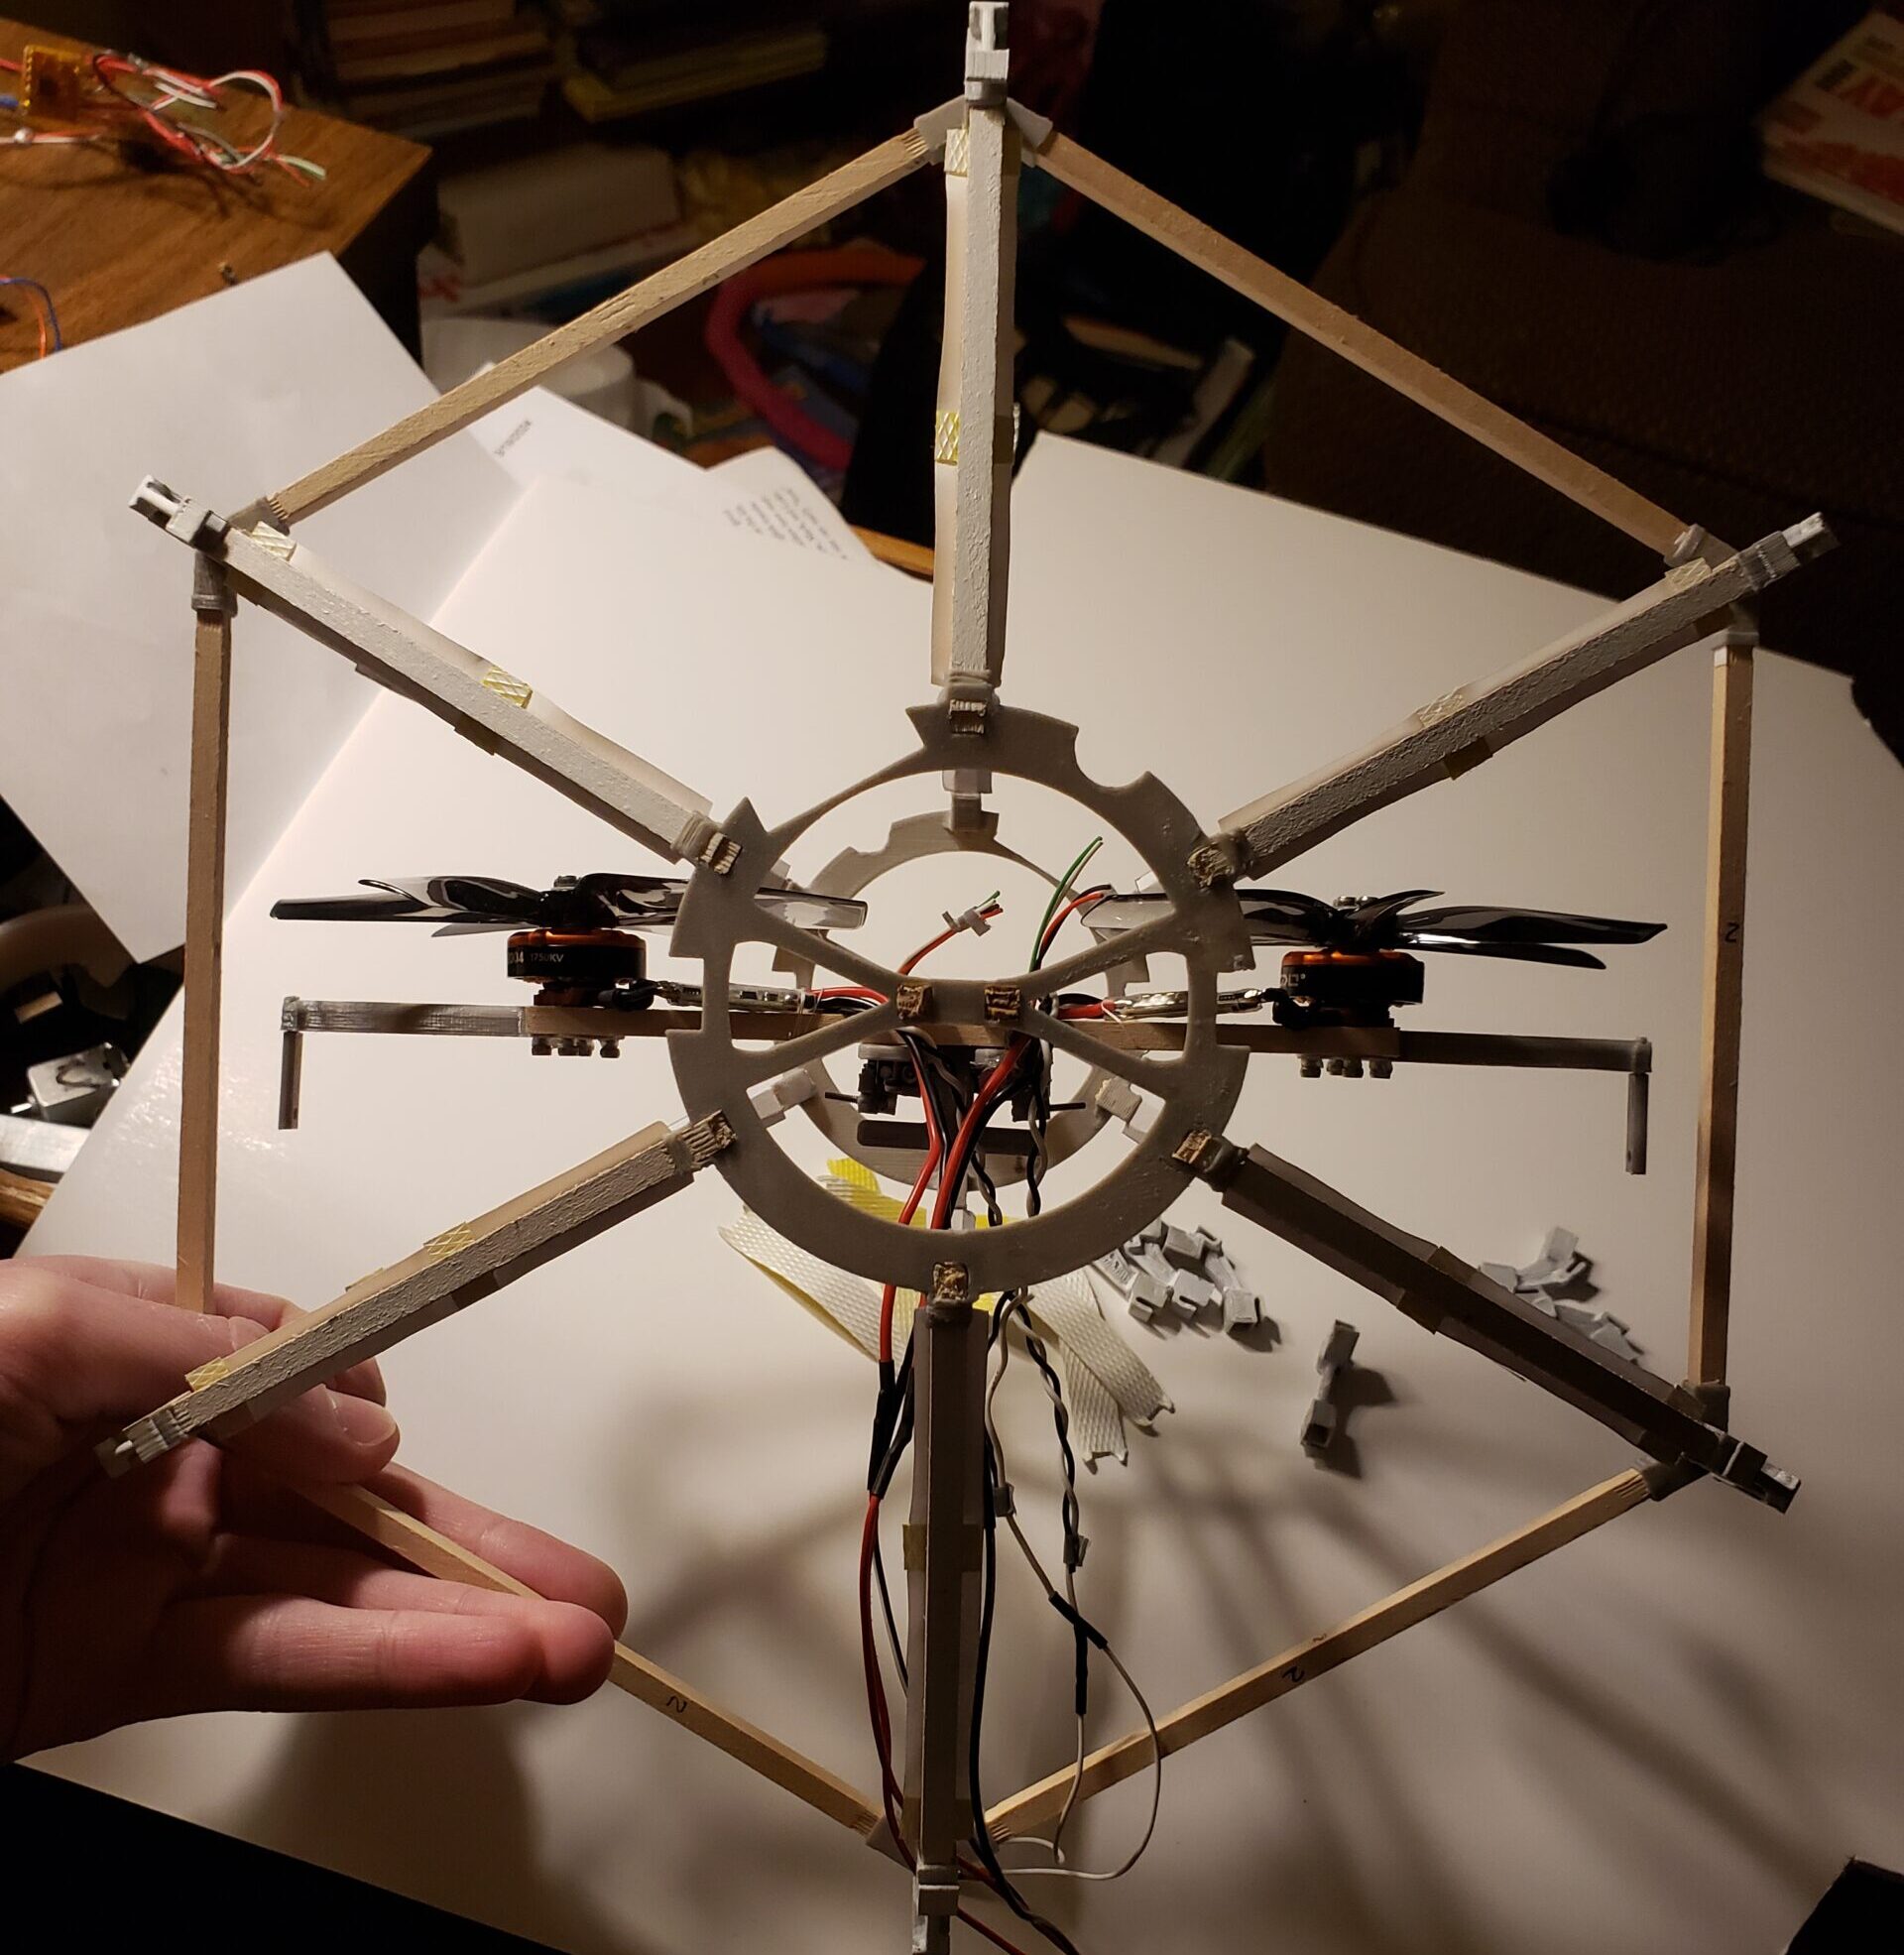
I had to fit the control steppers in which added some extra length to the thrust assembly. I had to rework the frame so the props didn’t hit the walls. You can see how thin all the parts are. I tired my best to minimize the weight as much as possible but it probably isn’t enough to make this design viable.
Control steppers mounted
There isn't much tolerance for the props
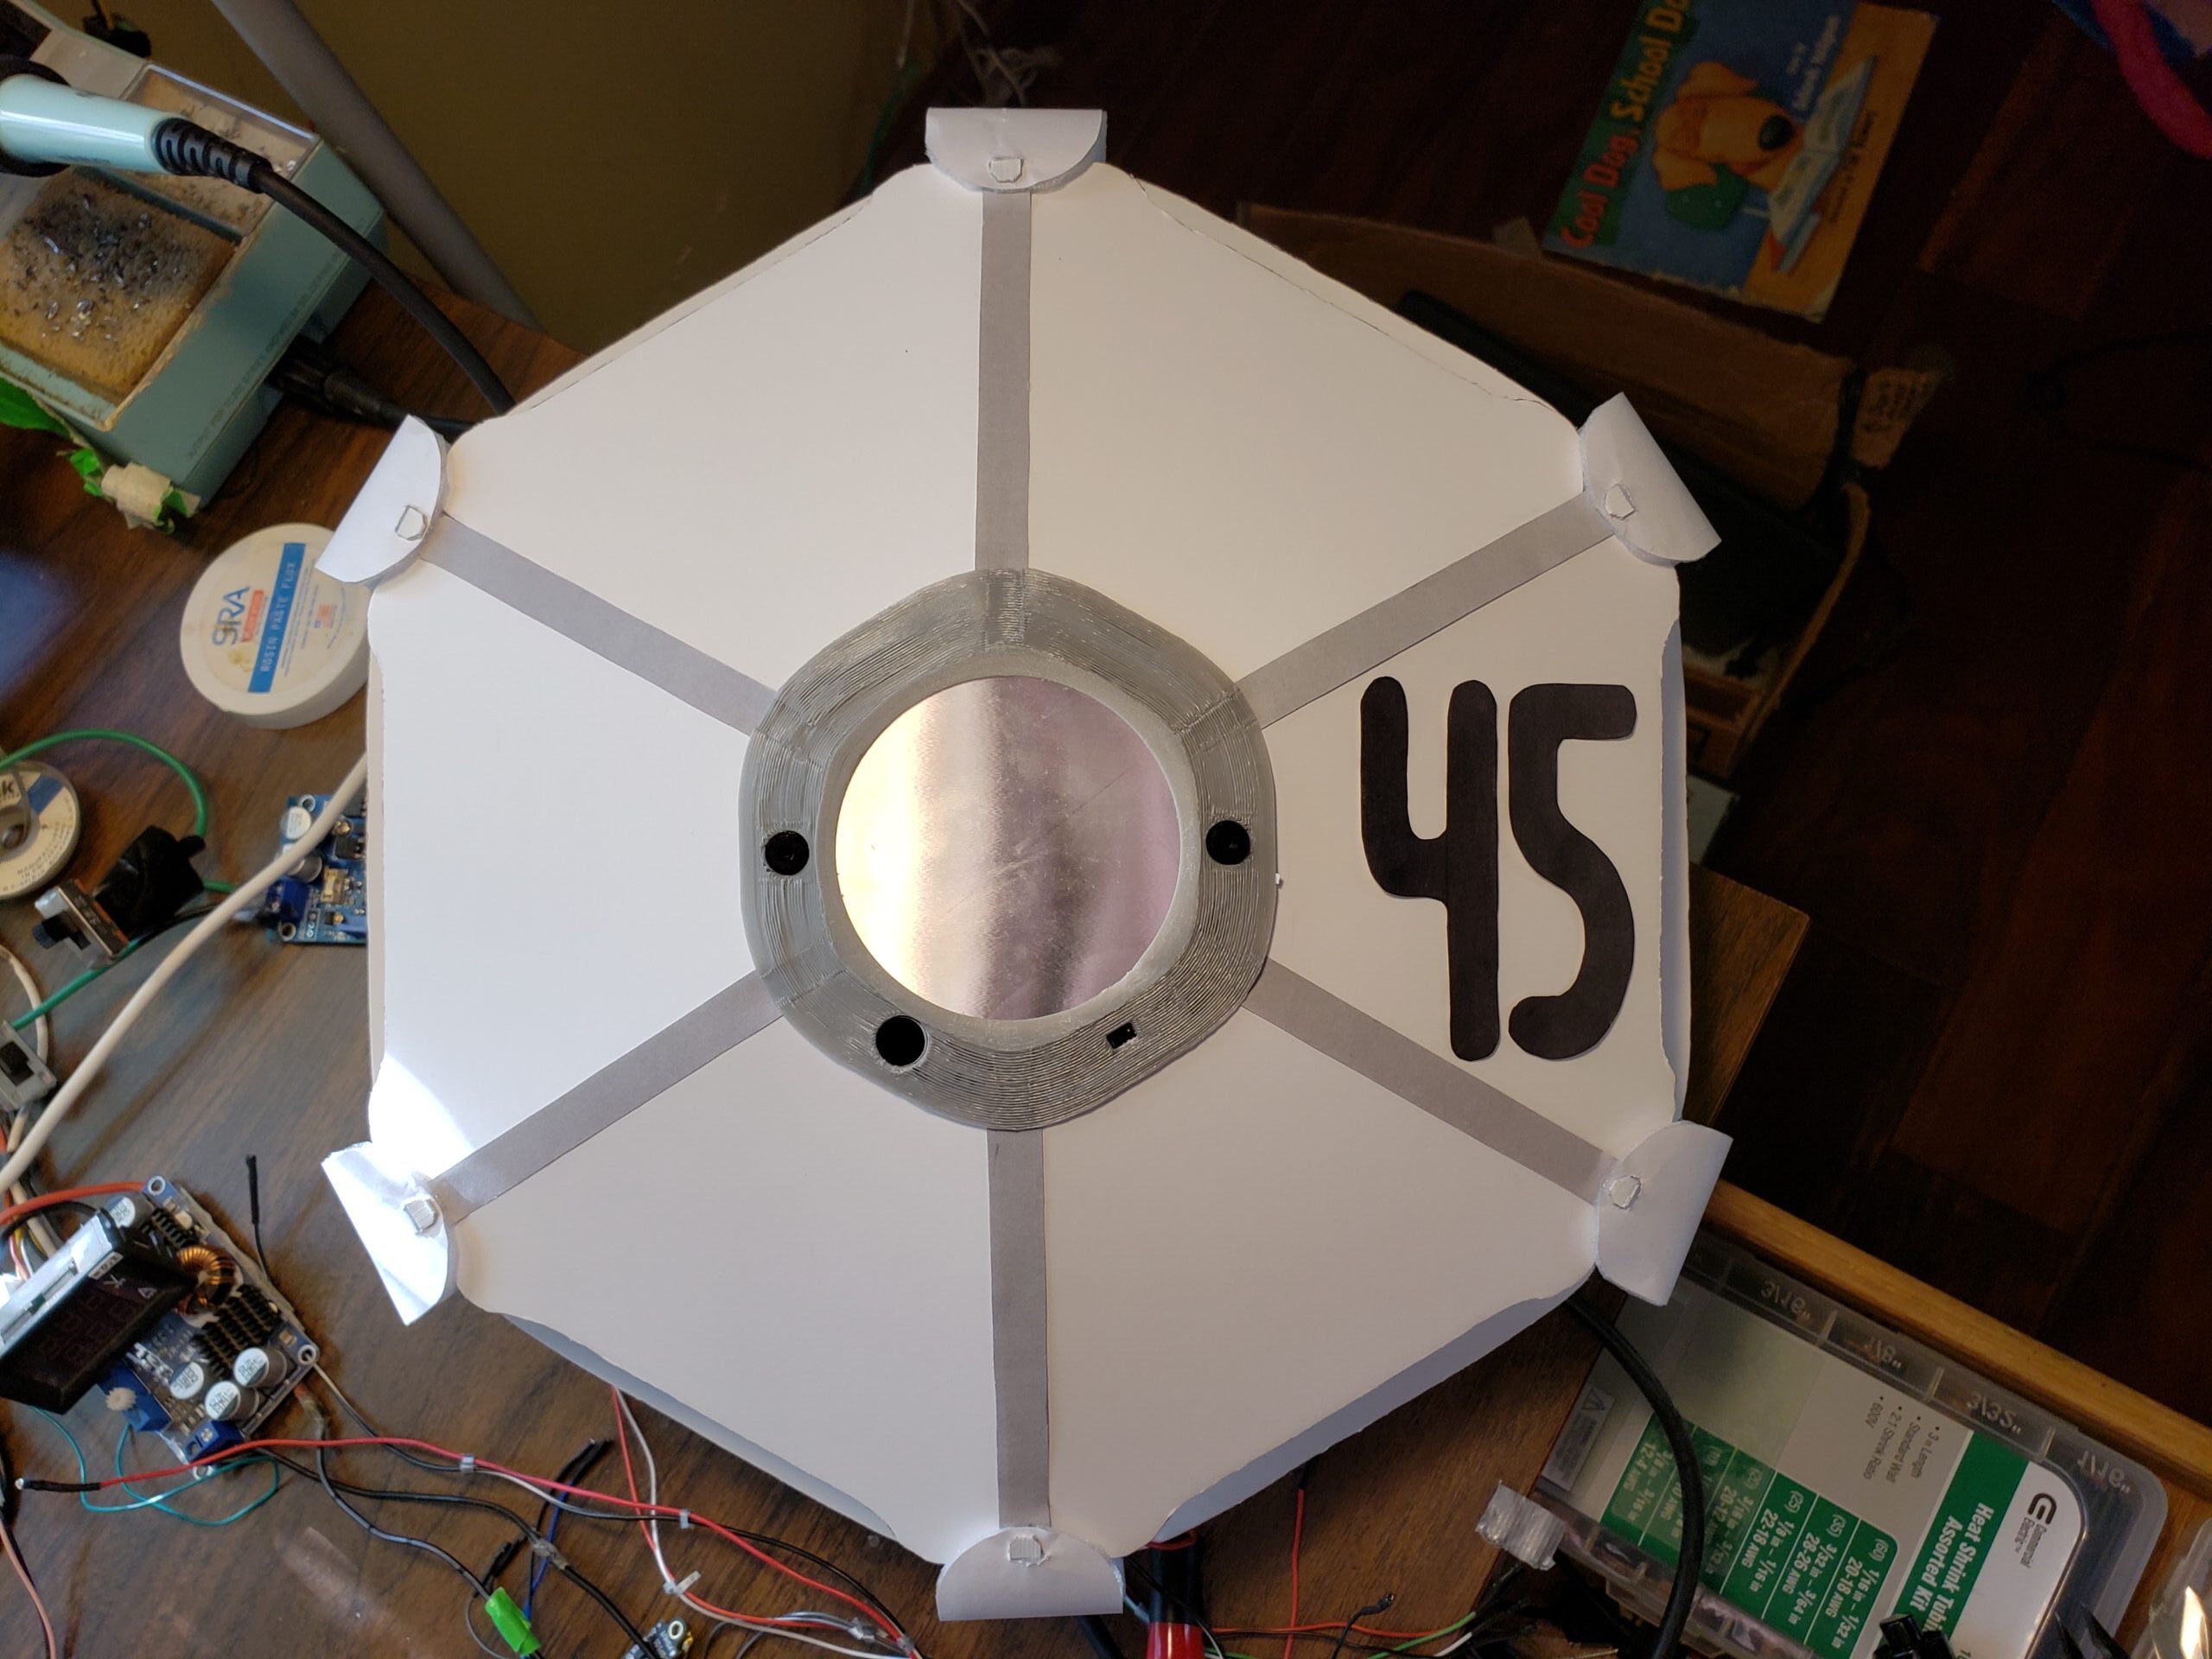
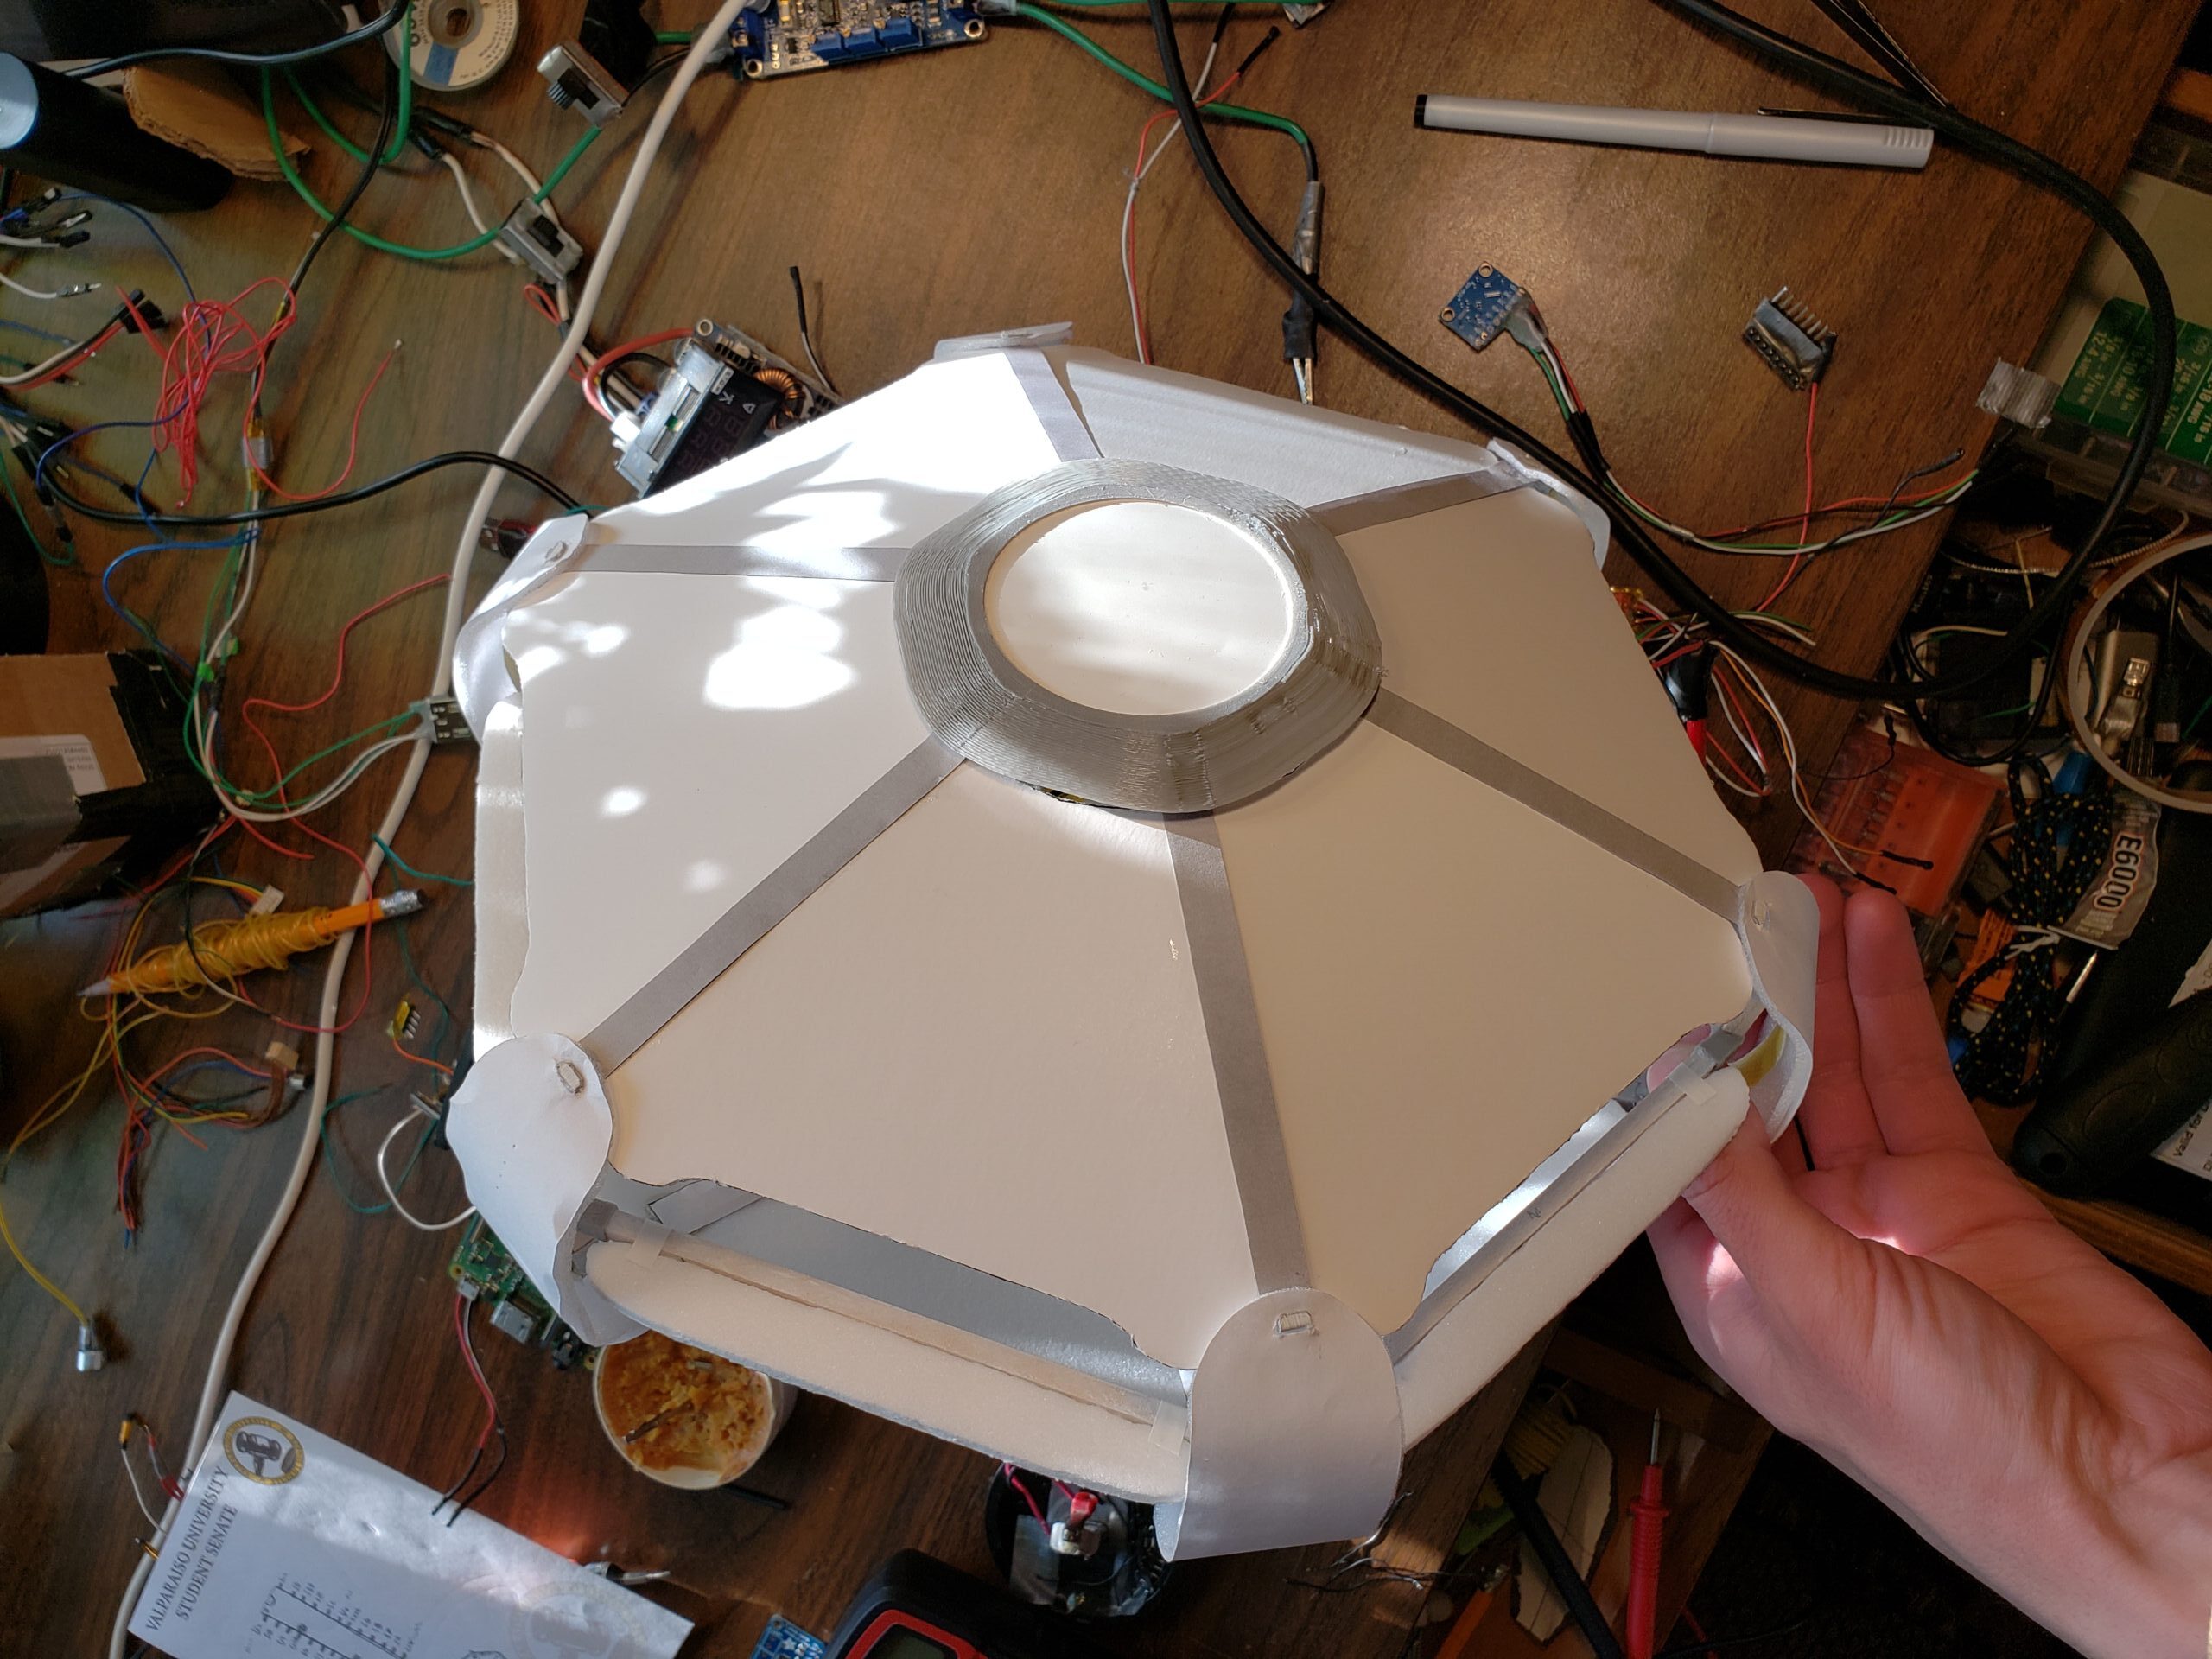
Form over Function
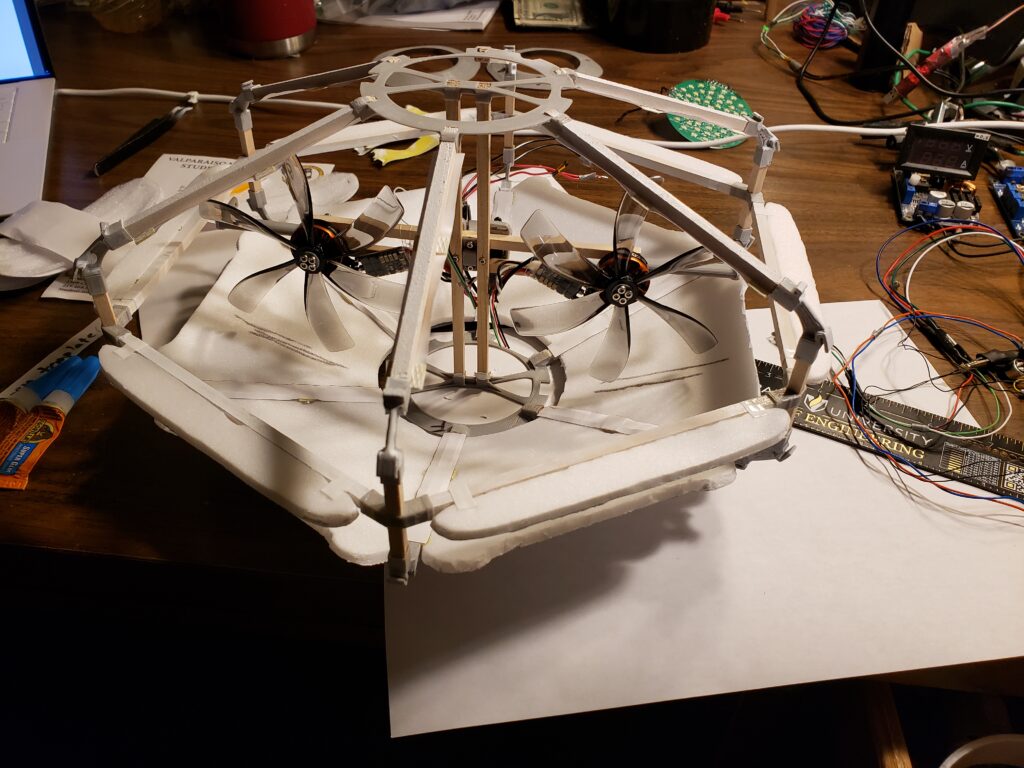
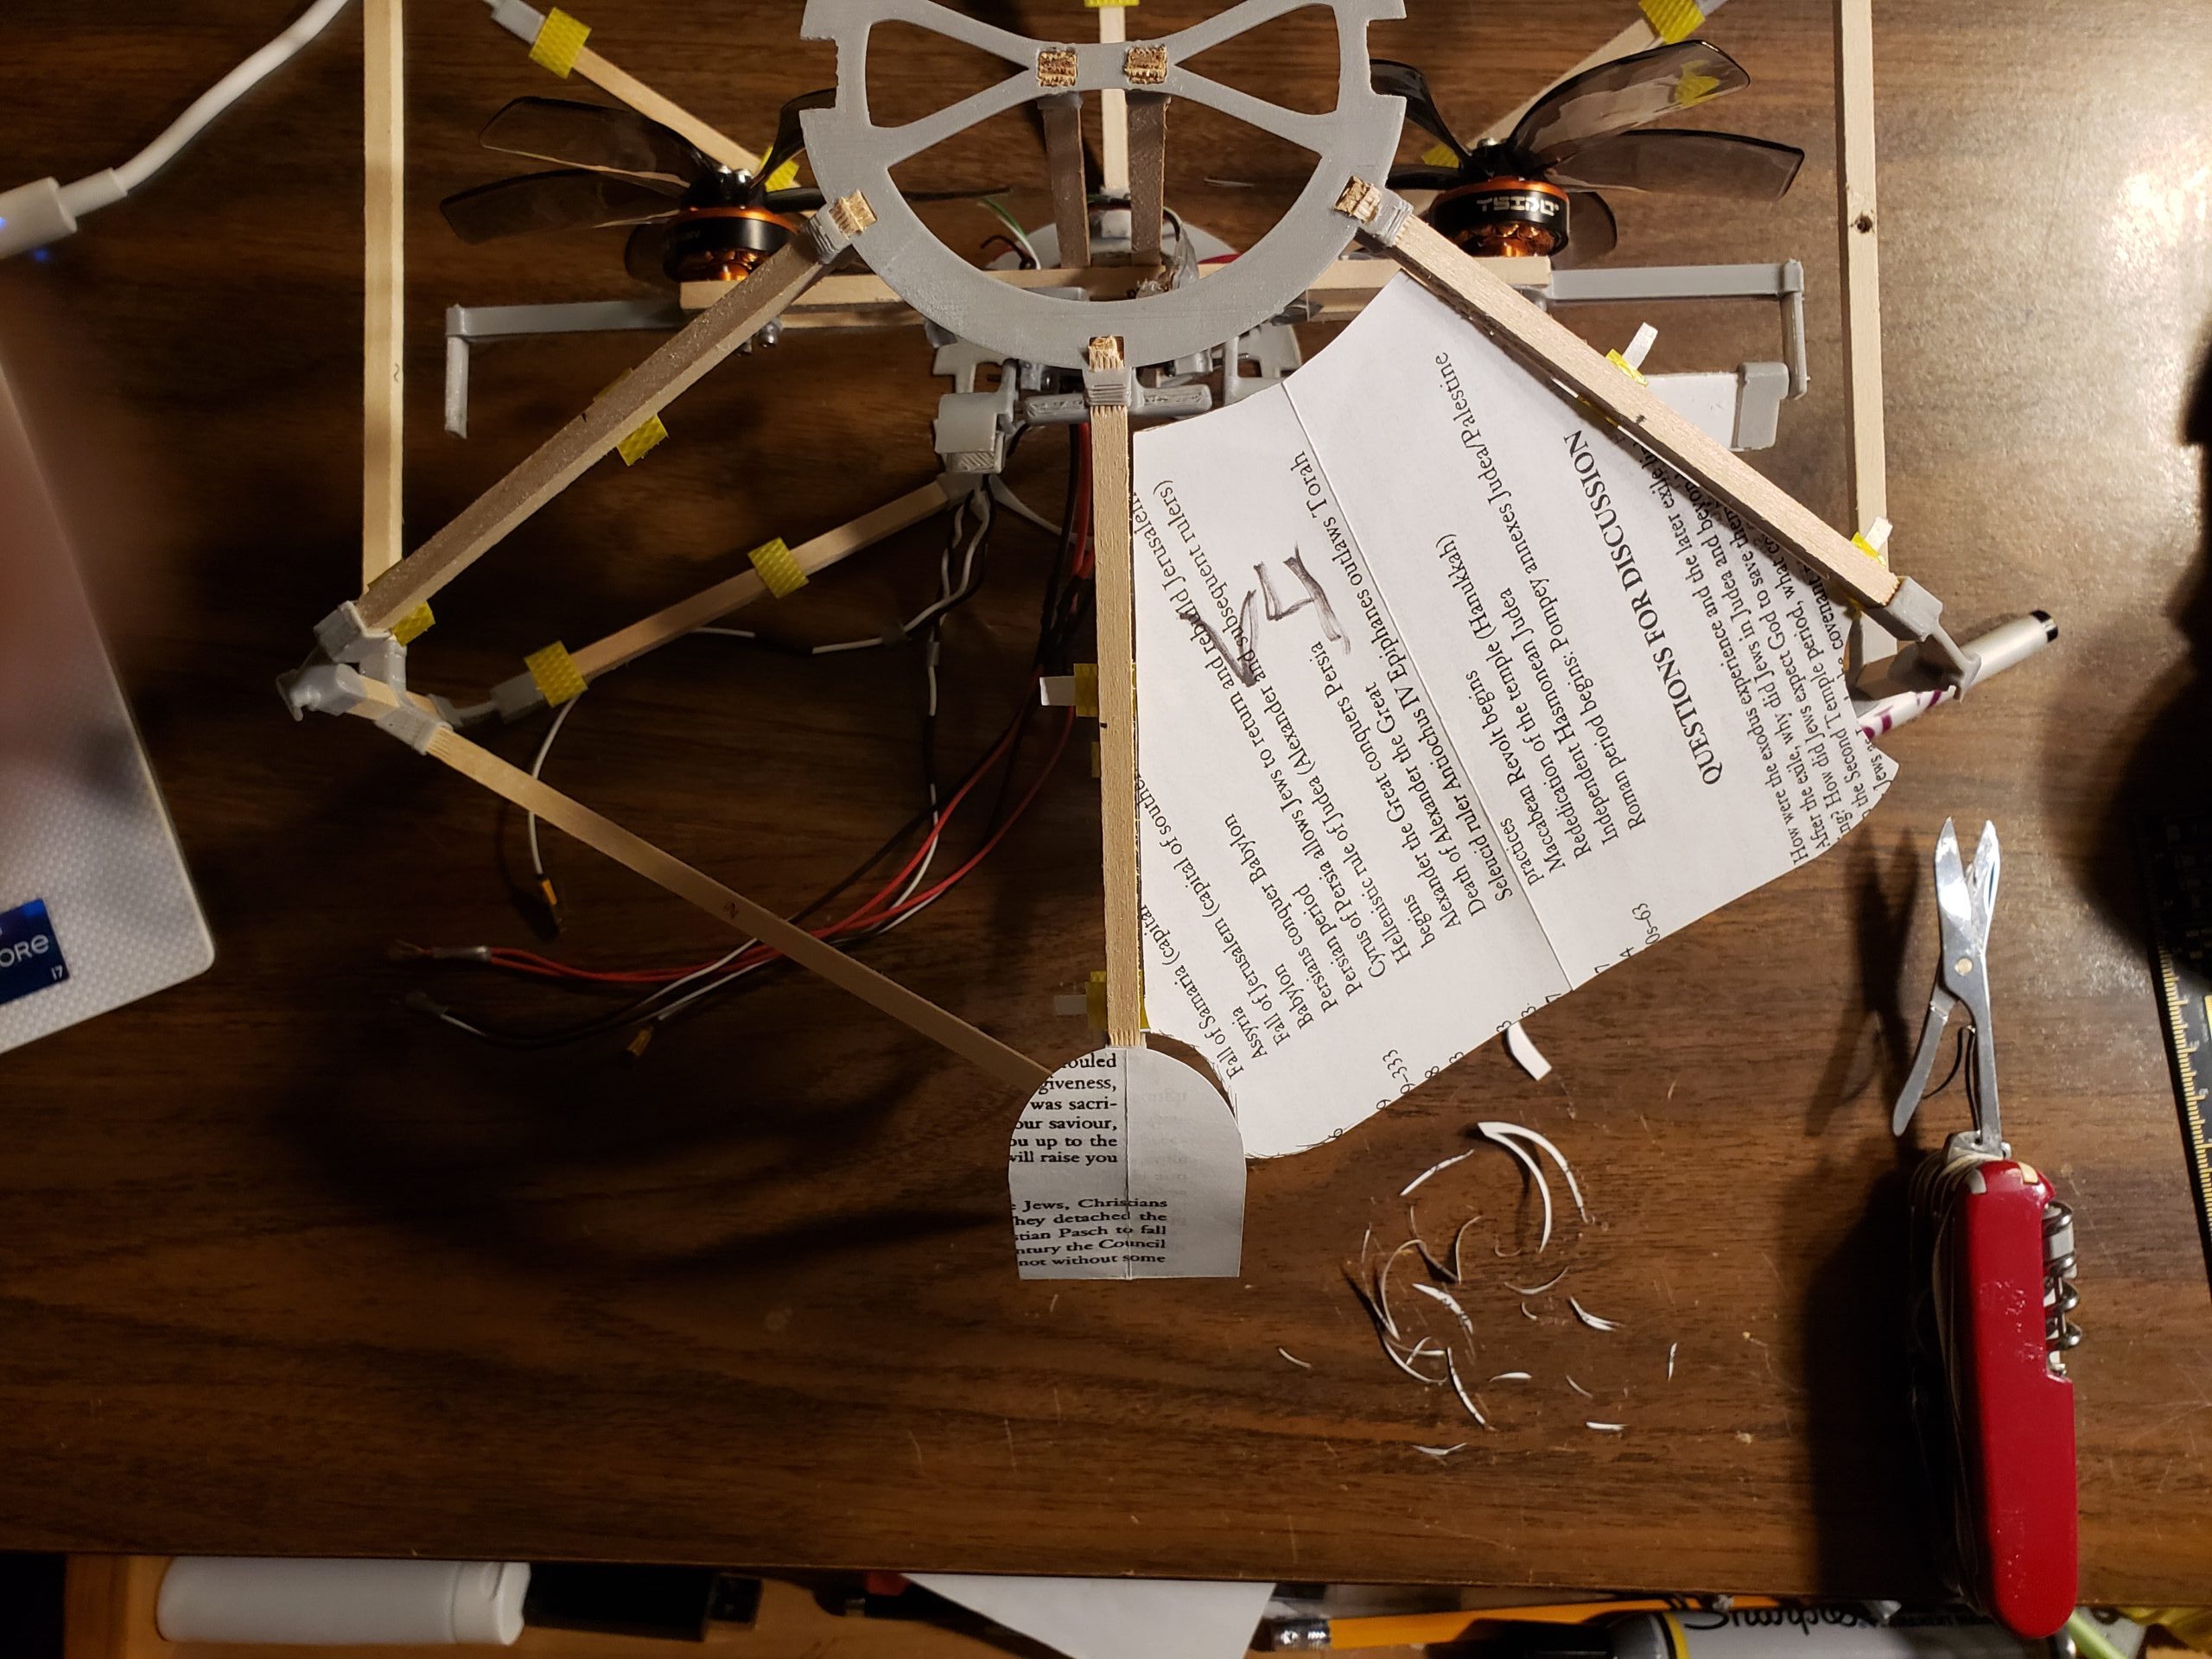
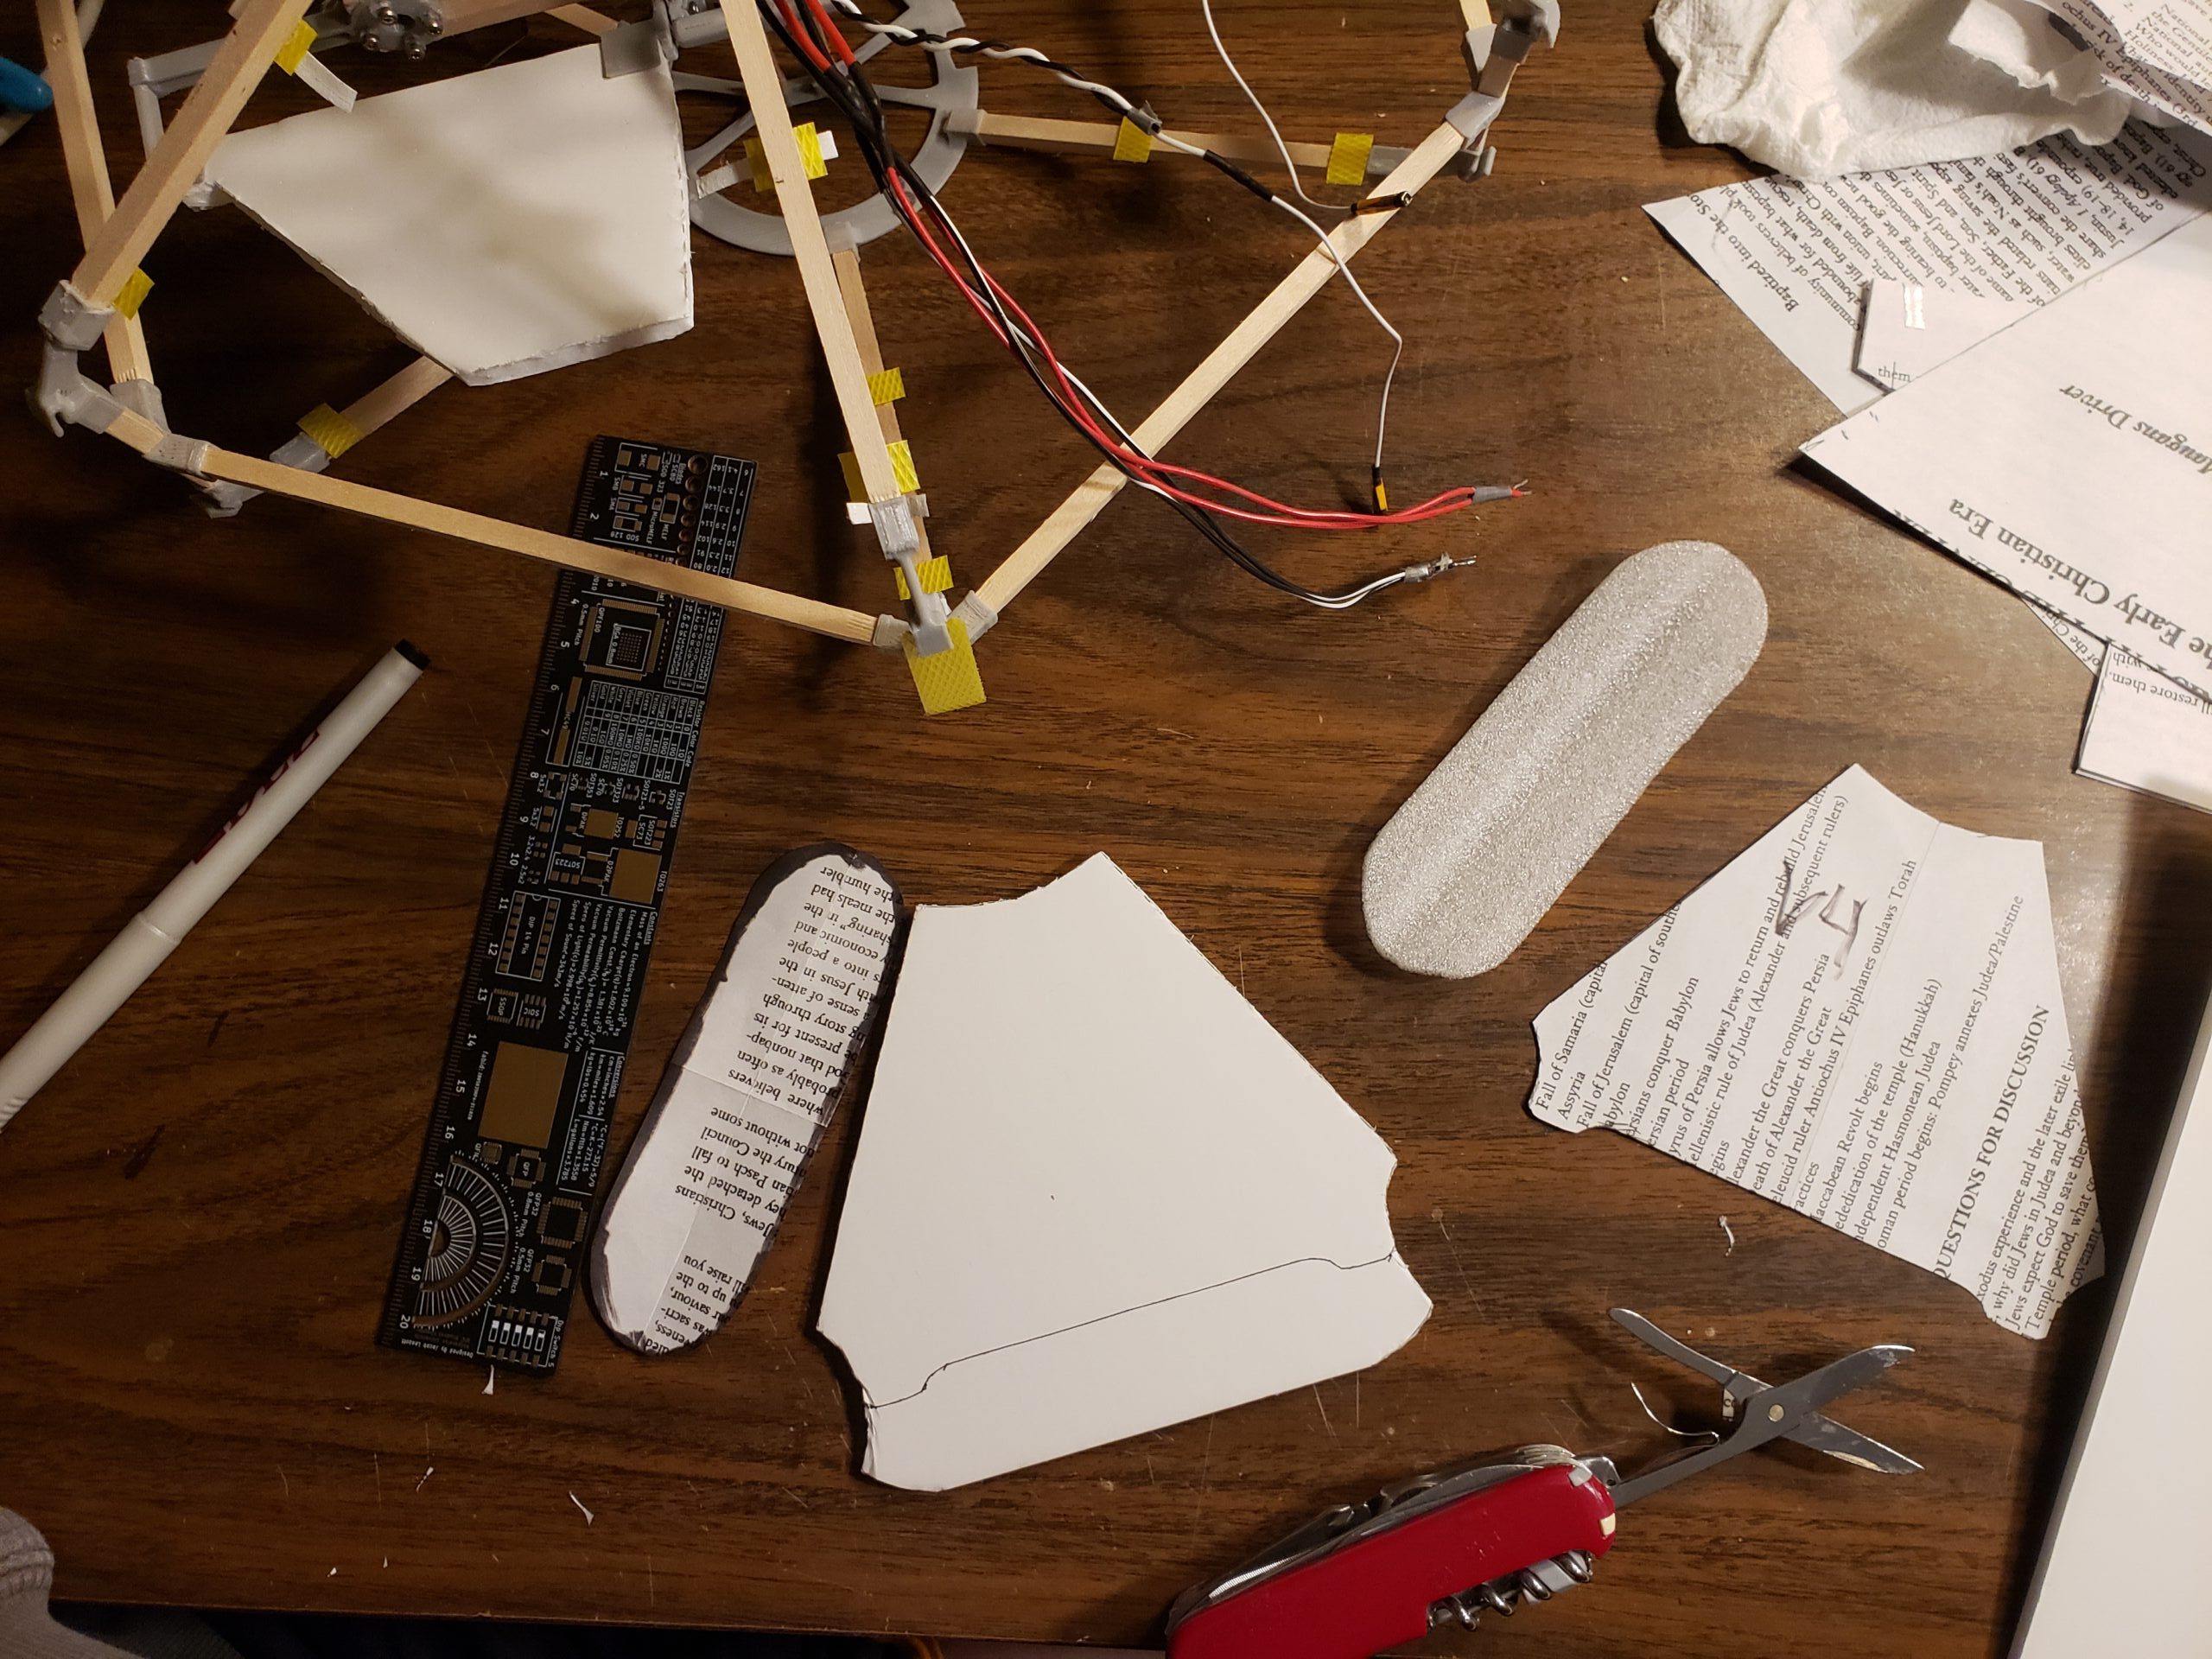
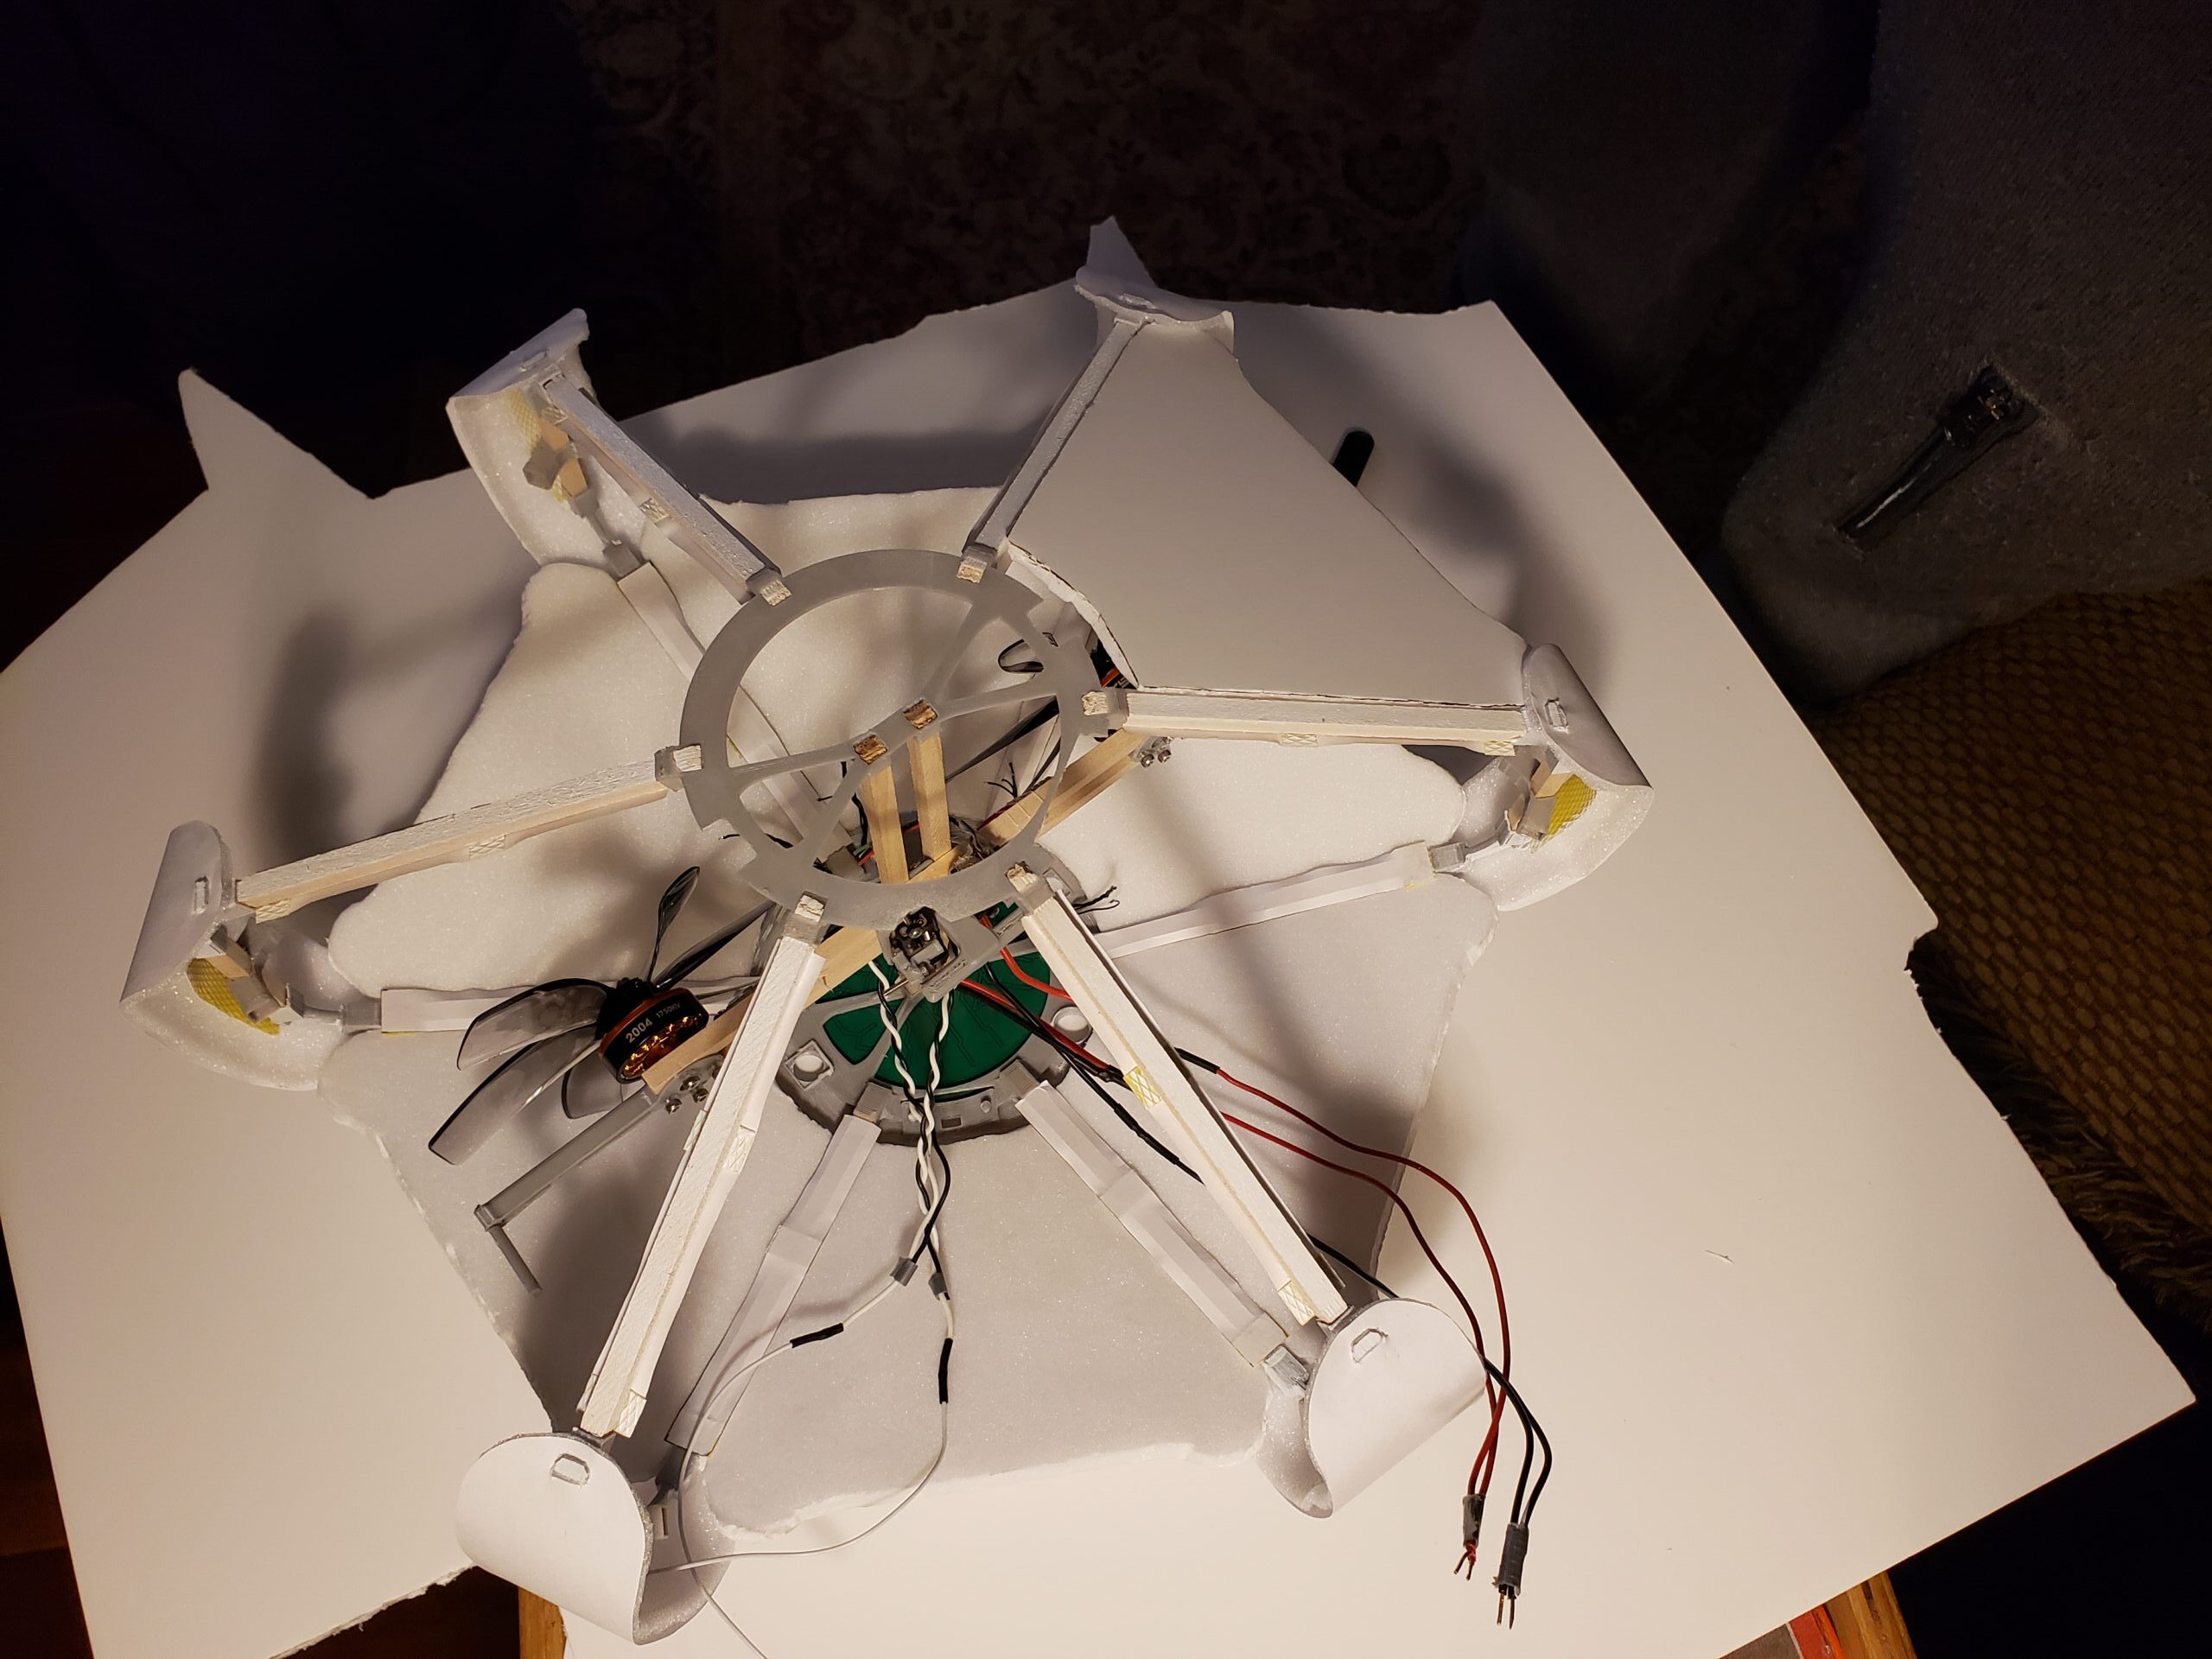
Hopefully the foam will block some of the noise
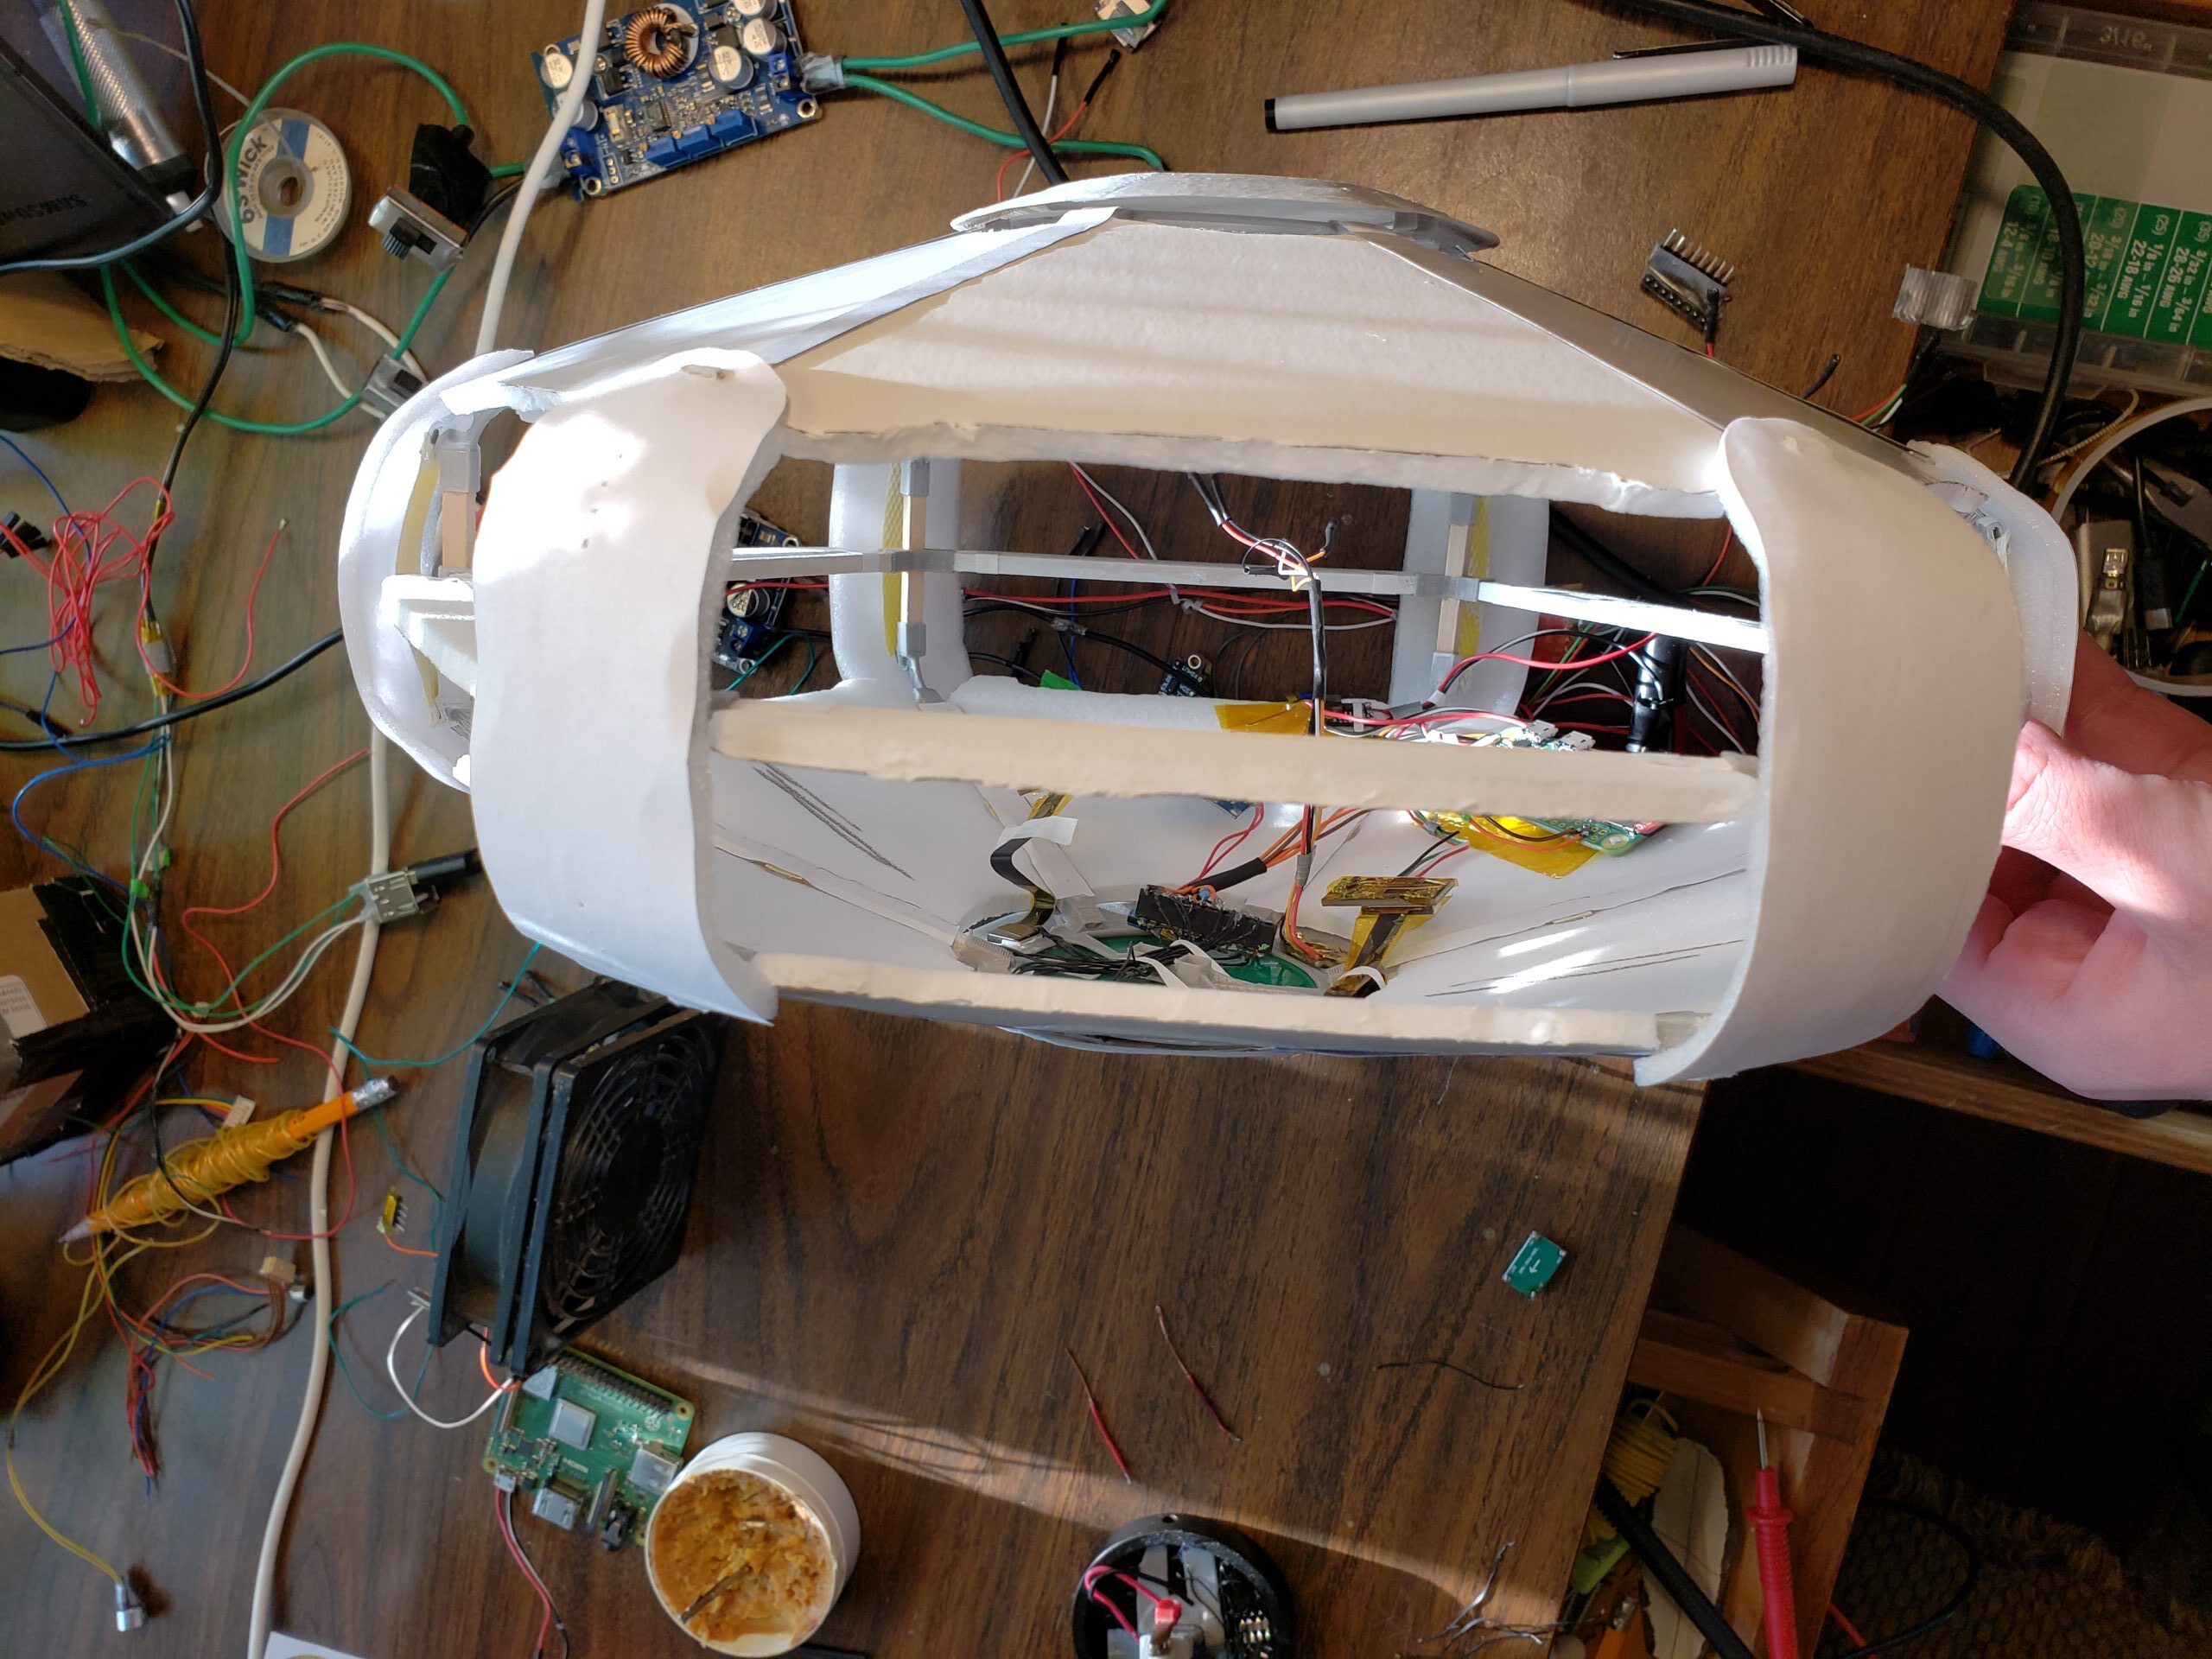
You can see it is mostly hollow. I made the outside flashy but the inside optimized. I’ll mount all the electronics to the front side so it is easy to service. I might need the battery in the end to act as a counterweight funnily enough.
Quickly Making the Basic Circuit
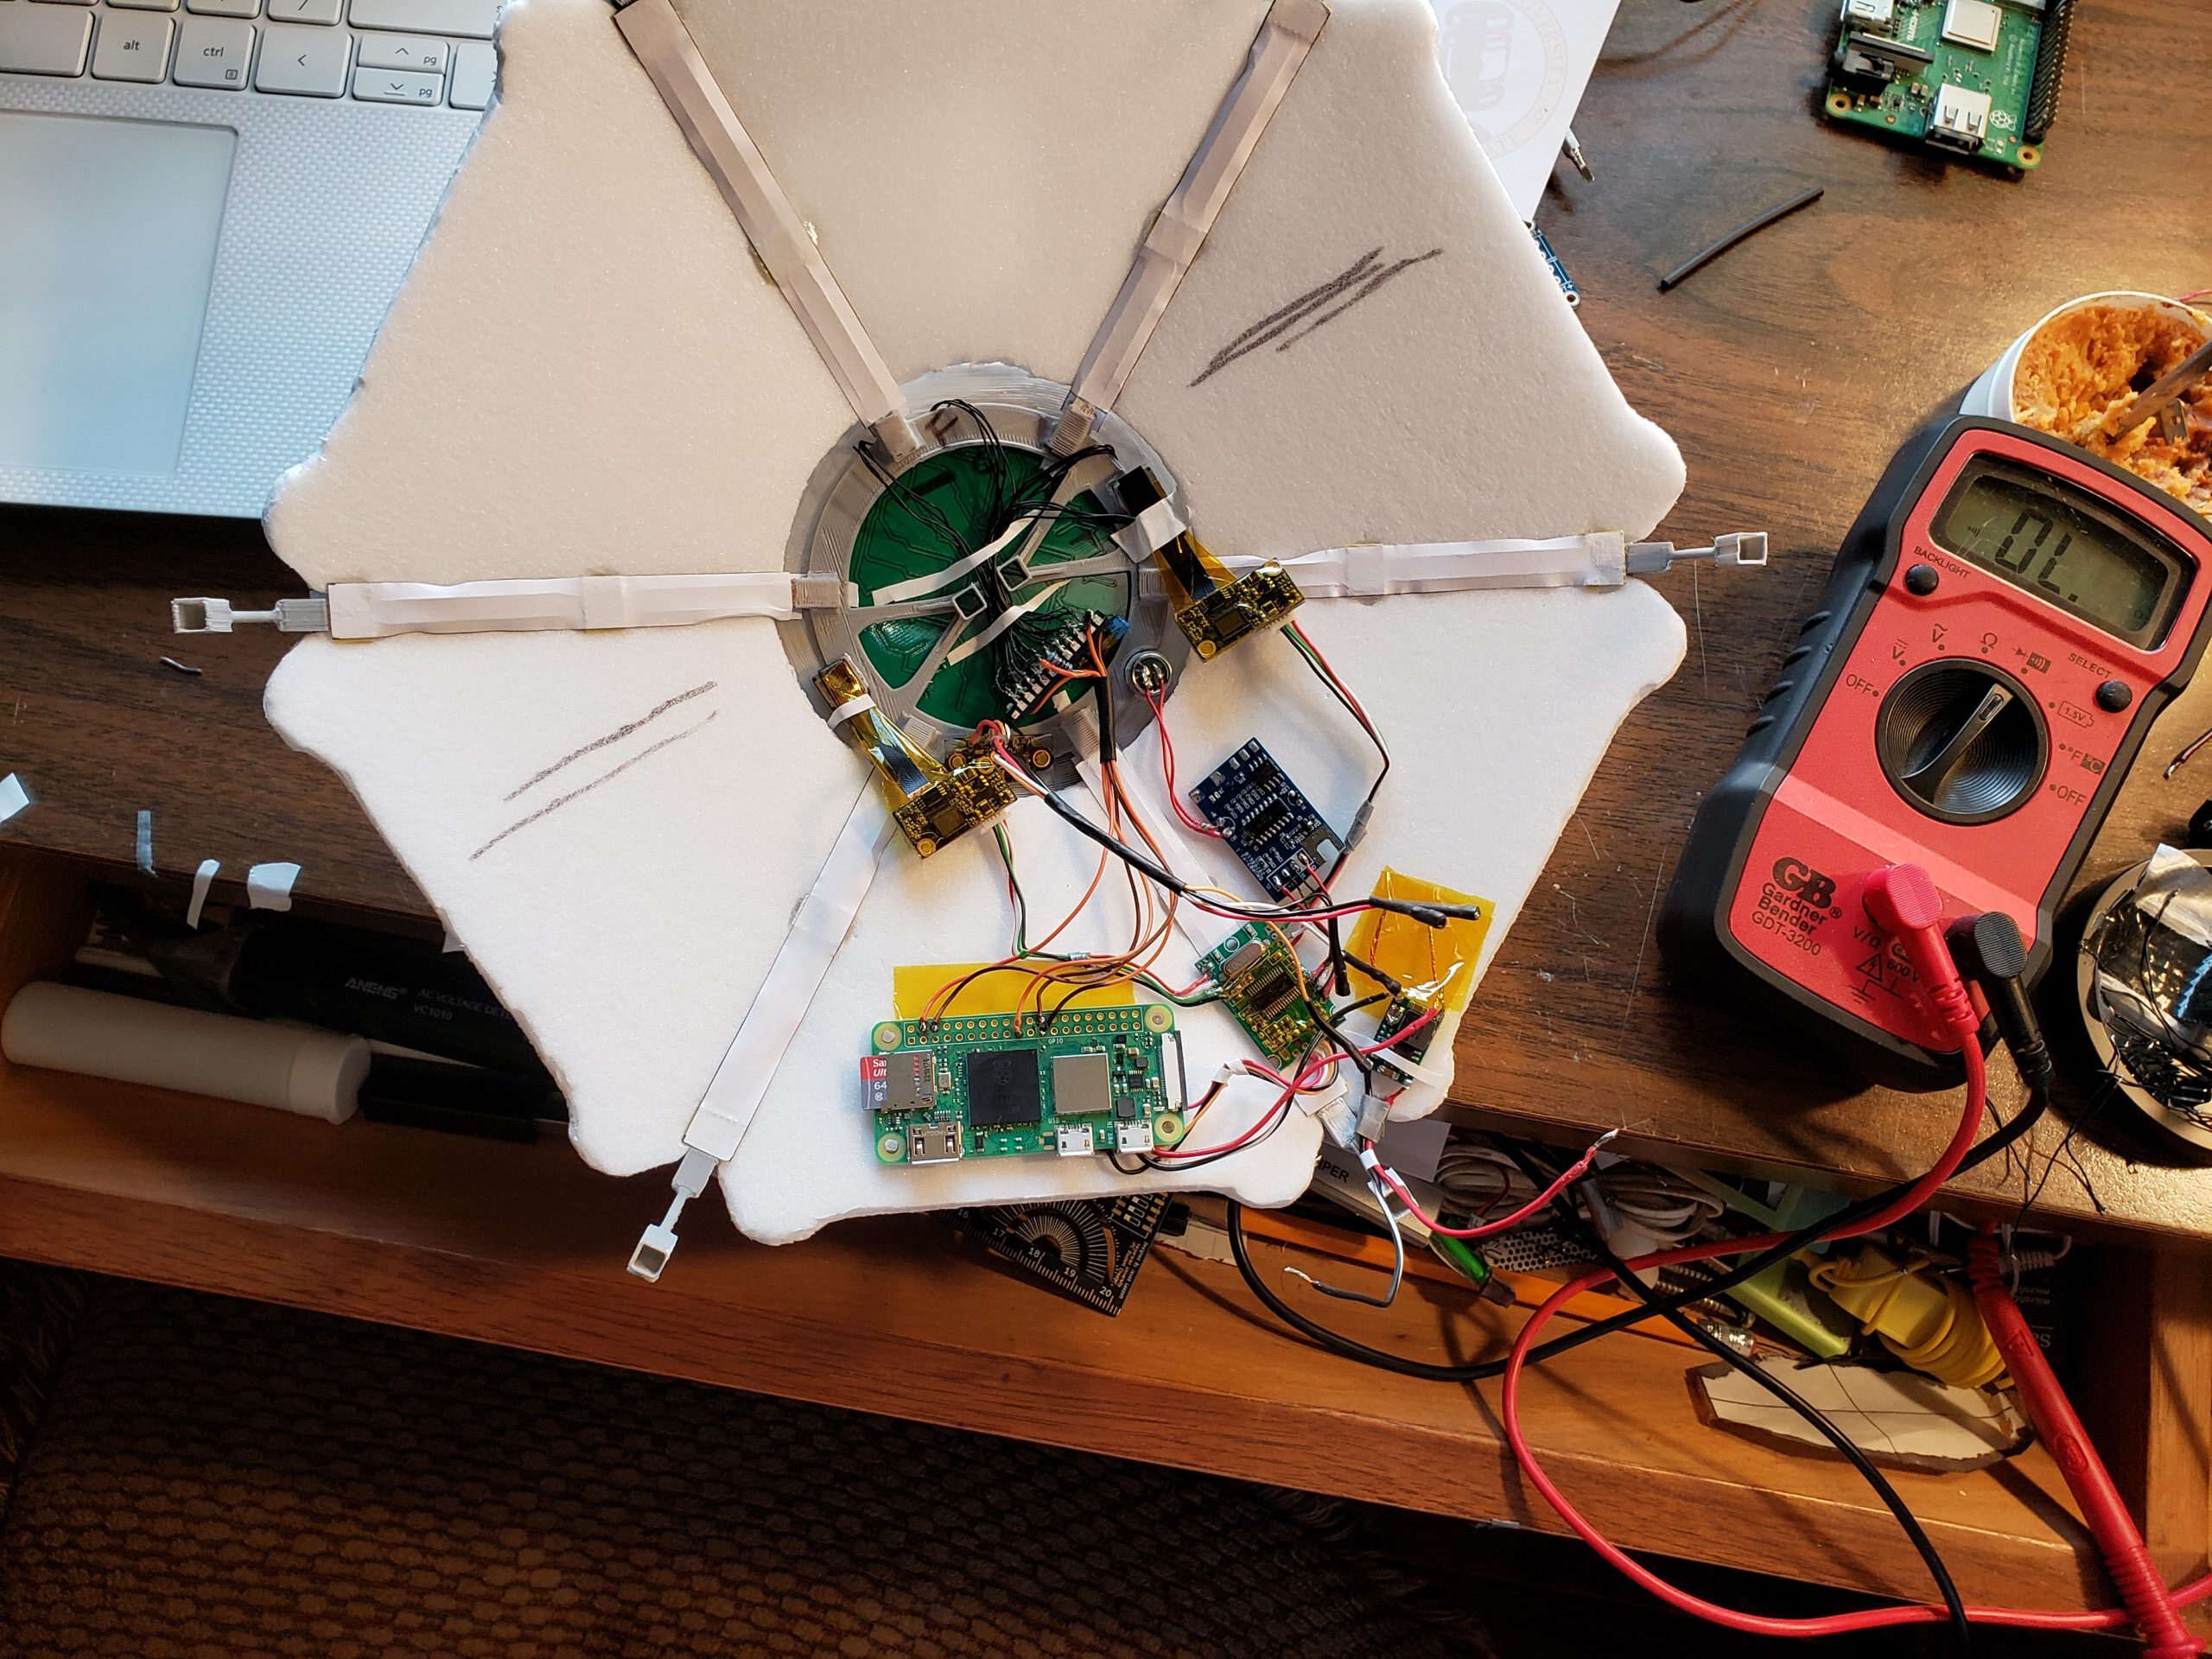
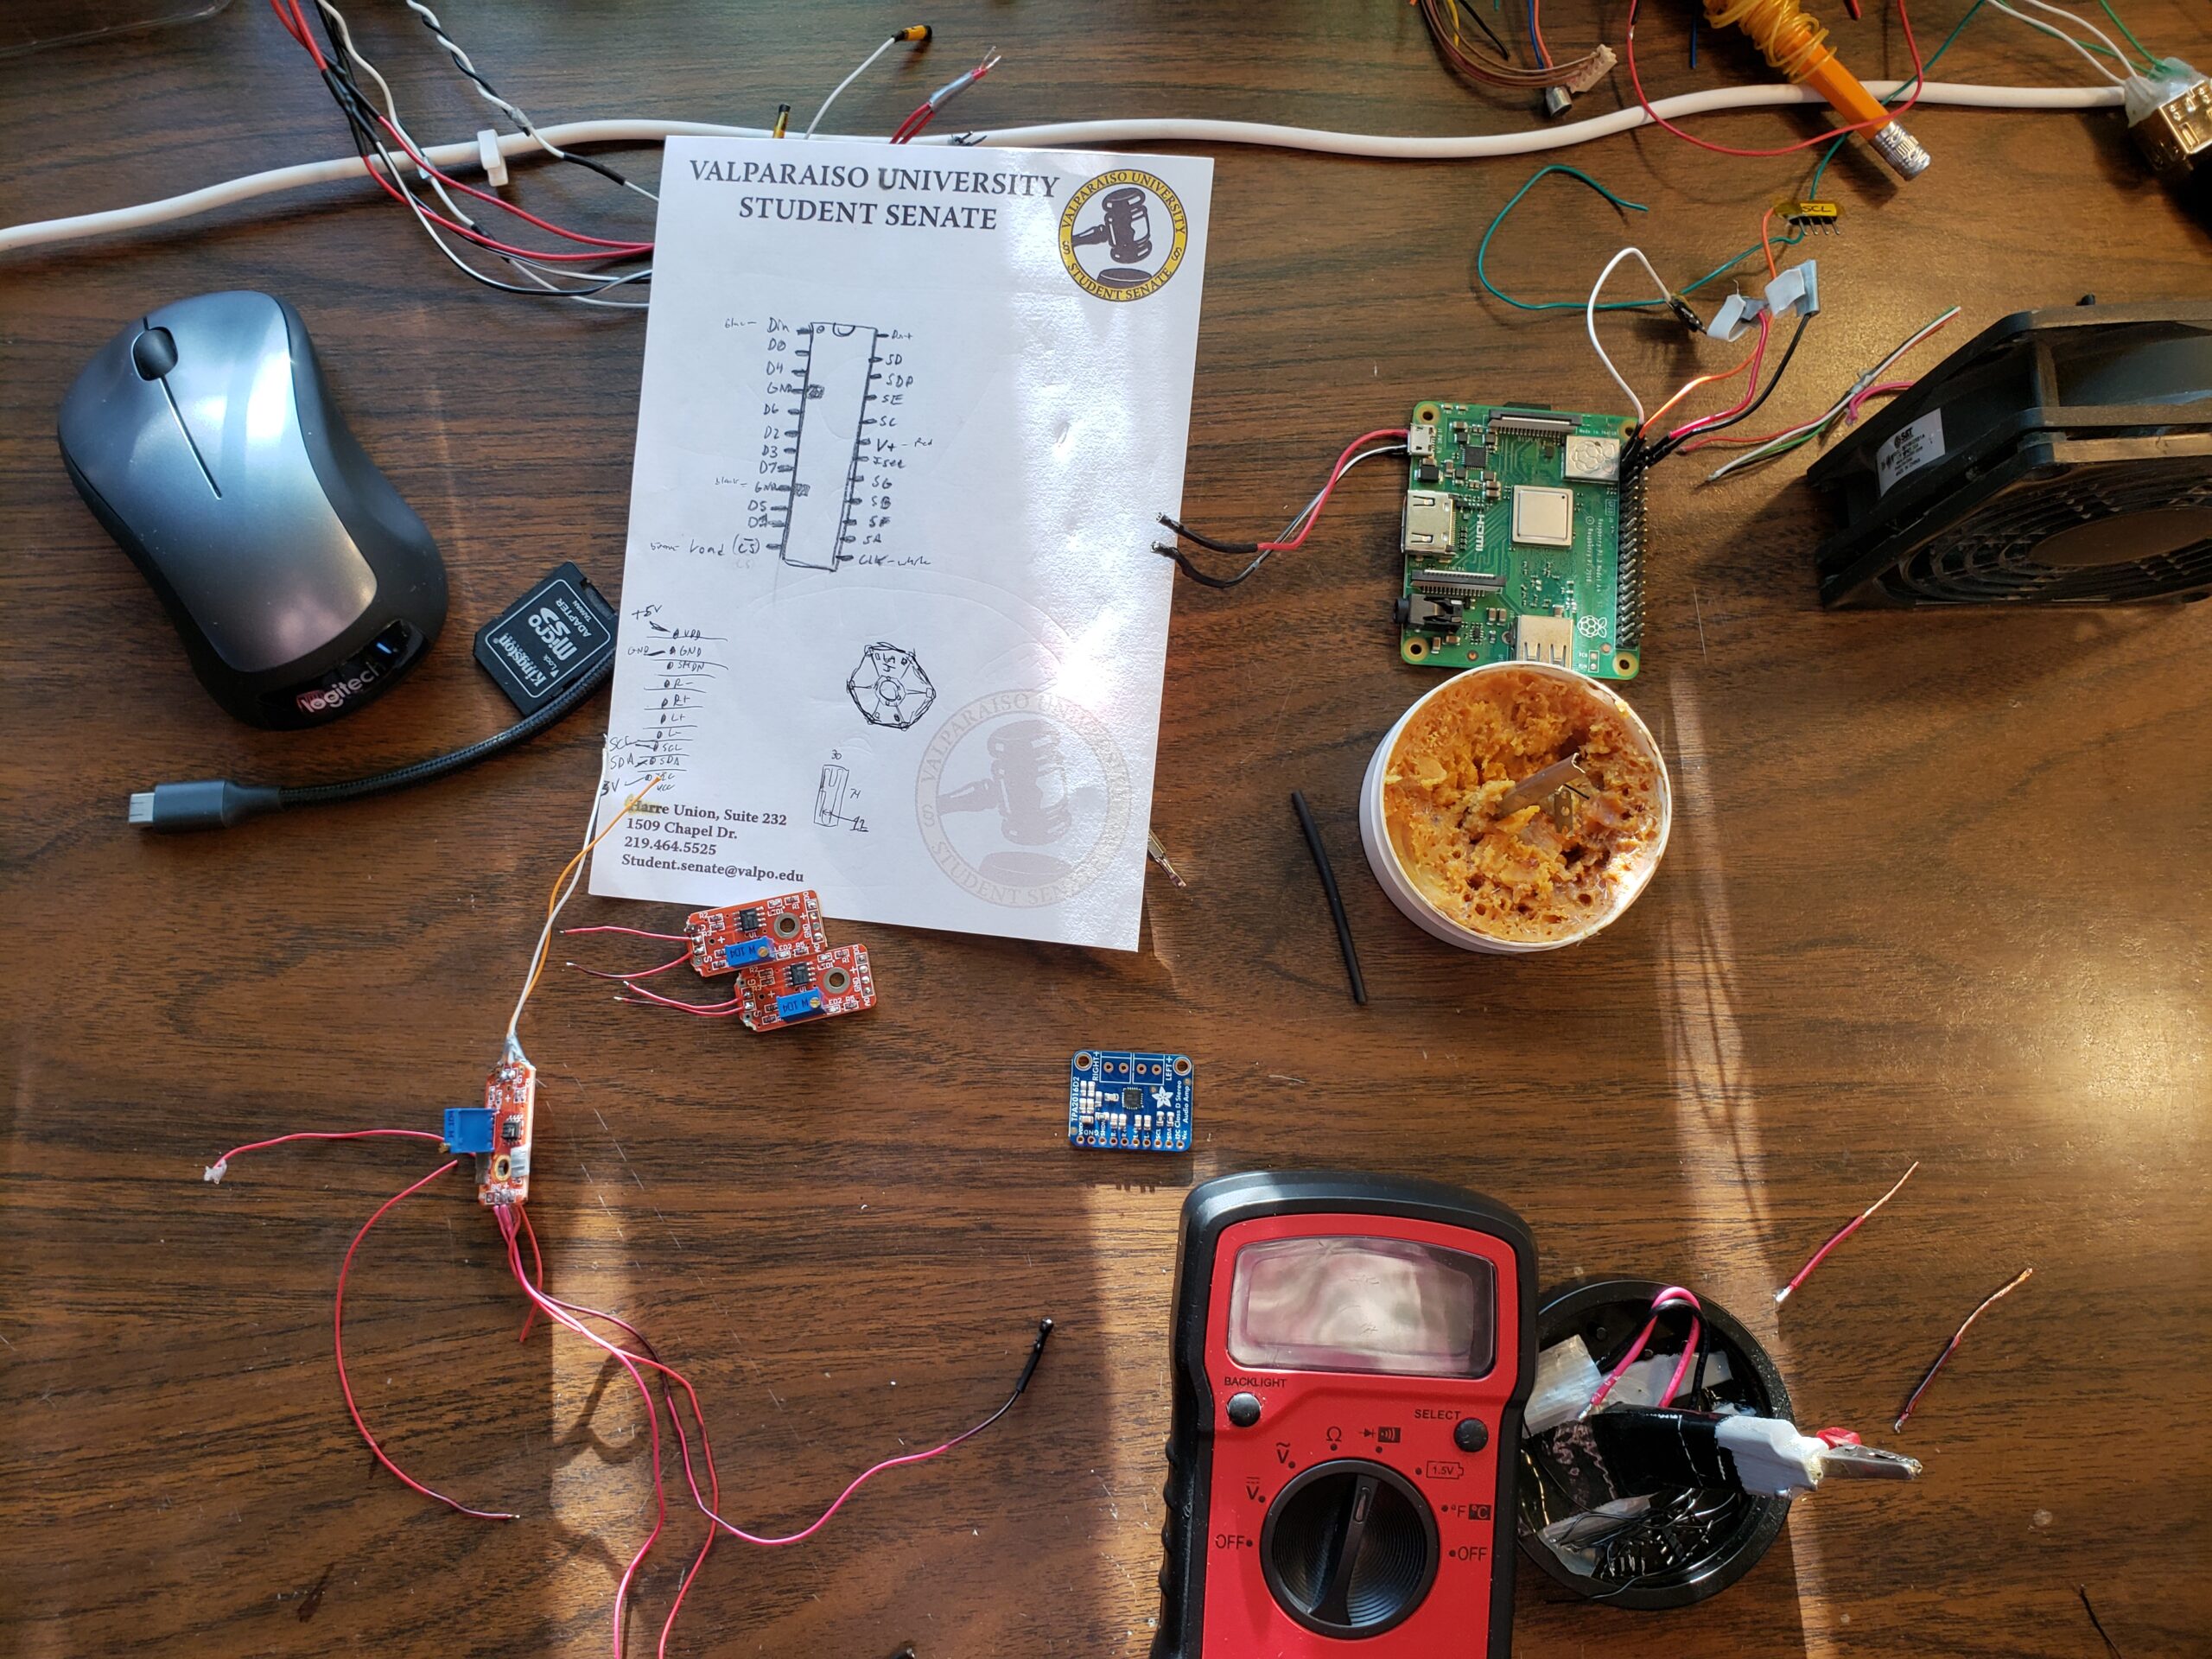
I was running out of time so I just soldered the faceplate circuit together
I need to redo the circuit anyway so I might as well switch to the lighter RPi zero 2W. This process should be quick because I’m just shortening the wires and mounting everything. I’ll probably use tape to mount the sensors because this prototype is just for the demo.
It has an Art Project Look but That's ok
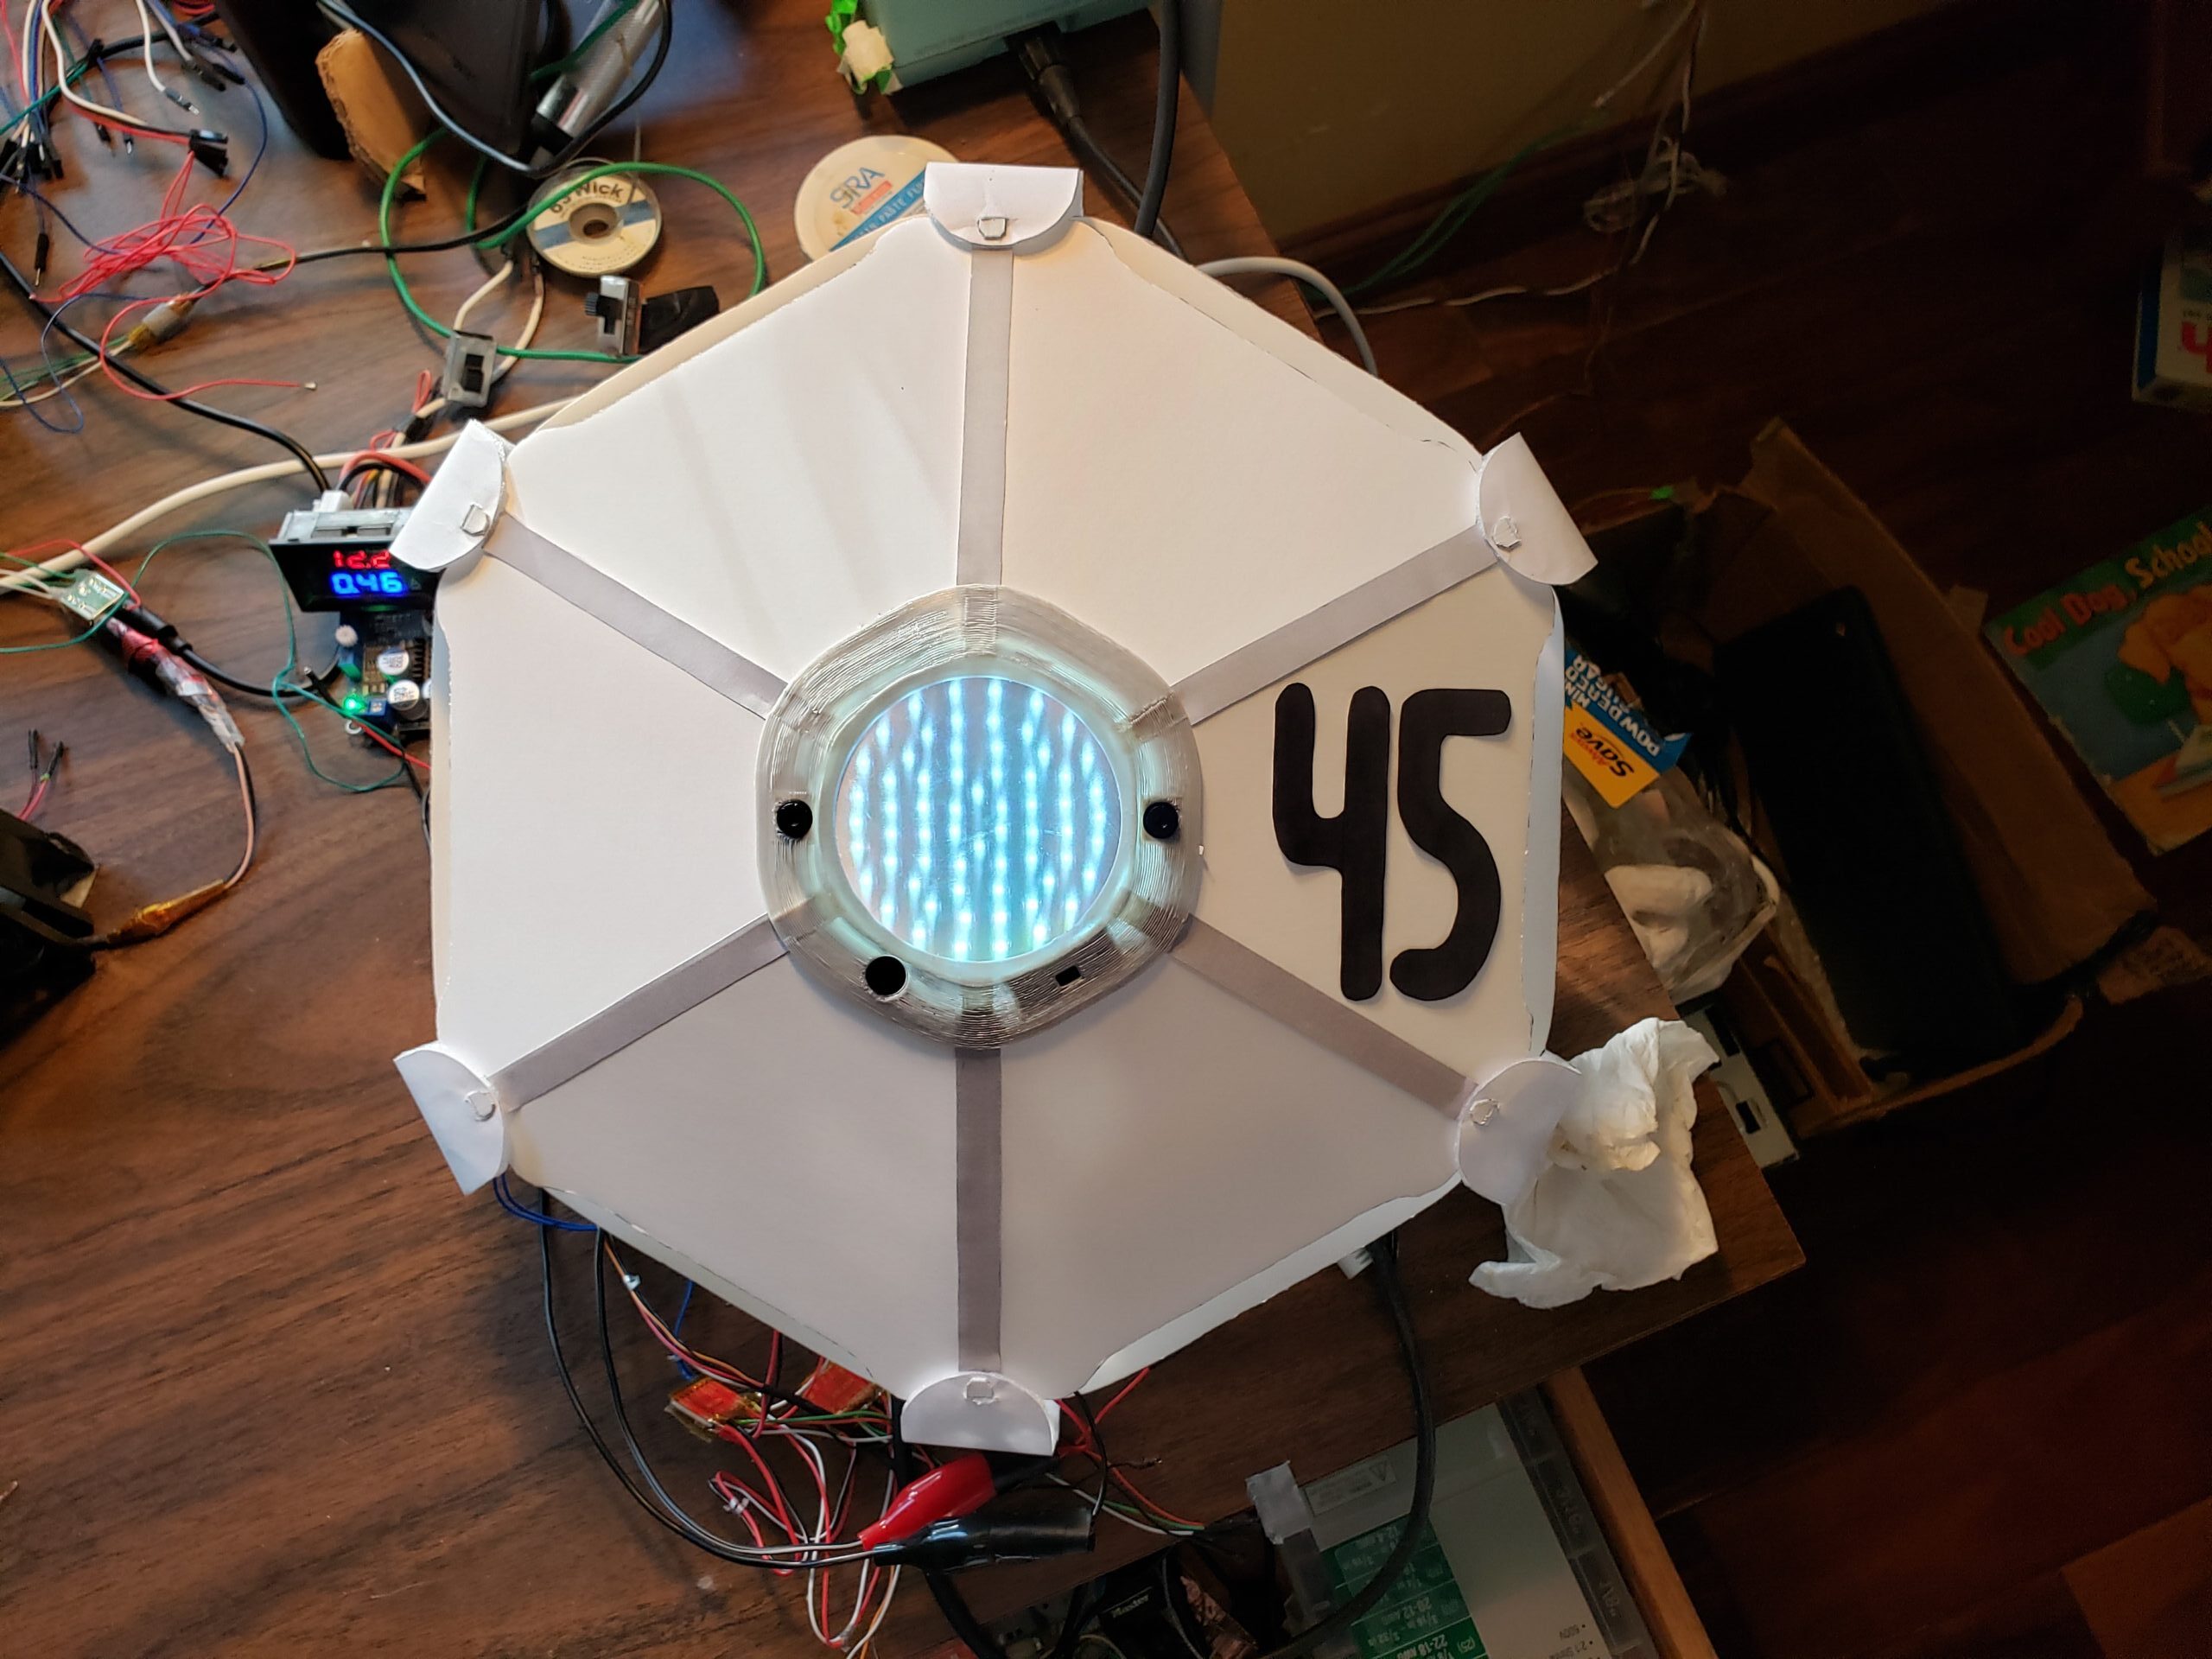
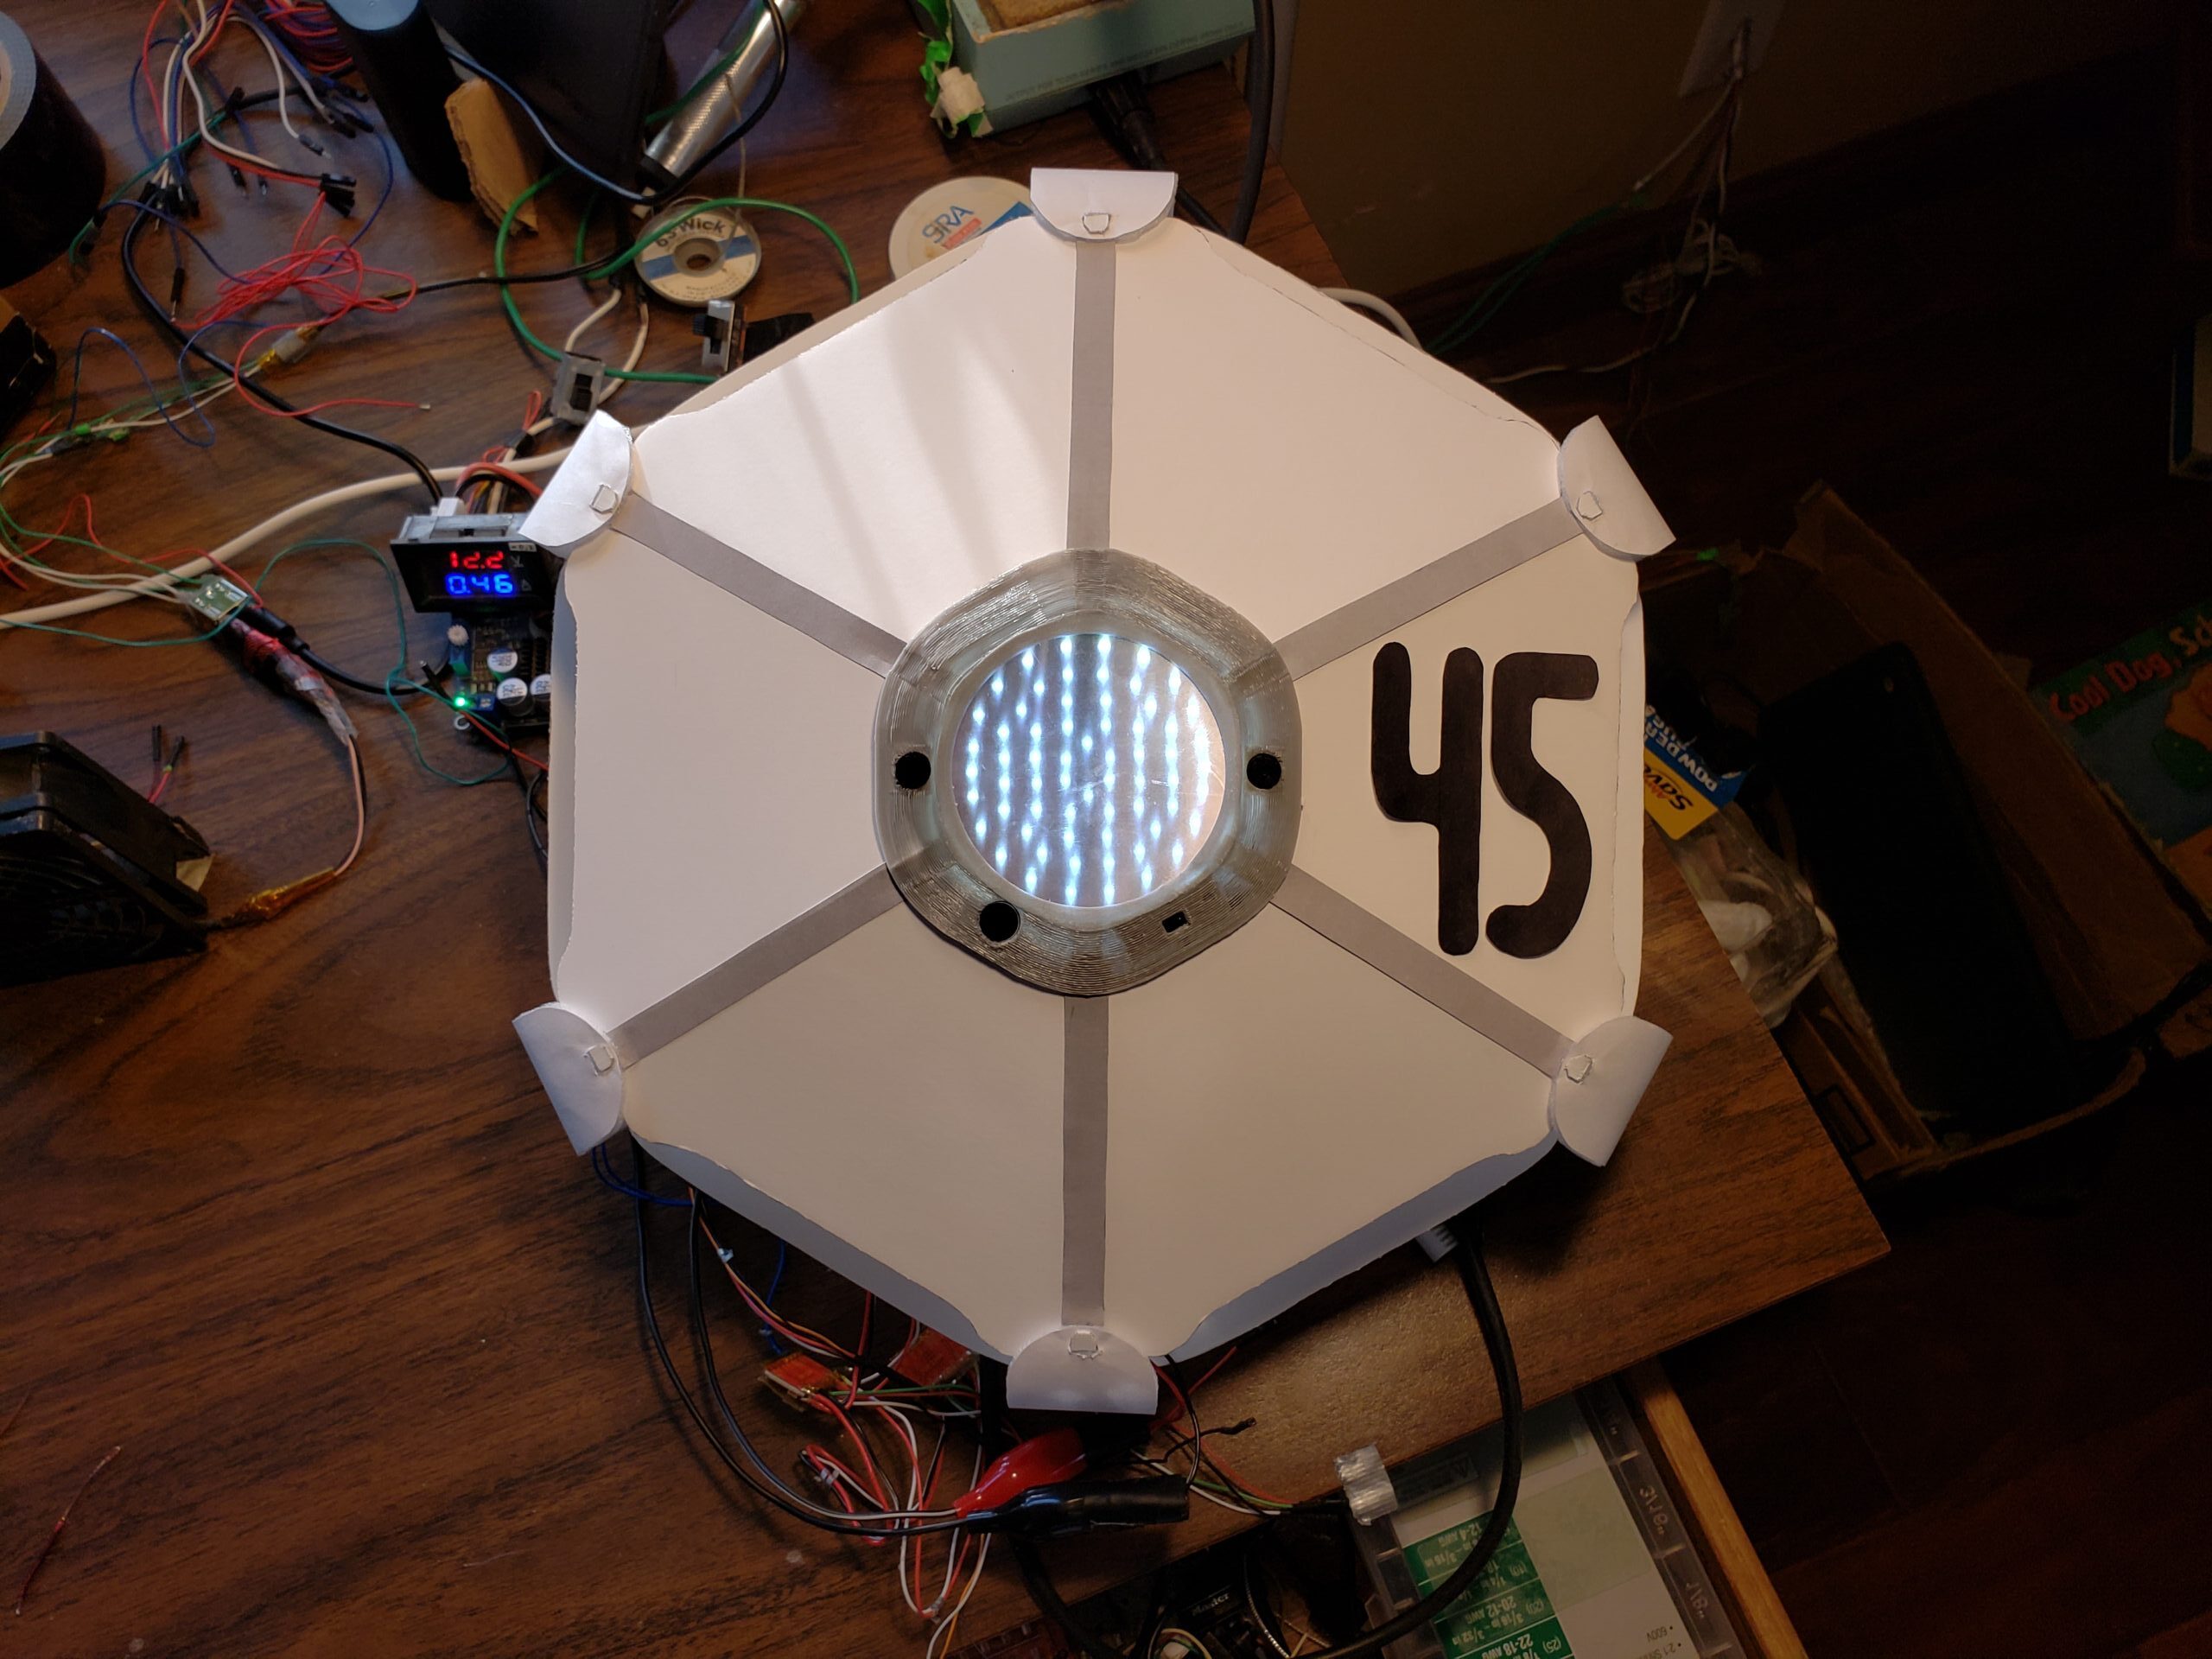
Here is the tile assembled and powered!
The basic circuit includes the microphone, cameras, and the matrix. Here I show all LEDs lit but I have some expressions made that I’ll show next week. The rest of the circuit should be easy to complete and then I’ll move on to the programming!
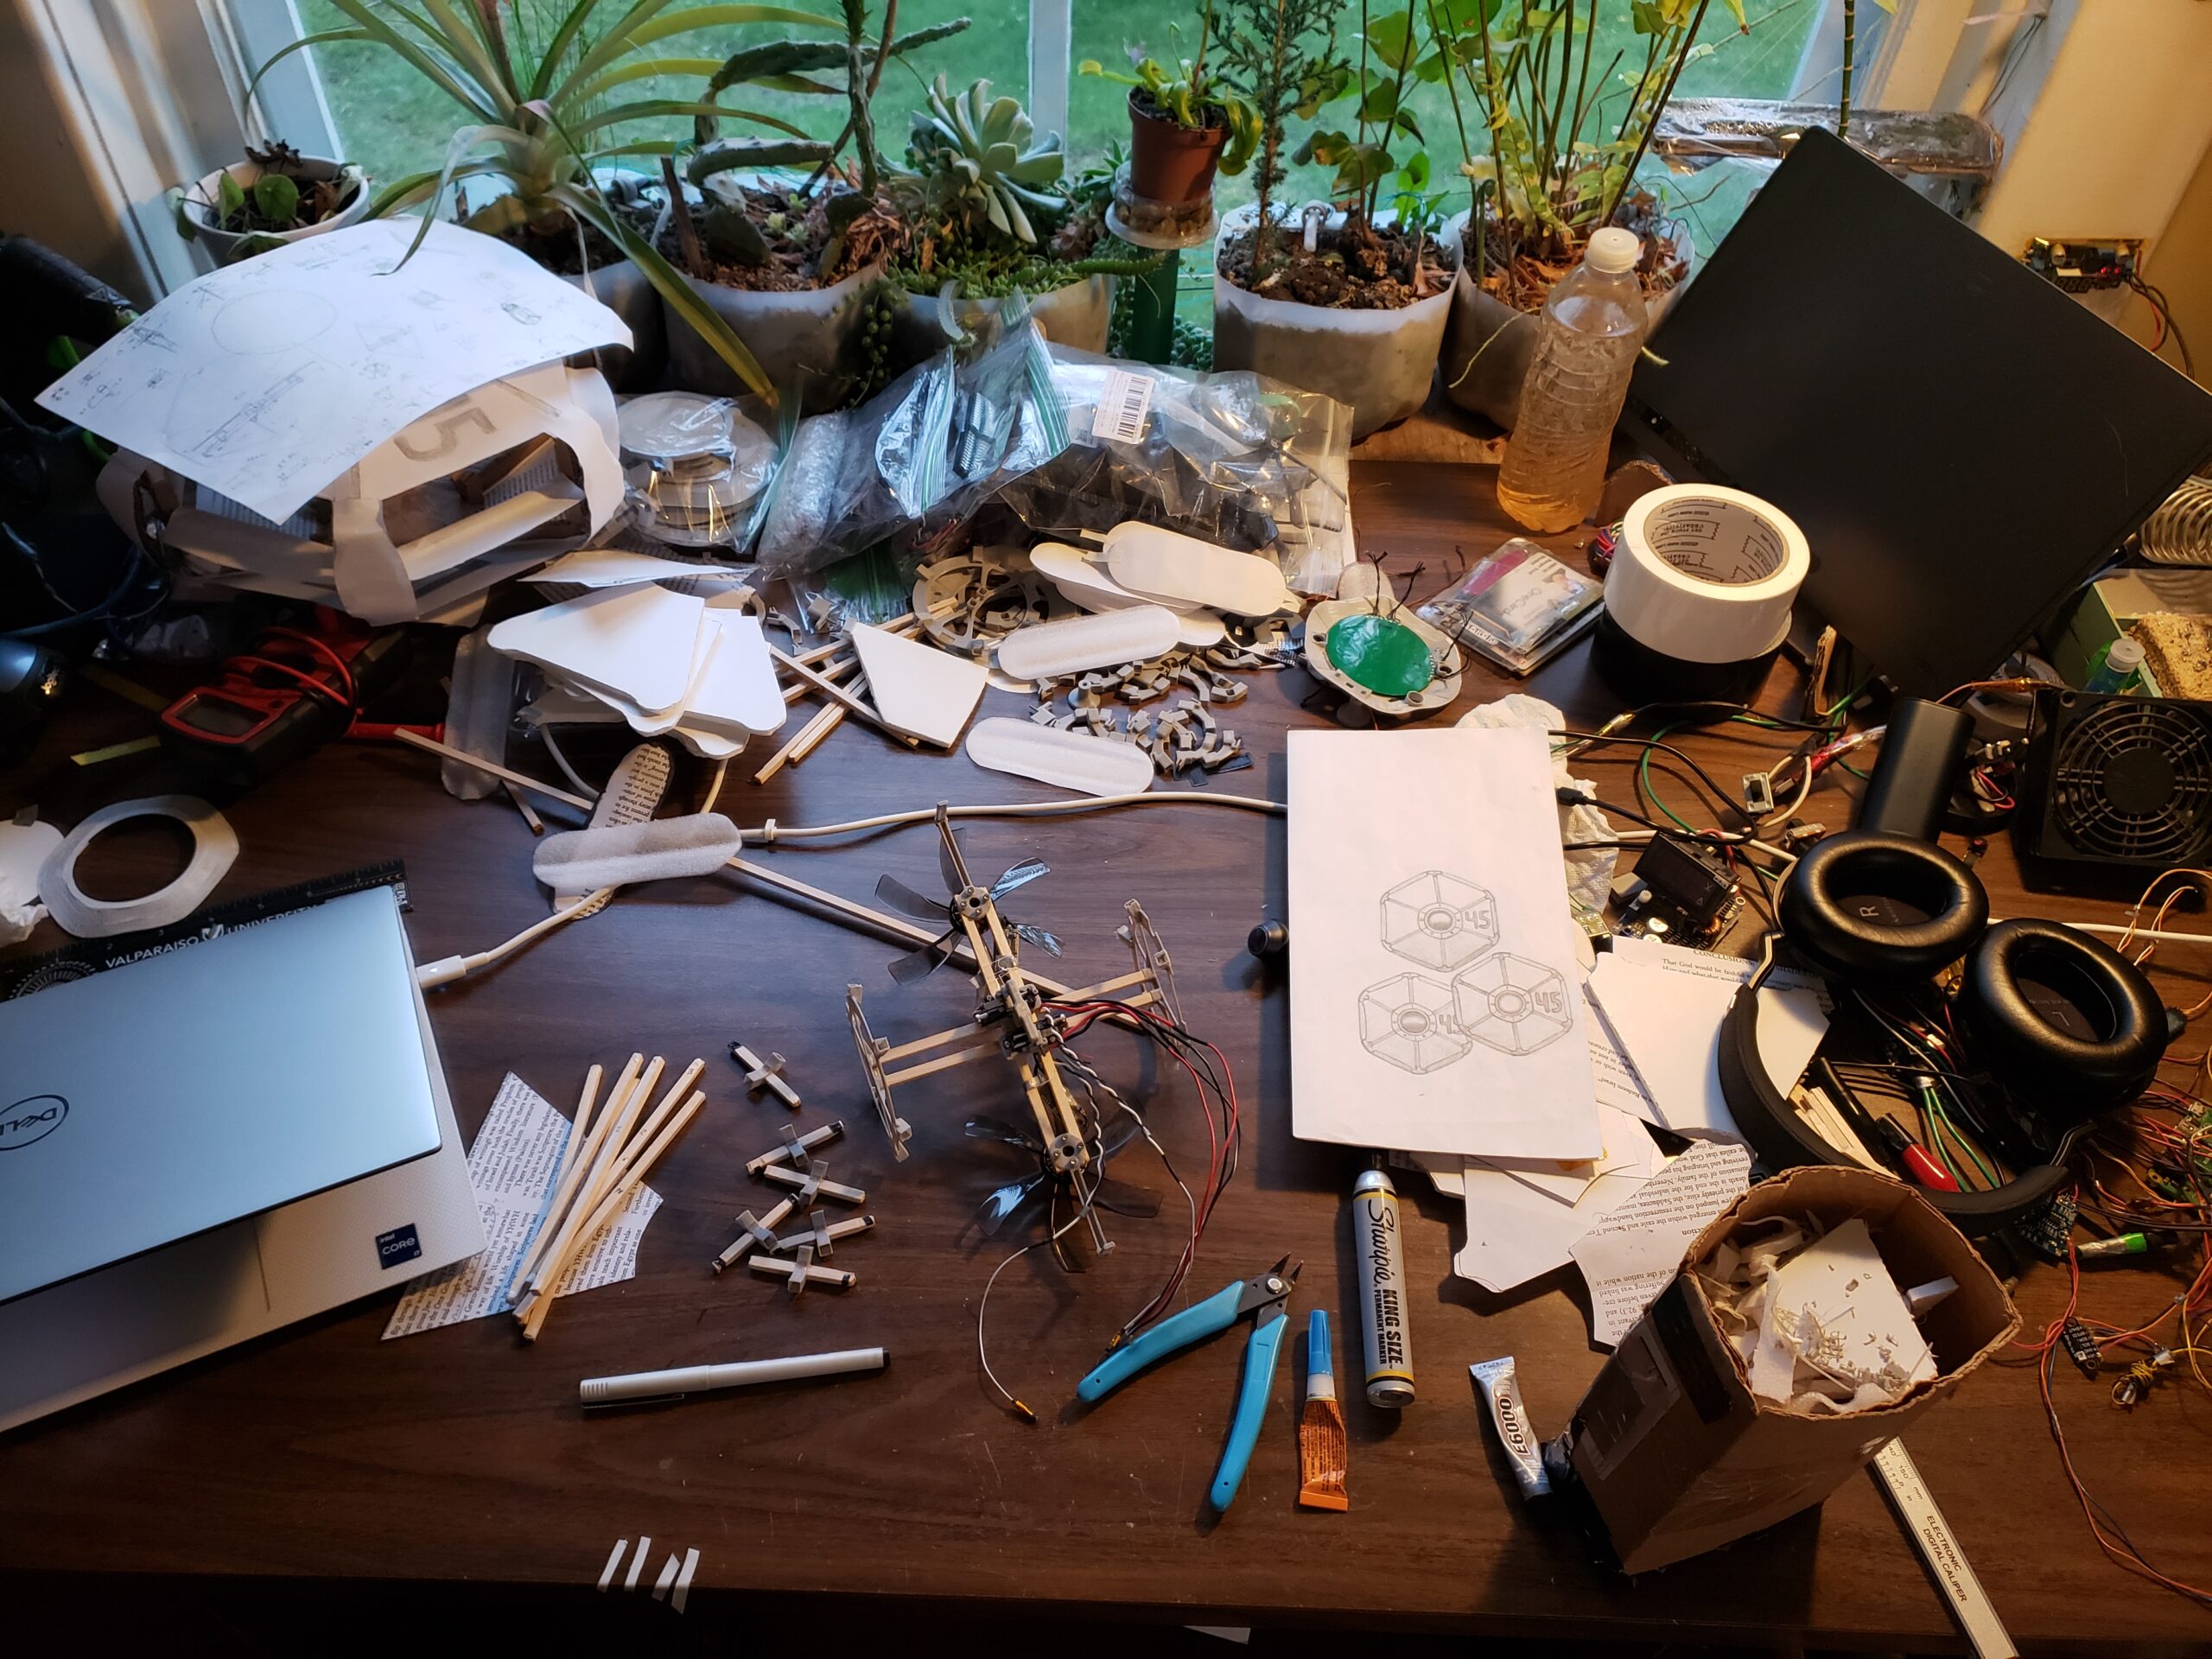
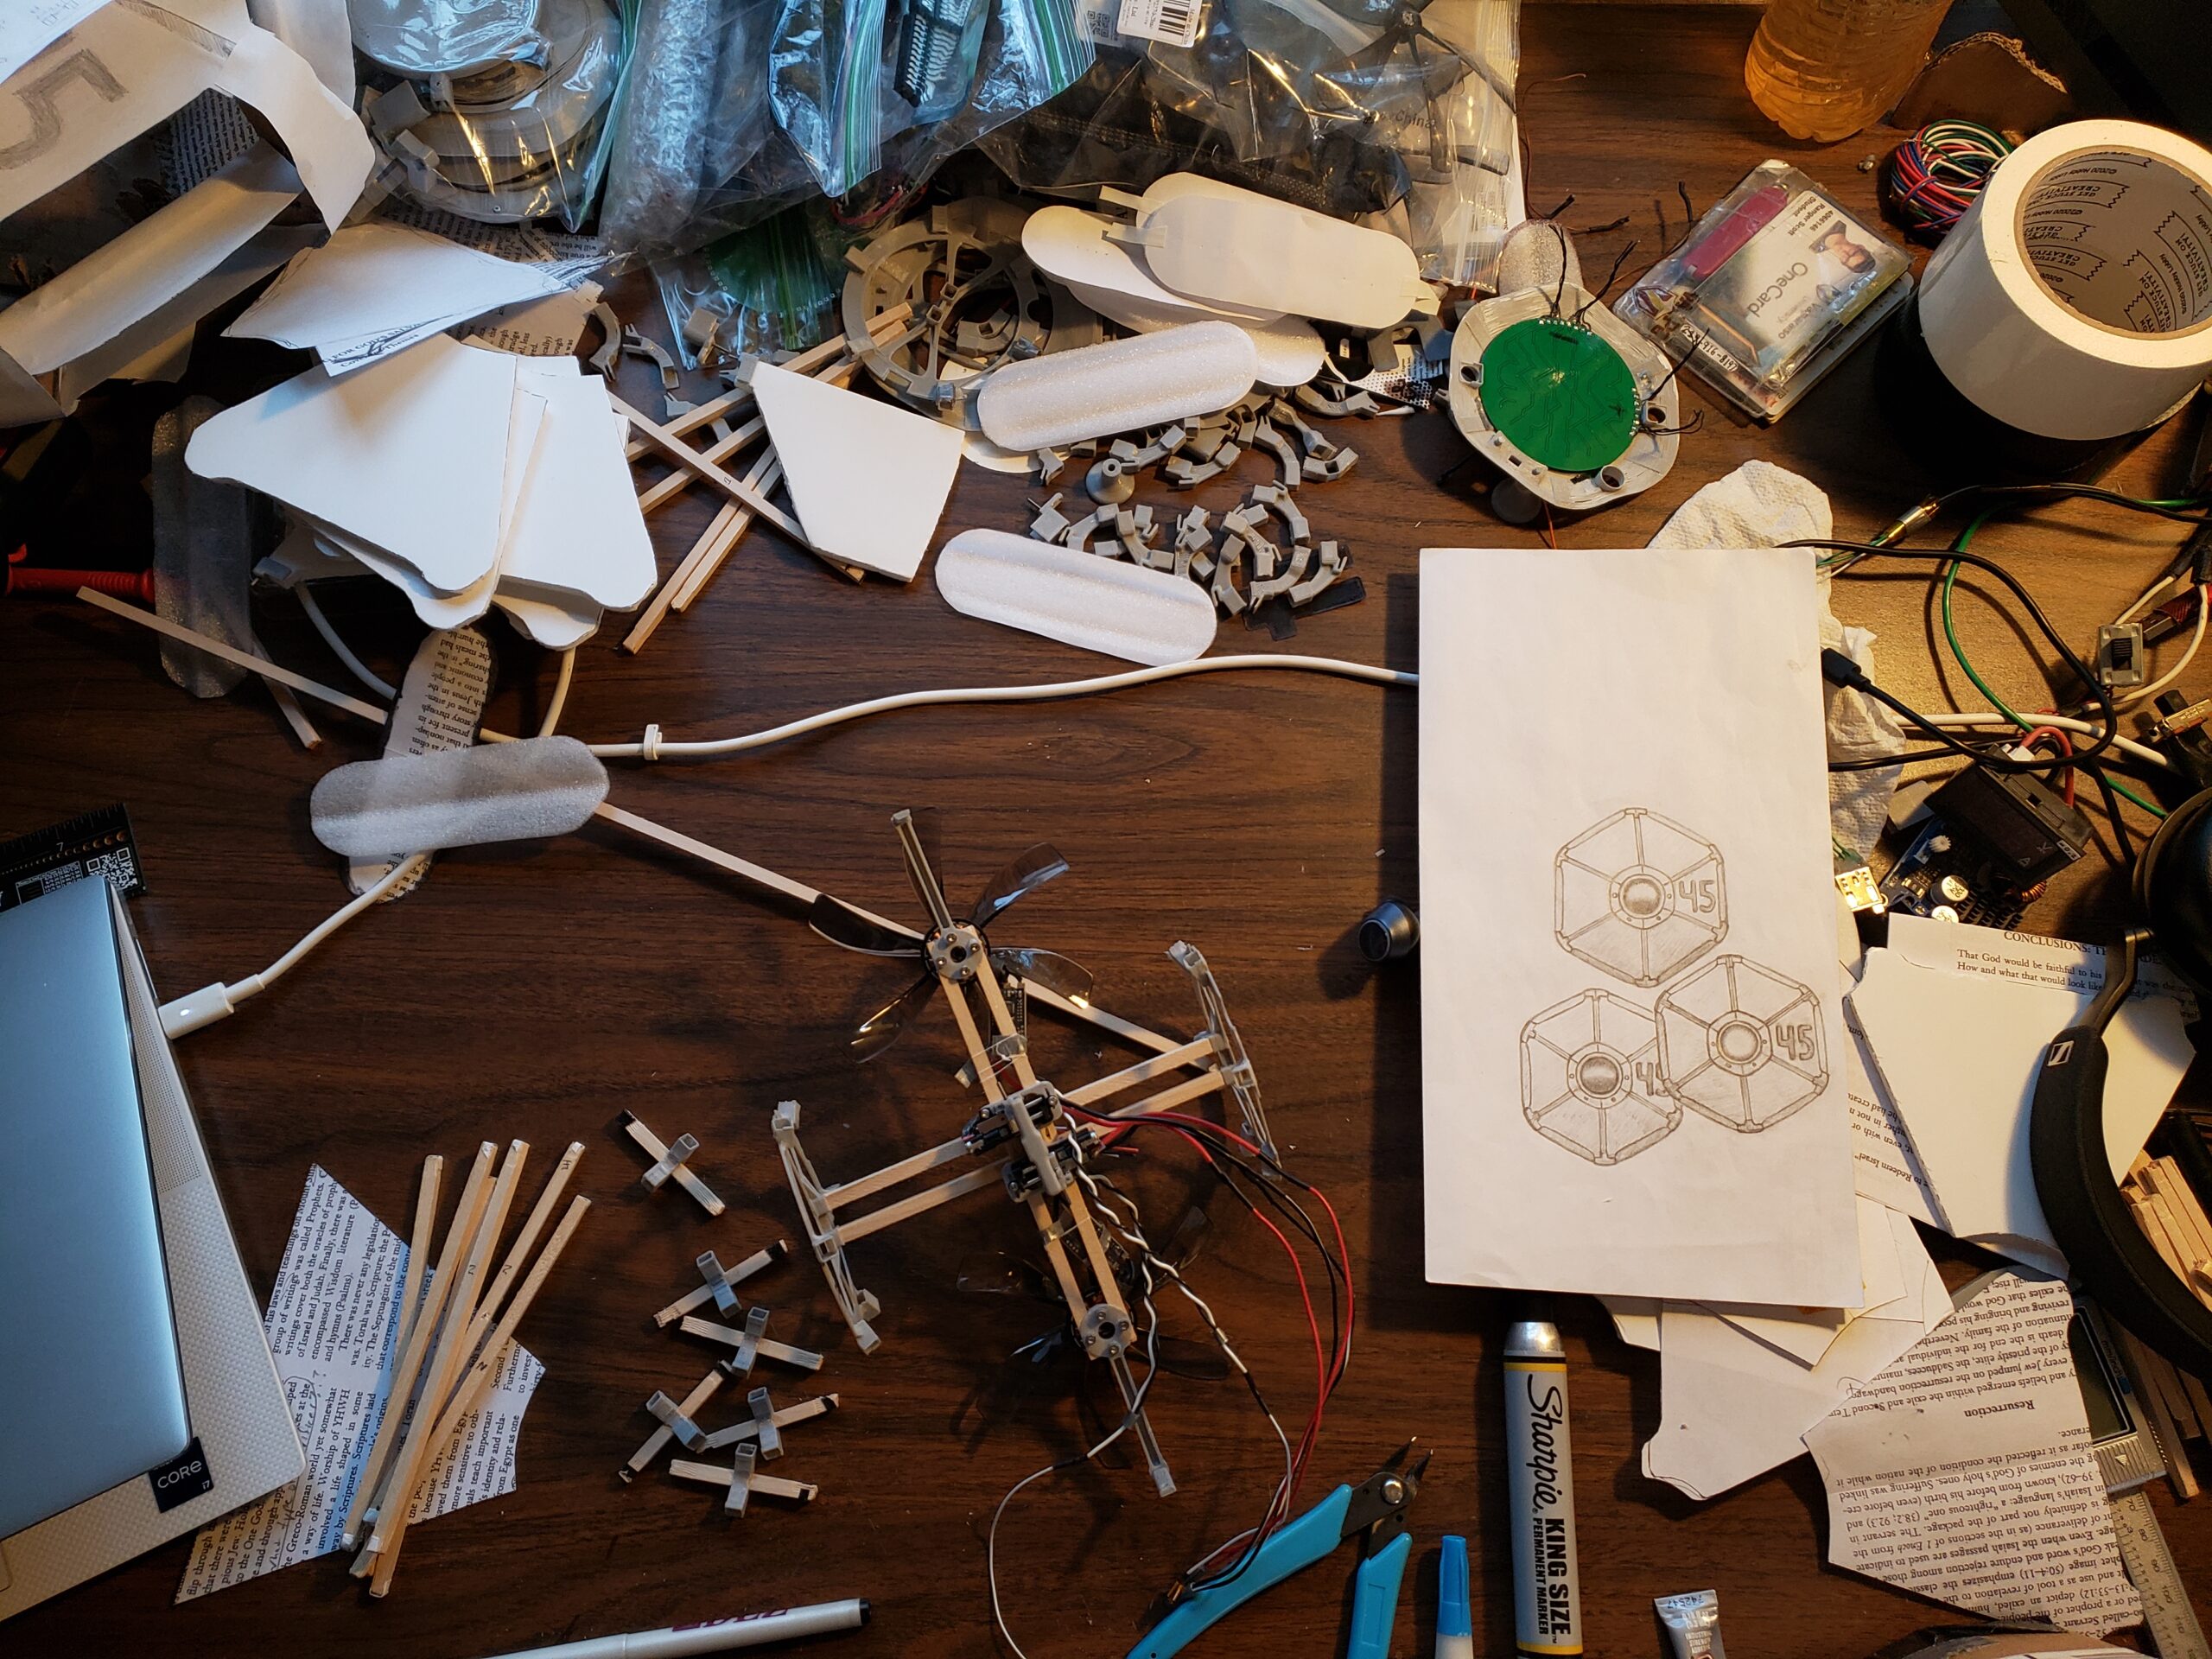
This Week's Gallery:
Next Steps
I wanted to finish the wiring last week but the catch up should be quick
I feel like I made good progress this week but things will definitely slow down over the next weeks. Programming is one of my weaker areas so I’ll be leaning on AI to write most of the code for me. I just need to prompt it well and do the cleanup. I’m definitely more of a hardware guy but I’ve found that AI is good at filling in my knowledge gaps. I have three big exams next week so my progress will reflect that. I really want to have a demo together for the presentation but school comes first.
Next week the plan is to:
Install all the needed AI models on the server
Write the python script to accept audio and return speech (silence submits prompts)